Warning: mkdir(): No such file or directory in /var/www/vhosts/oneidatrail.com/httpdocs/app/plugins/photo-gallery/framework/BWGOptions.php on line 371 Blog - Oneida Trail
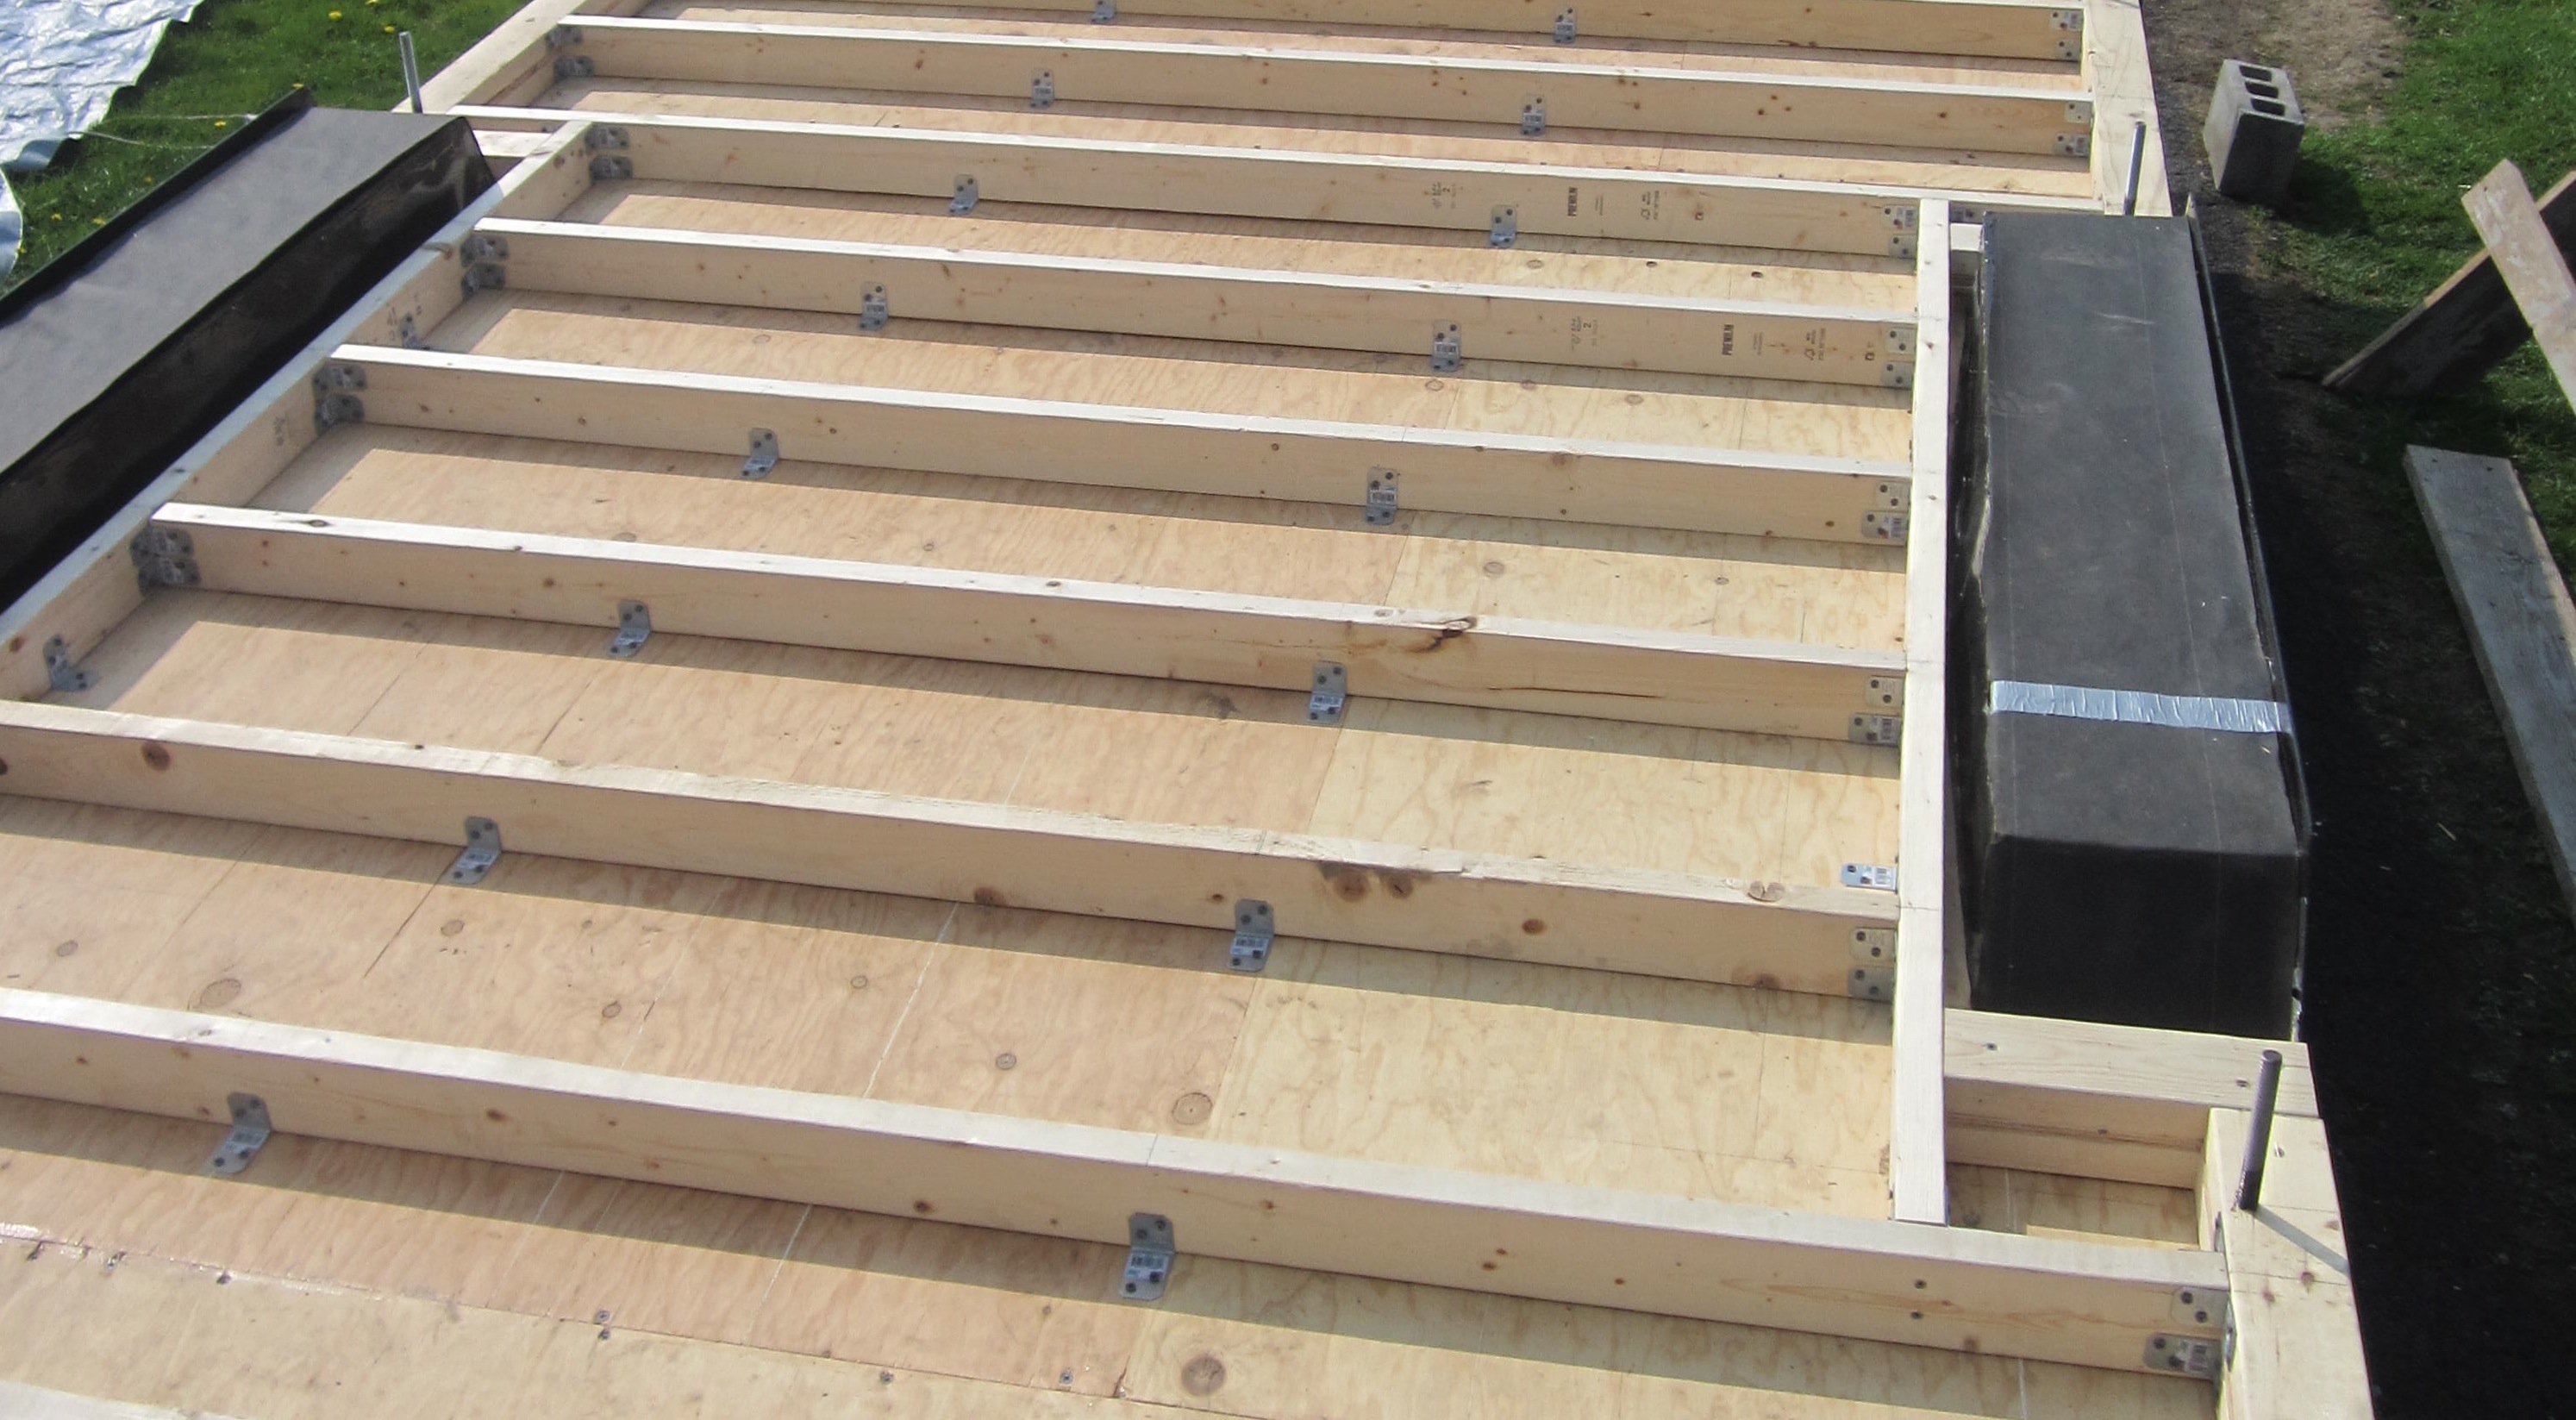
Simpson Strong-Ties or steel hold-downs should be utilized in your tiny house build. They will do three things: make your tiny house a wind warrior (secure your investment), add a lot of time to your framing process, and tap into your pocket book. We ended up spending $850 for steel hold-downs along with the appropriate nails and screws to fasten them. Like the trailer, this isn’t a time to skimp. If you use SIP panels, you may need to research for even more steel hold-down options.
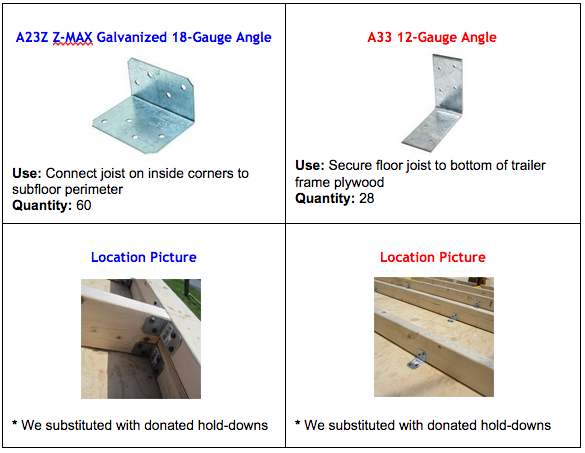
Subfloor Hold-DownsWall Assembly Hold-Downs
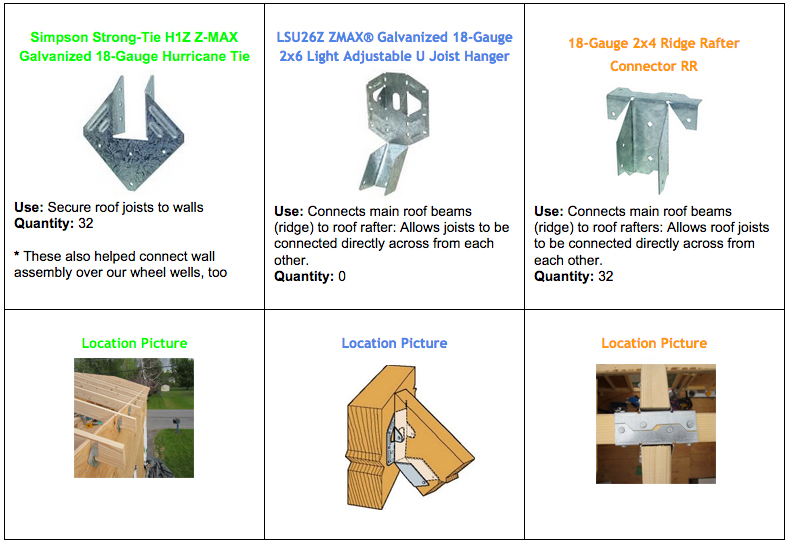
Roof Hold-Downs
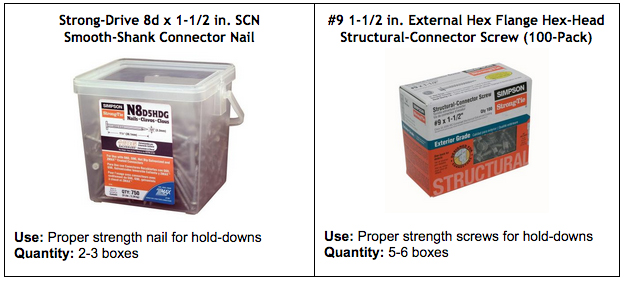
Proper Hold-Down Fasteners
Check below for additional pictures where you can see hold-downs utilized. The reins are ours,
Chris
Reflections, Hindsight, and Alterations:
Initially, I didn’t spend the money for the proper fasteners on our subfloor (a regret). There is a very big difference between the quality of Simpson’s nails and screws and regular ones.
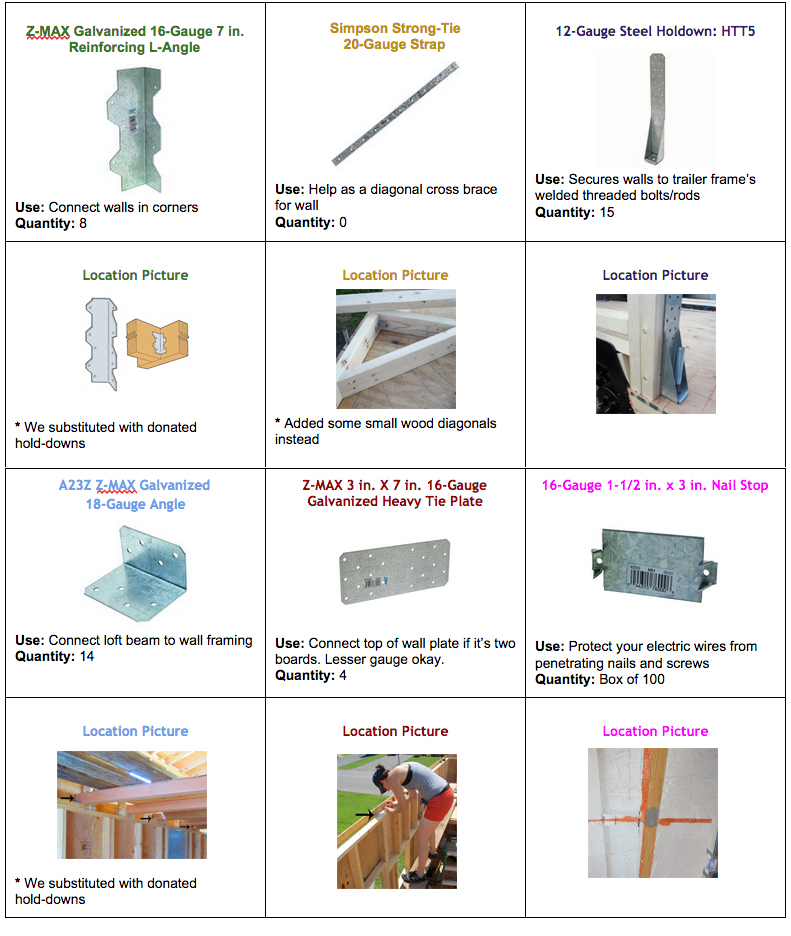
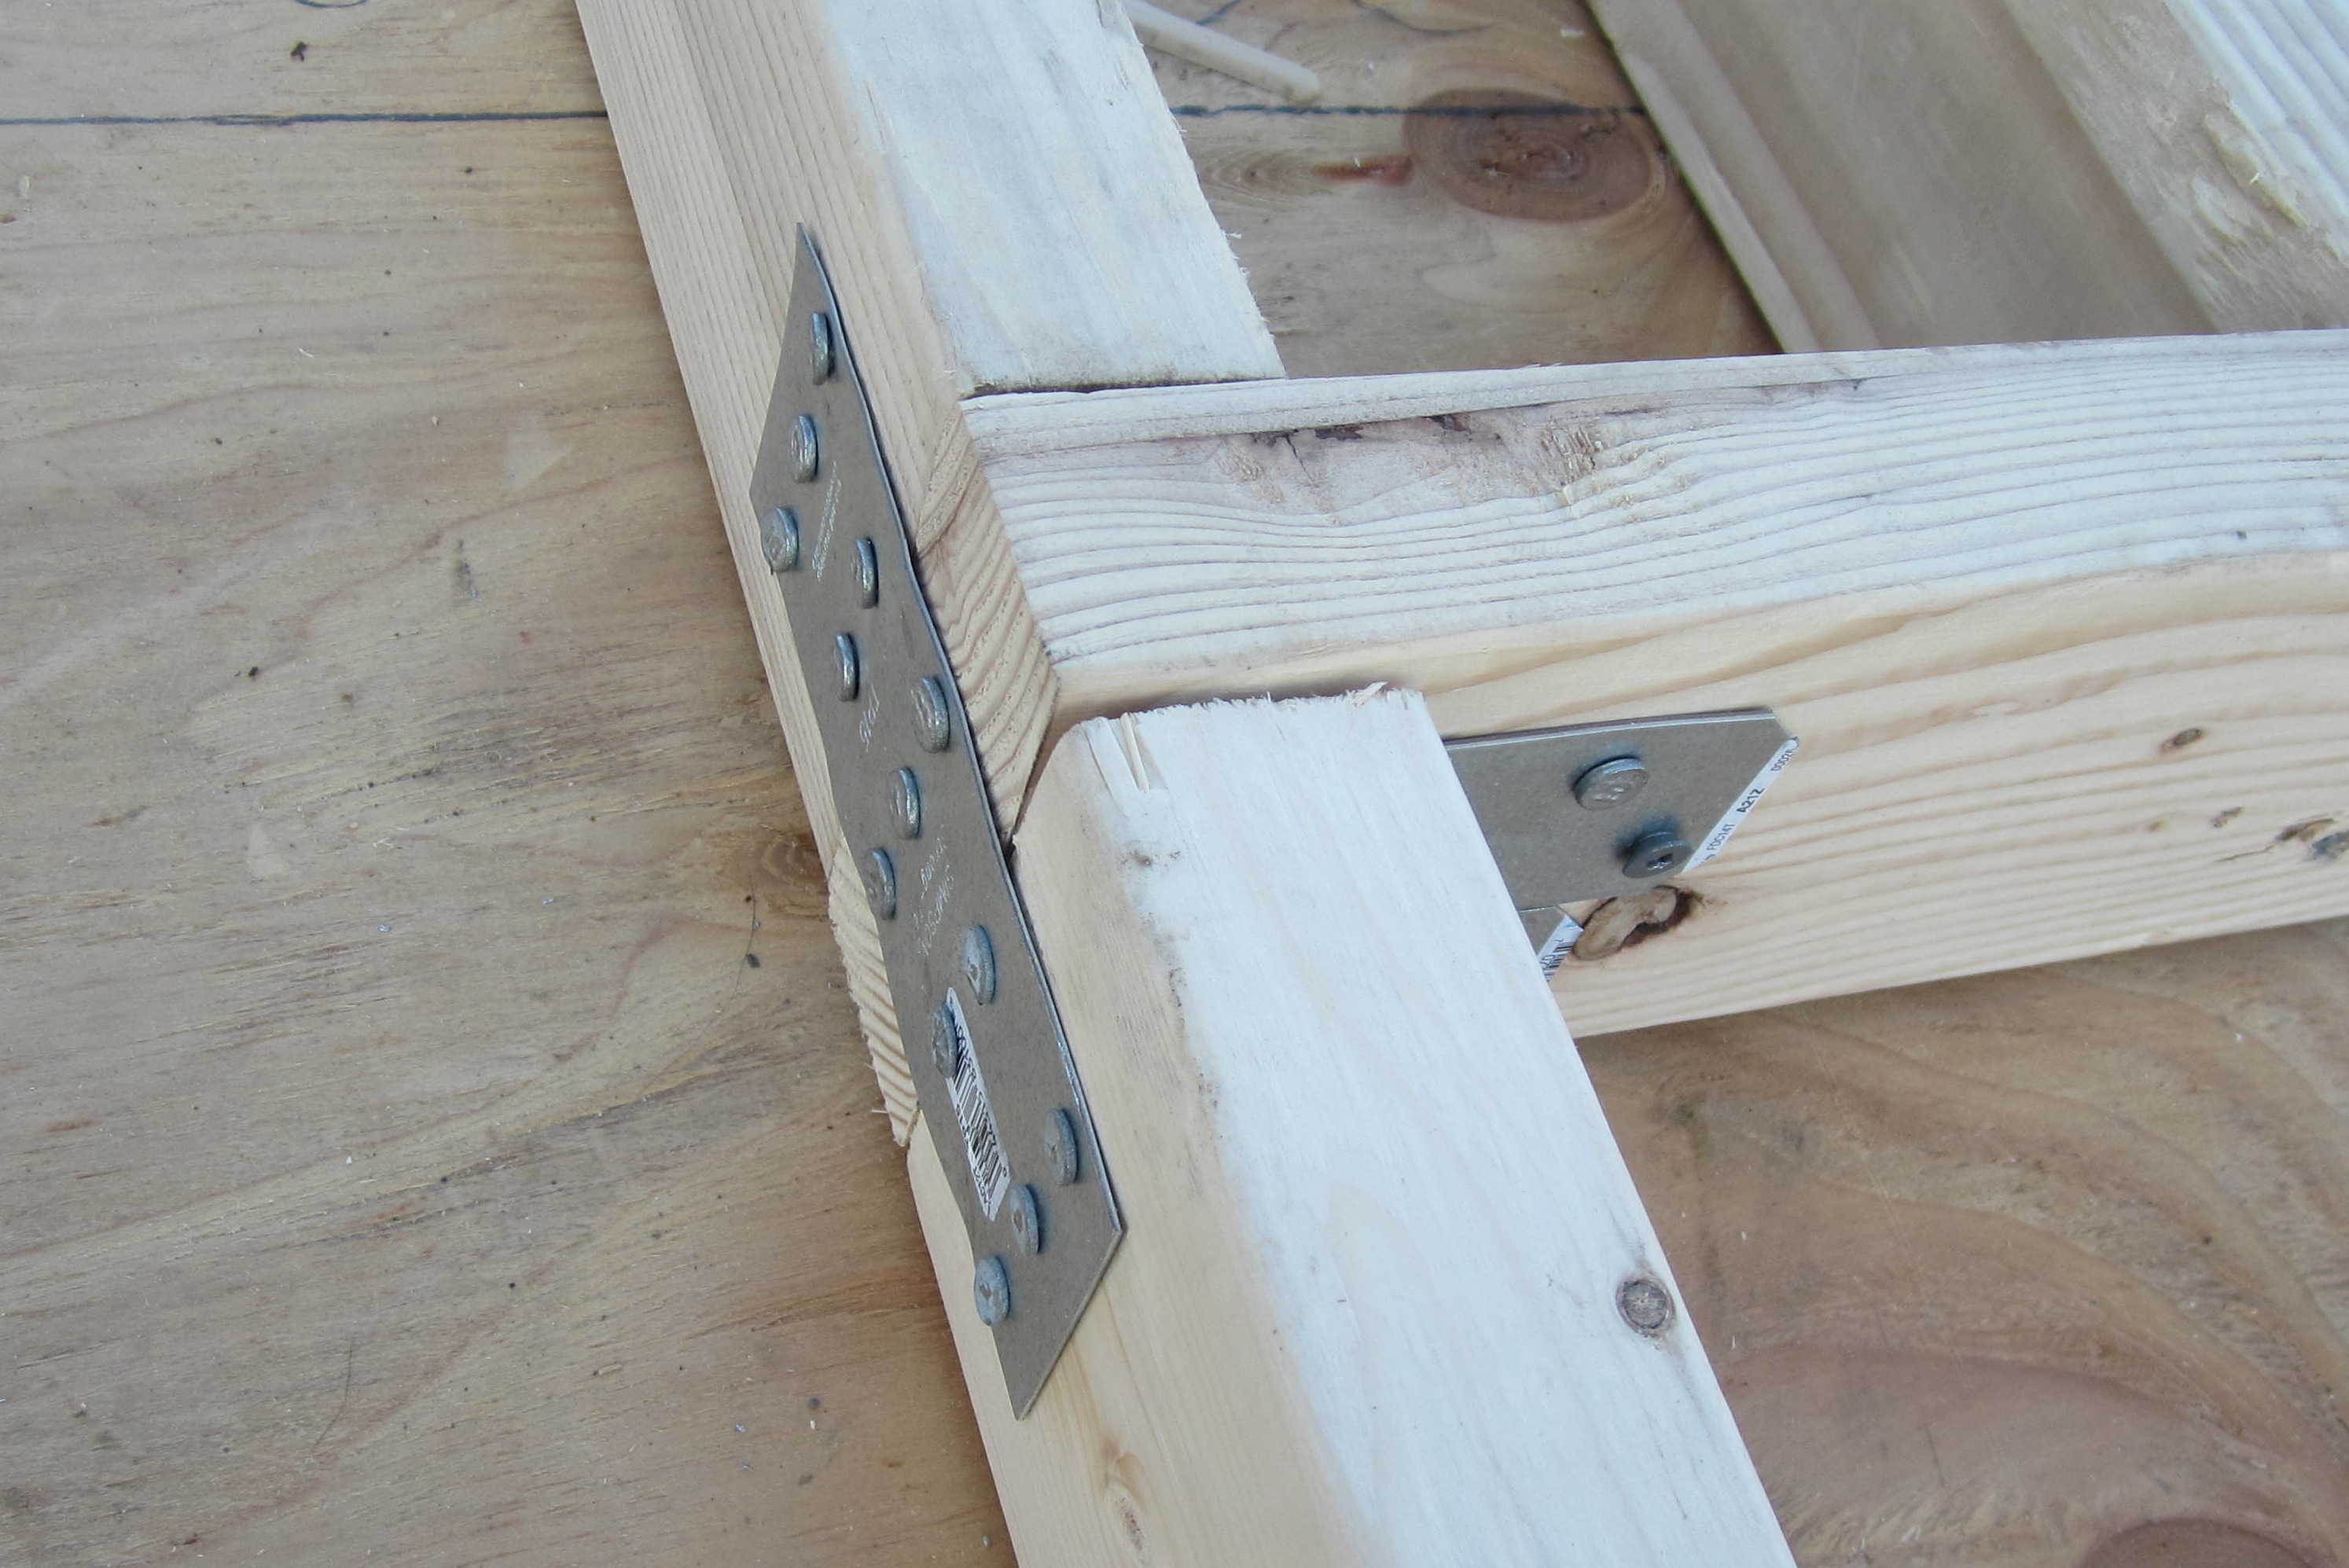
We scored extra hold-downs from a builder friend, so I was adding a lot of 90 degree hold-downs to a lot of extra spots in the framing for additional structural integrity.
We saved a lot of money by getting certain hold-downs on online at Hardware Online Store. Make sure to check online store’s shipping rates–they can be game changers.
It feels really assuring to have the hold-downs throughout the framing!
Very few splitting issues with the nails. Sometimes, we pre-drilled holes for the screws. We mixed nails and screws in some of the hold-downs to get different types of holding power.
Additional Location Pictures:
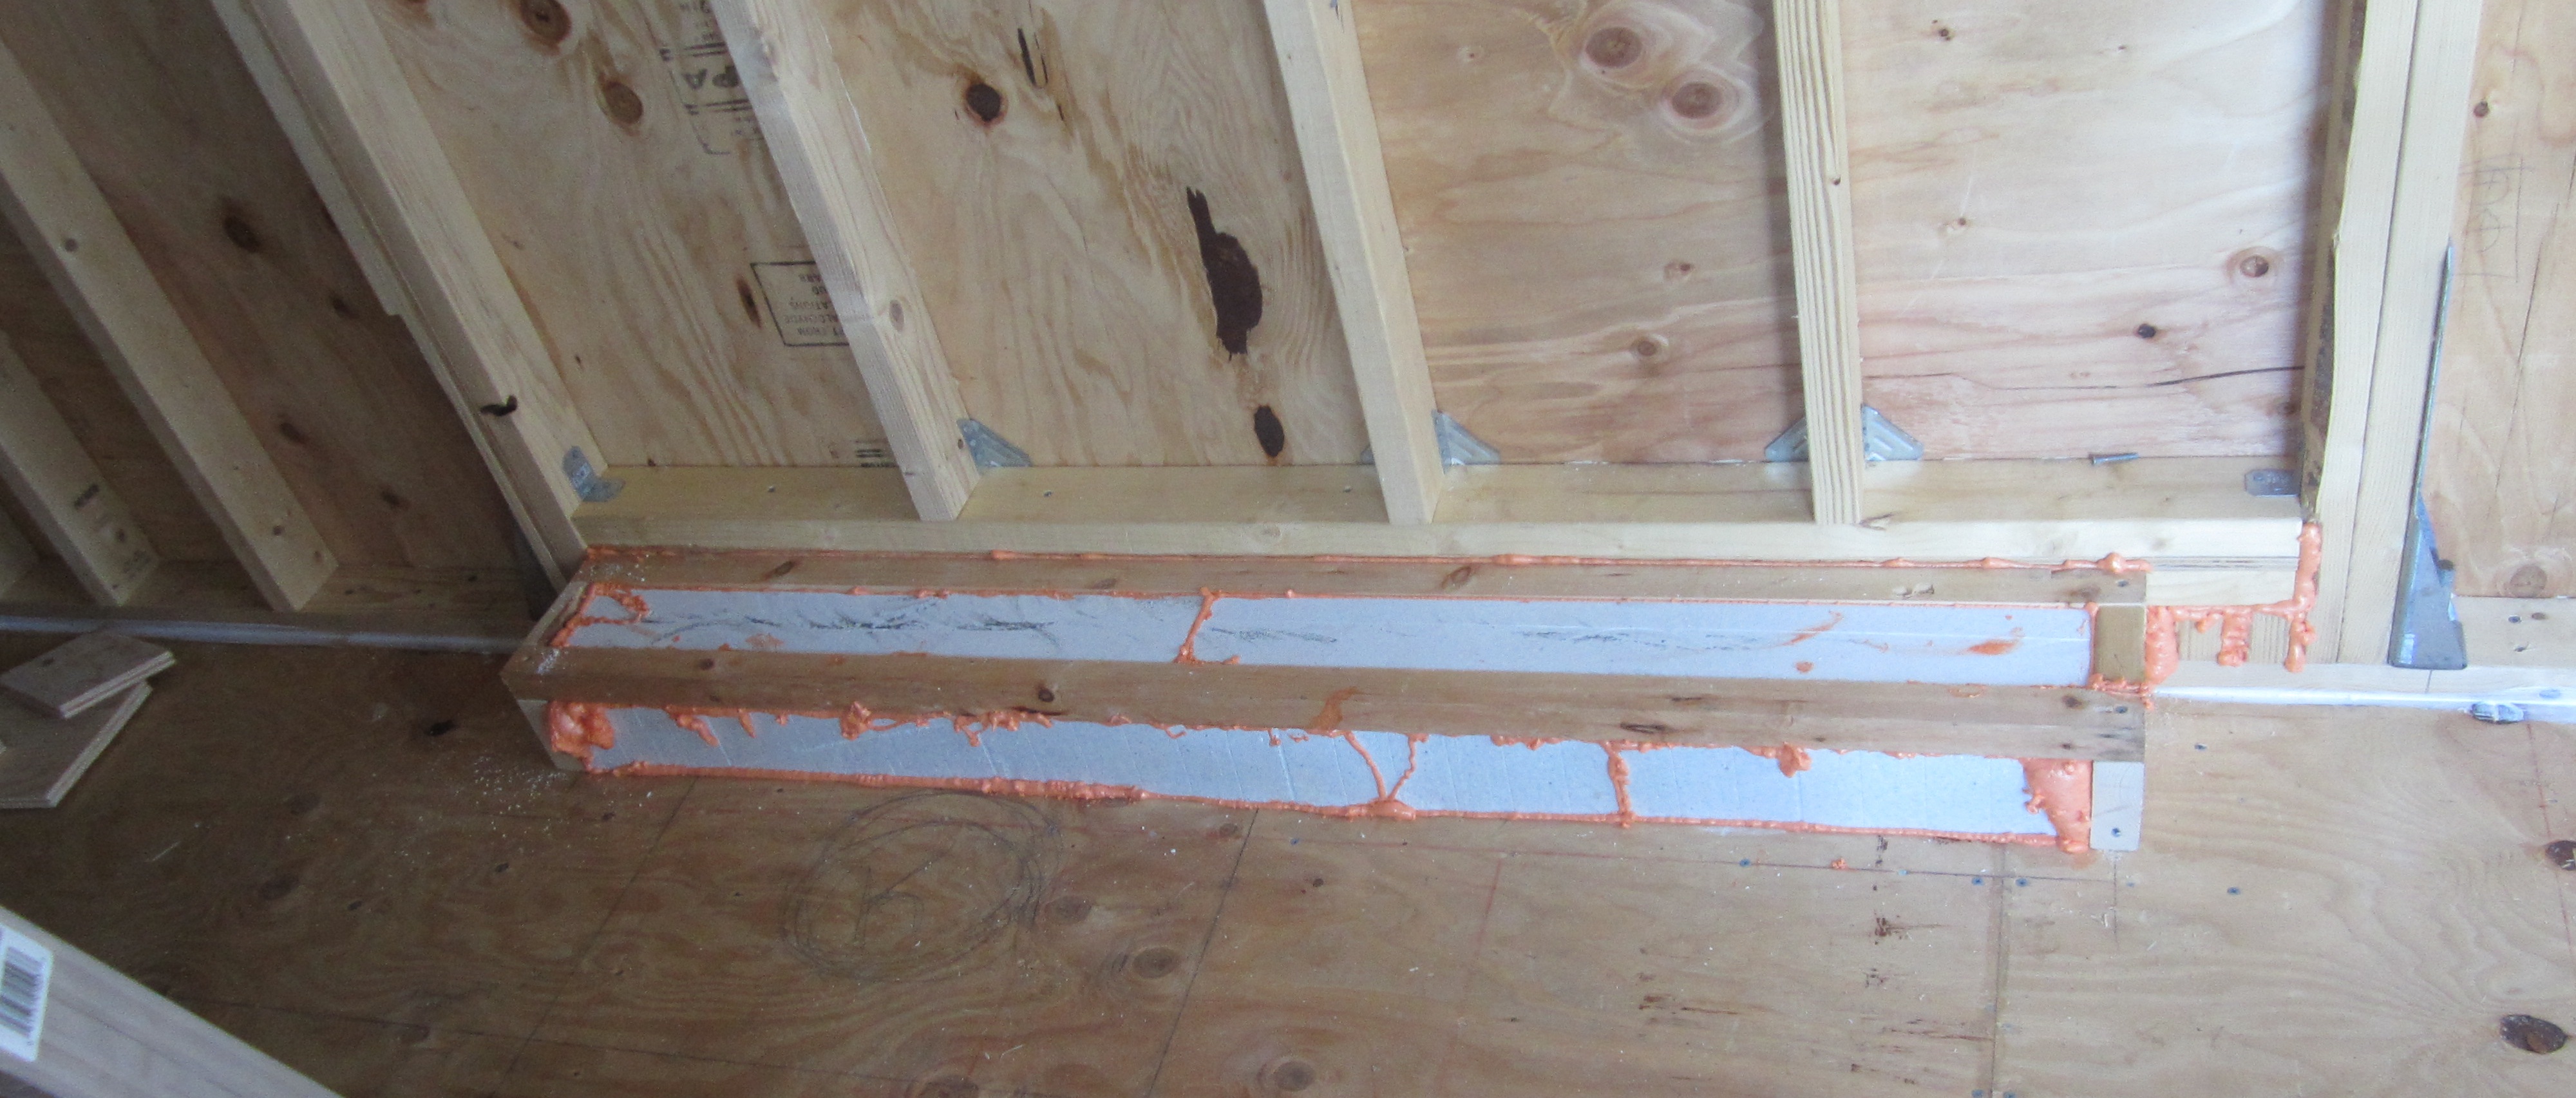
Spacing and location of the hold-downs in the subfloor.
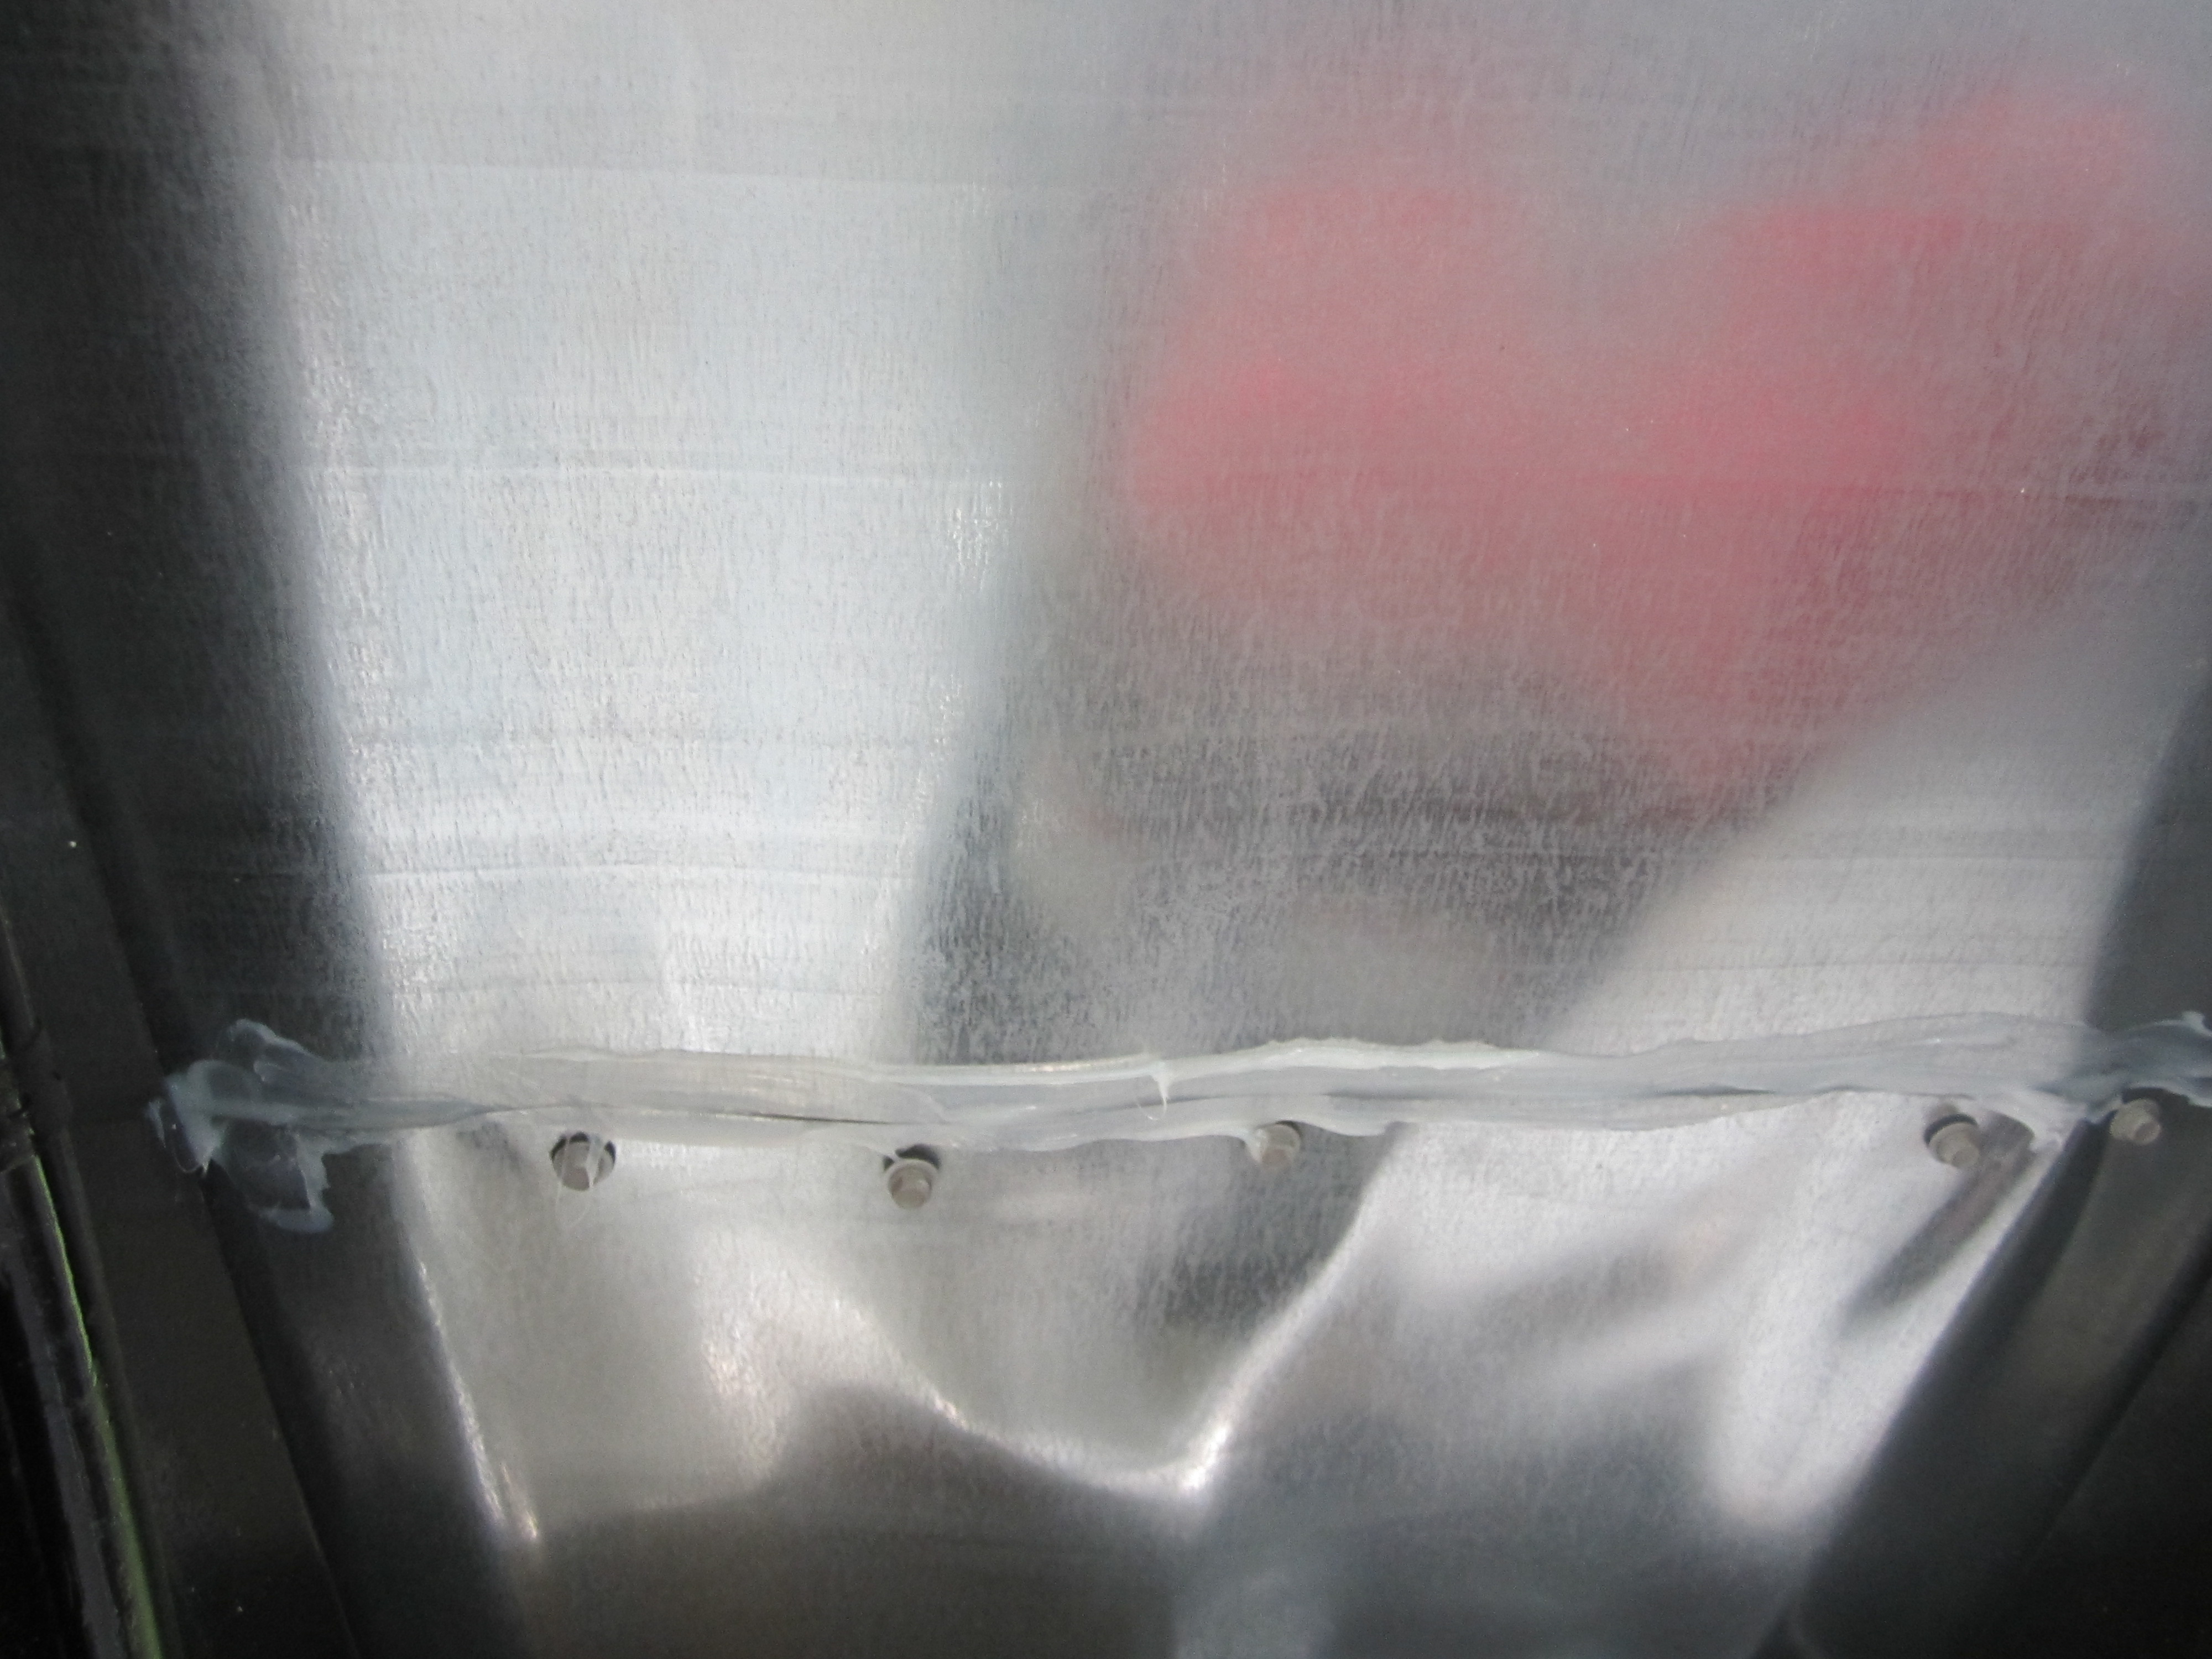
Added a plate and some corner hold-downs to the side wall.
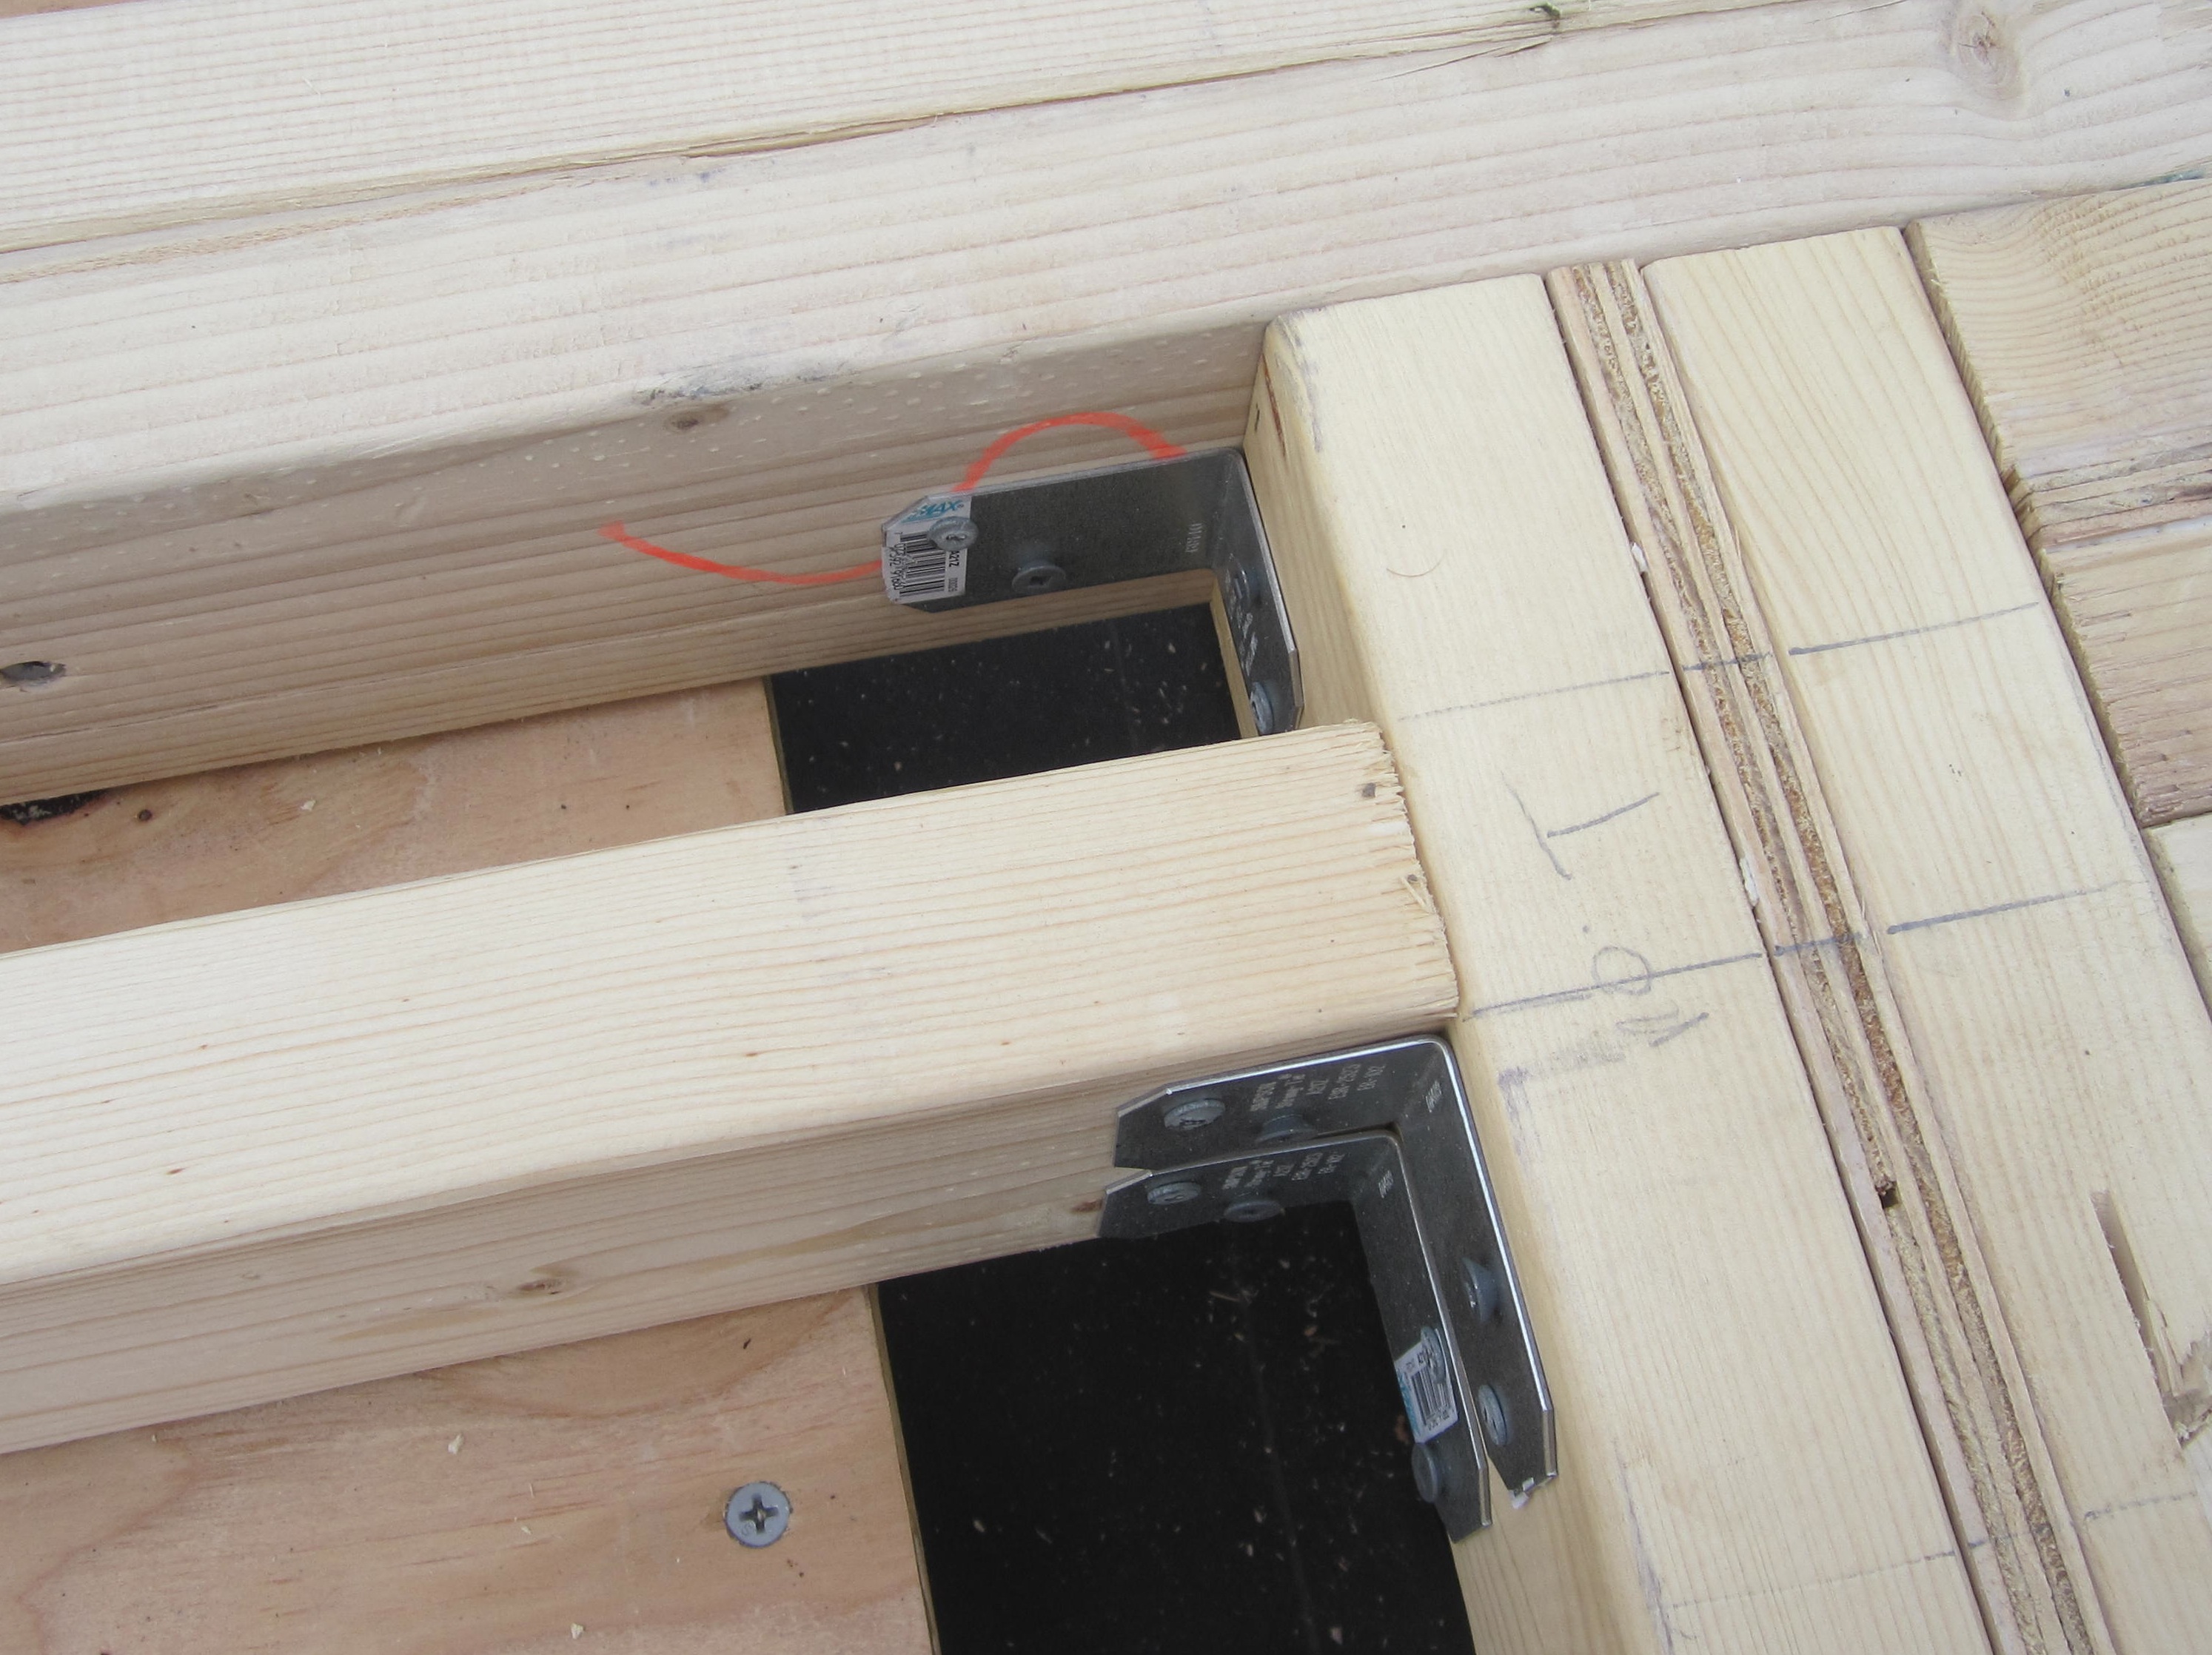
Added some extra hold-downs to the wheel-well area–figured this area is going to be pushed around!
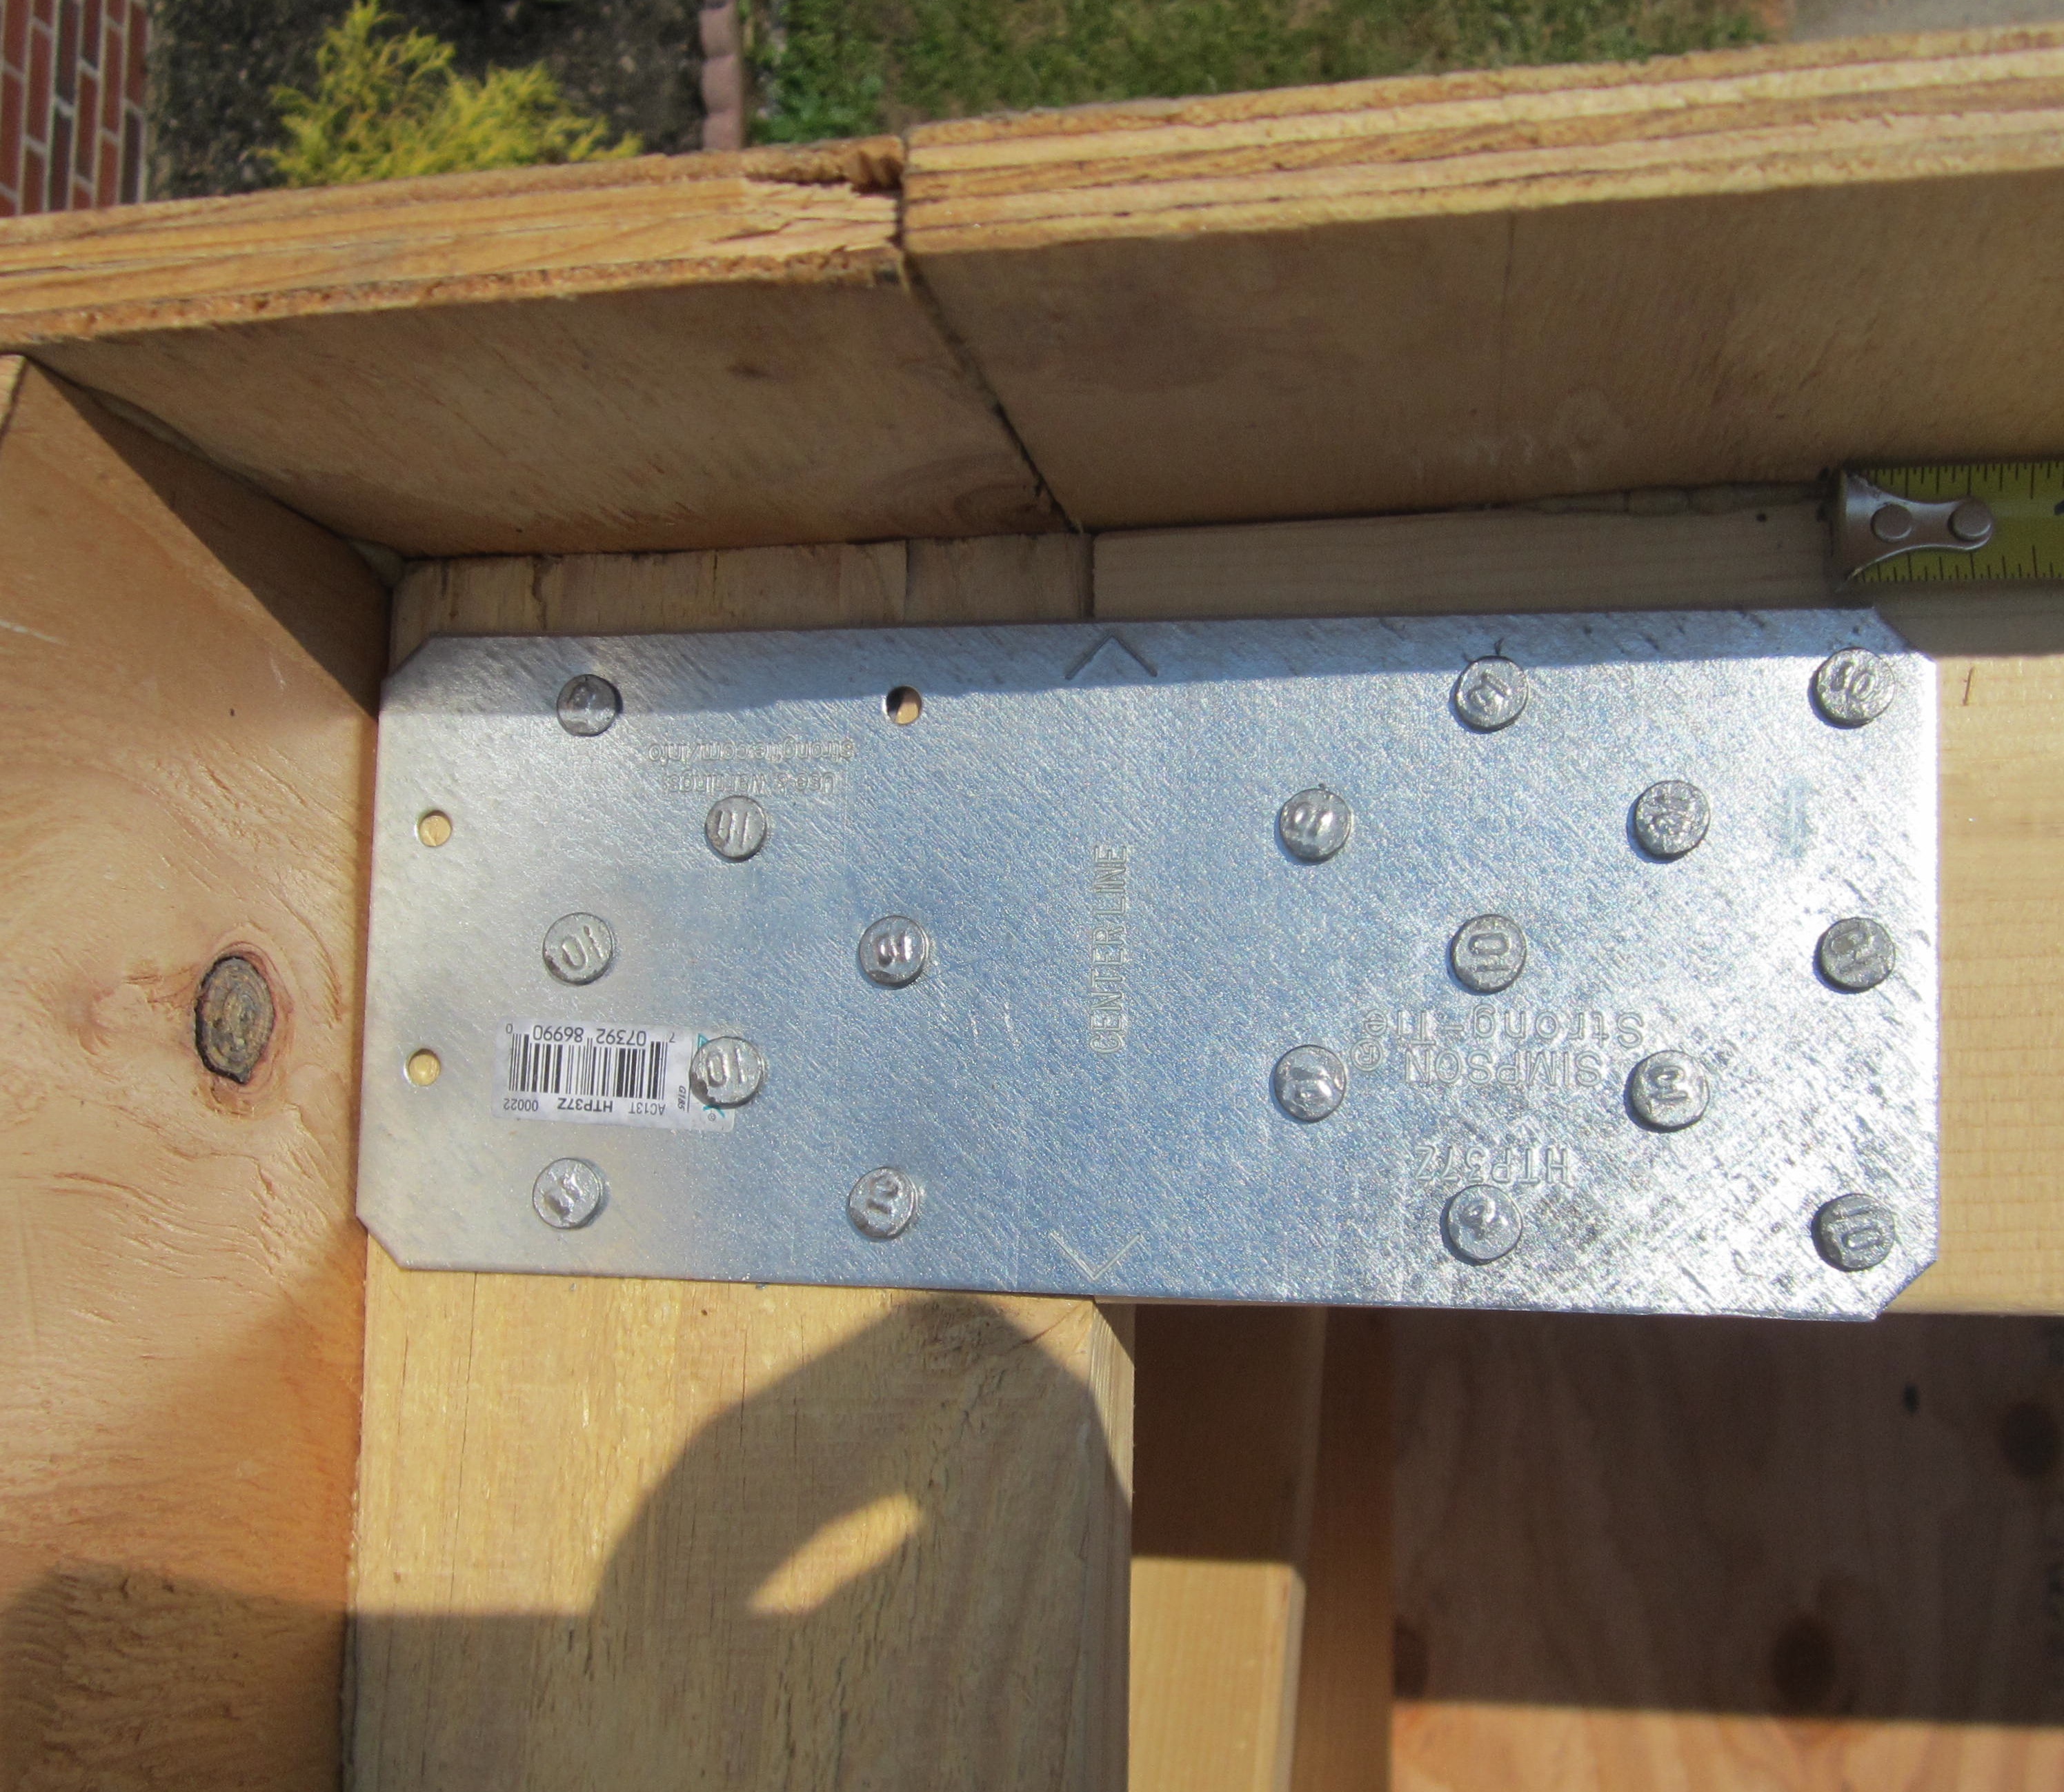
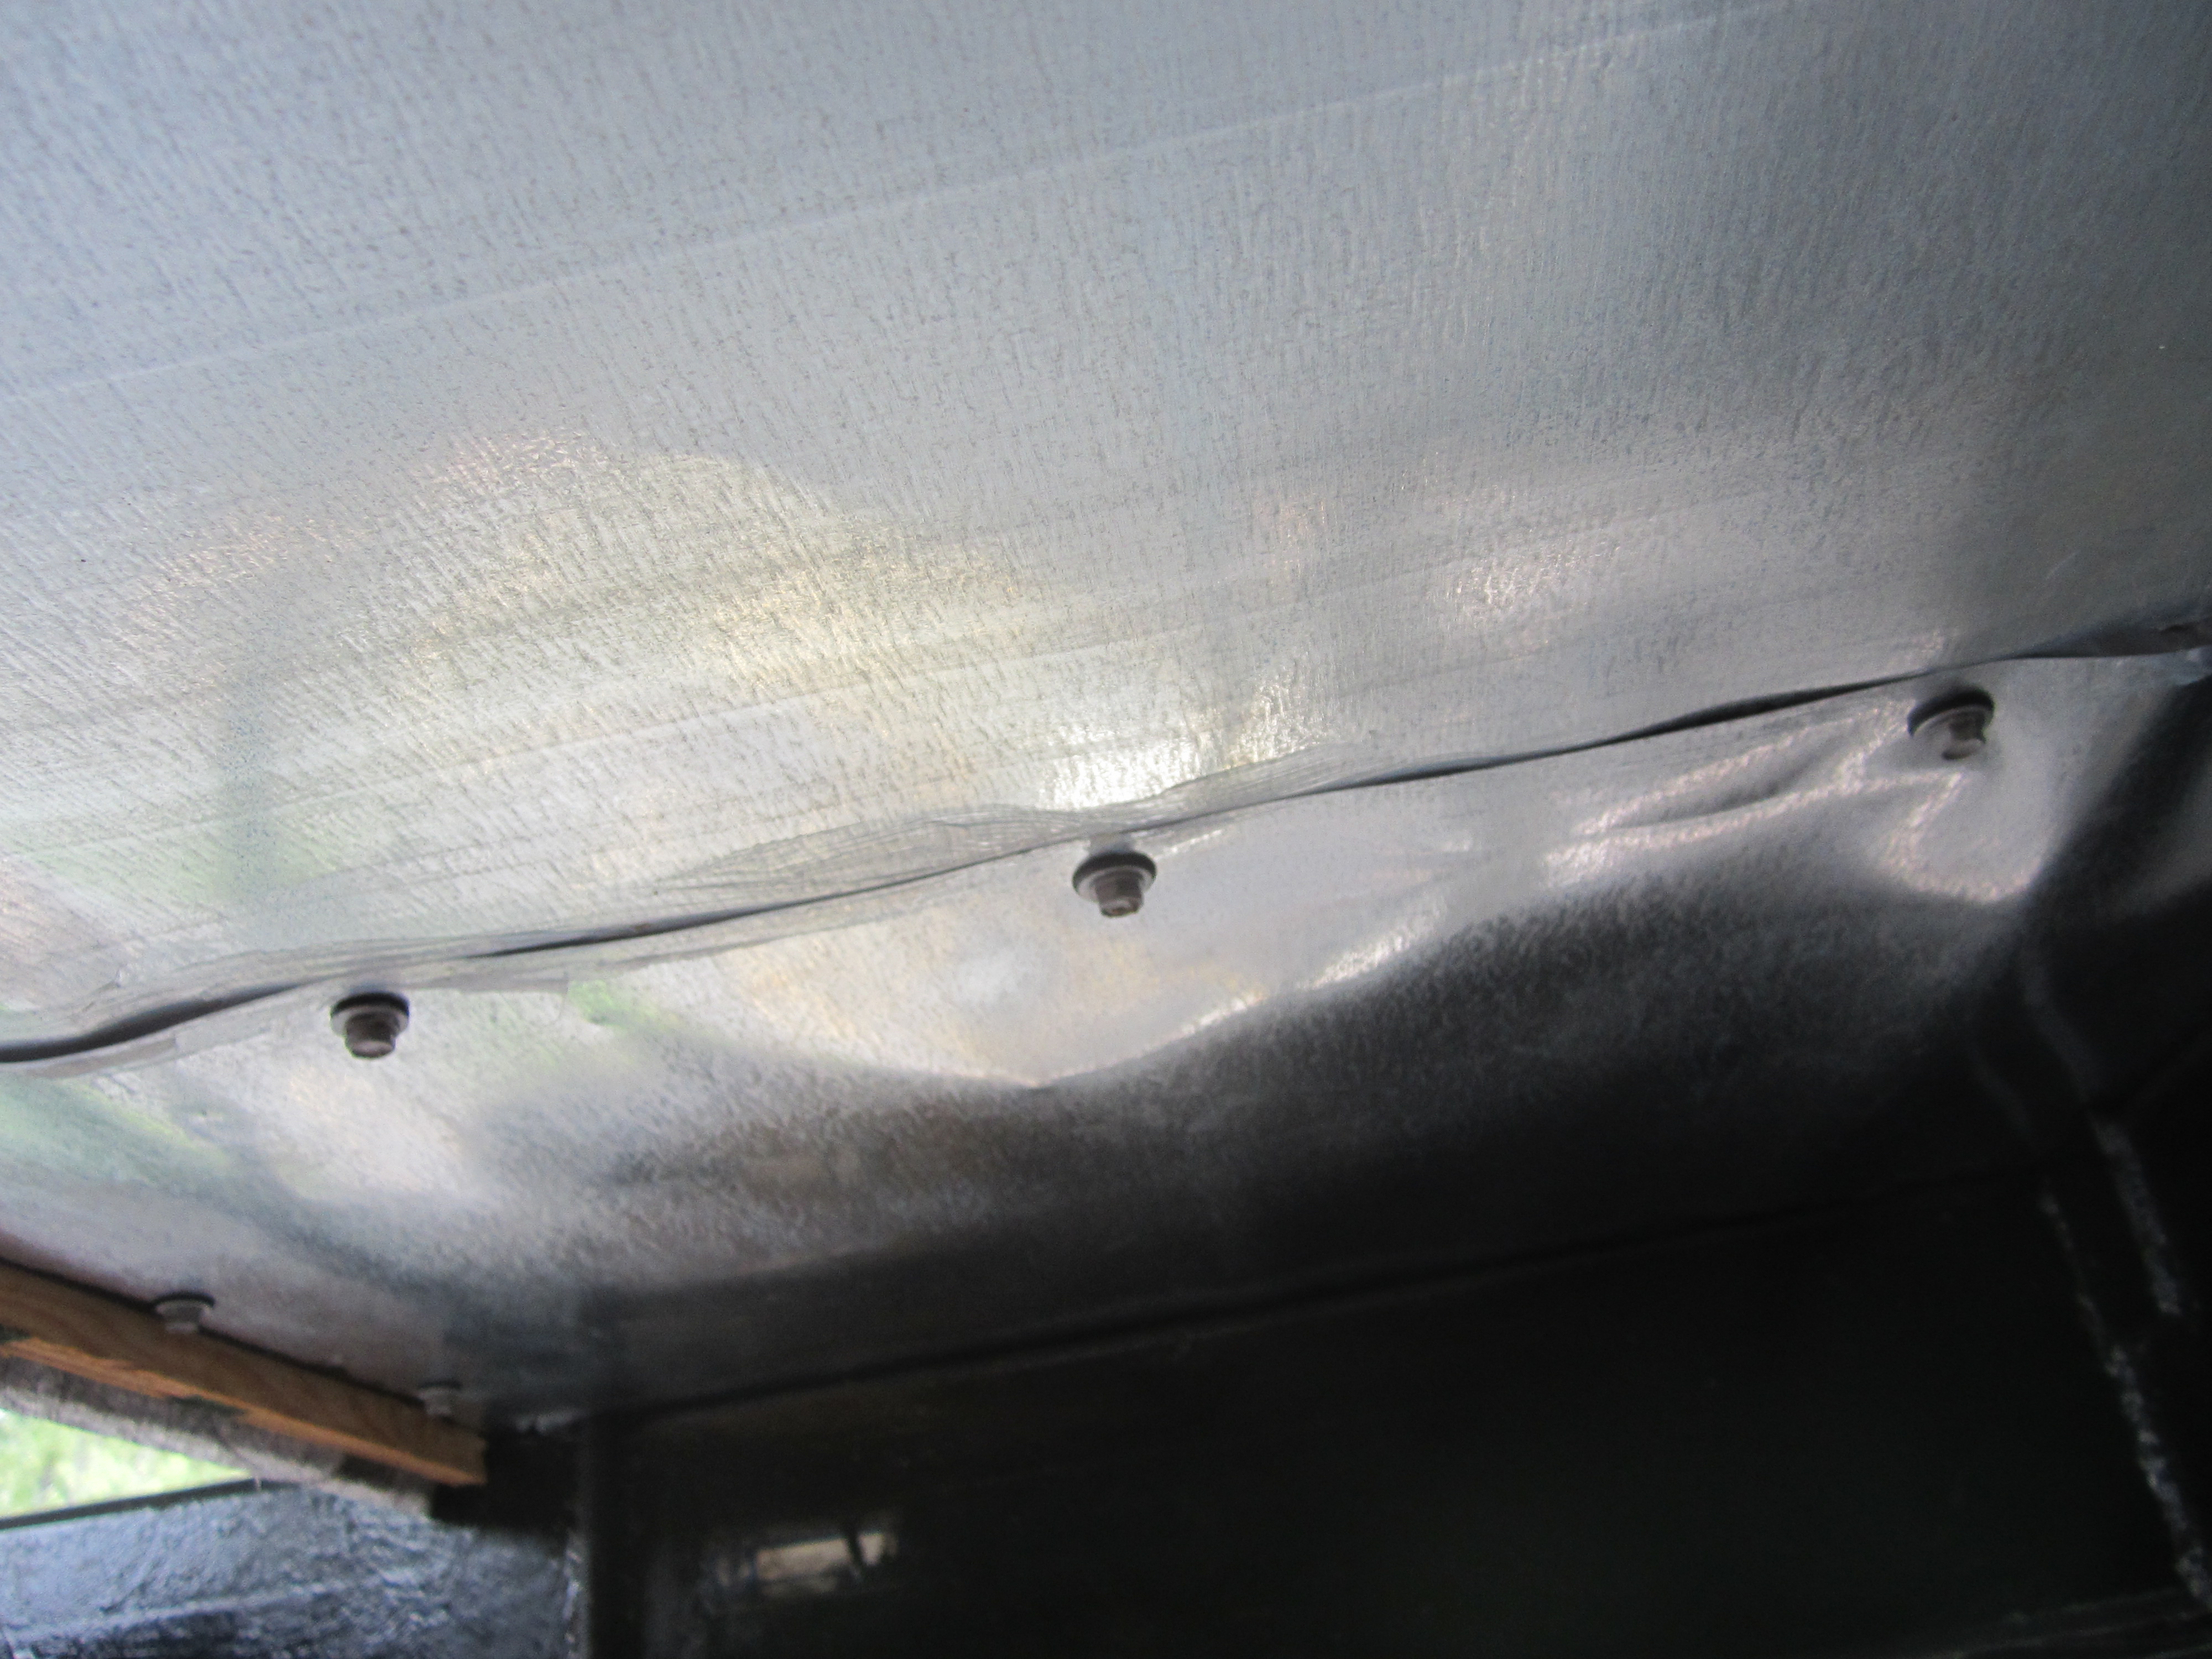
I didn’t frame the top sill plate properly, so I’m hoping this hold-down ties things in well (used a stronger gauge to make up for framing mistake).
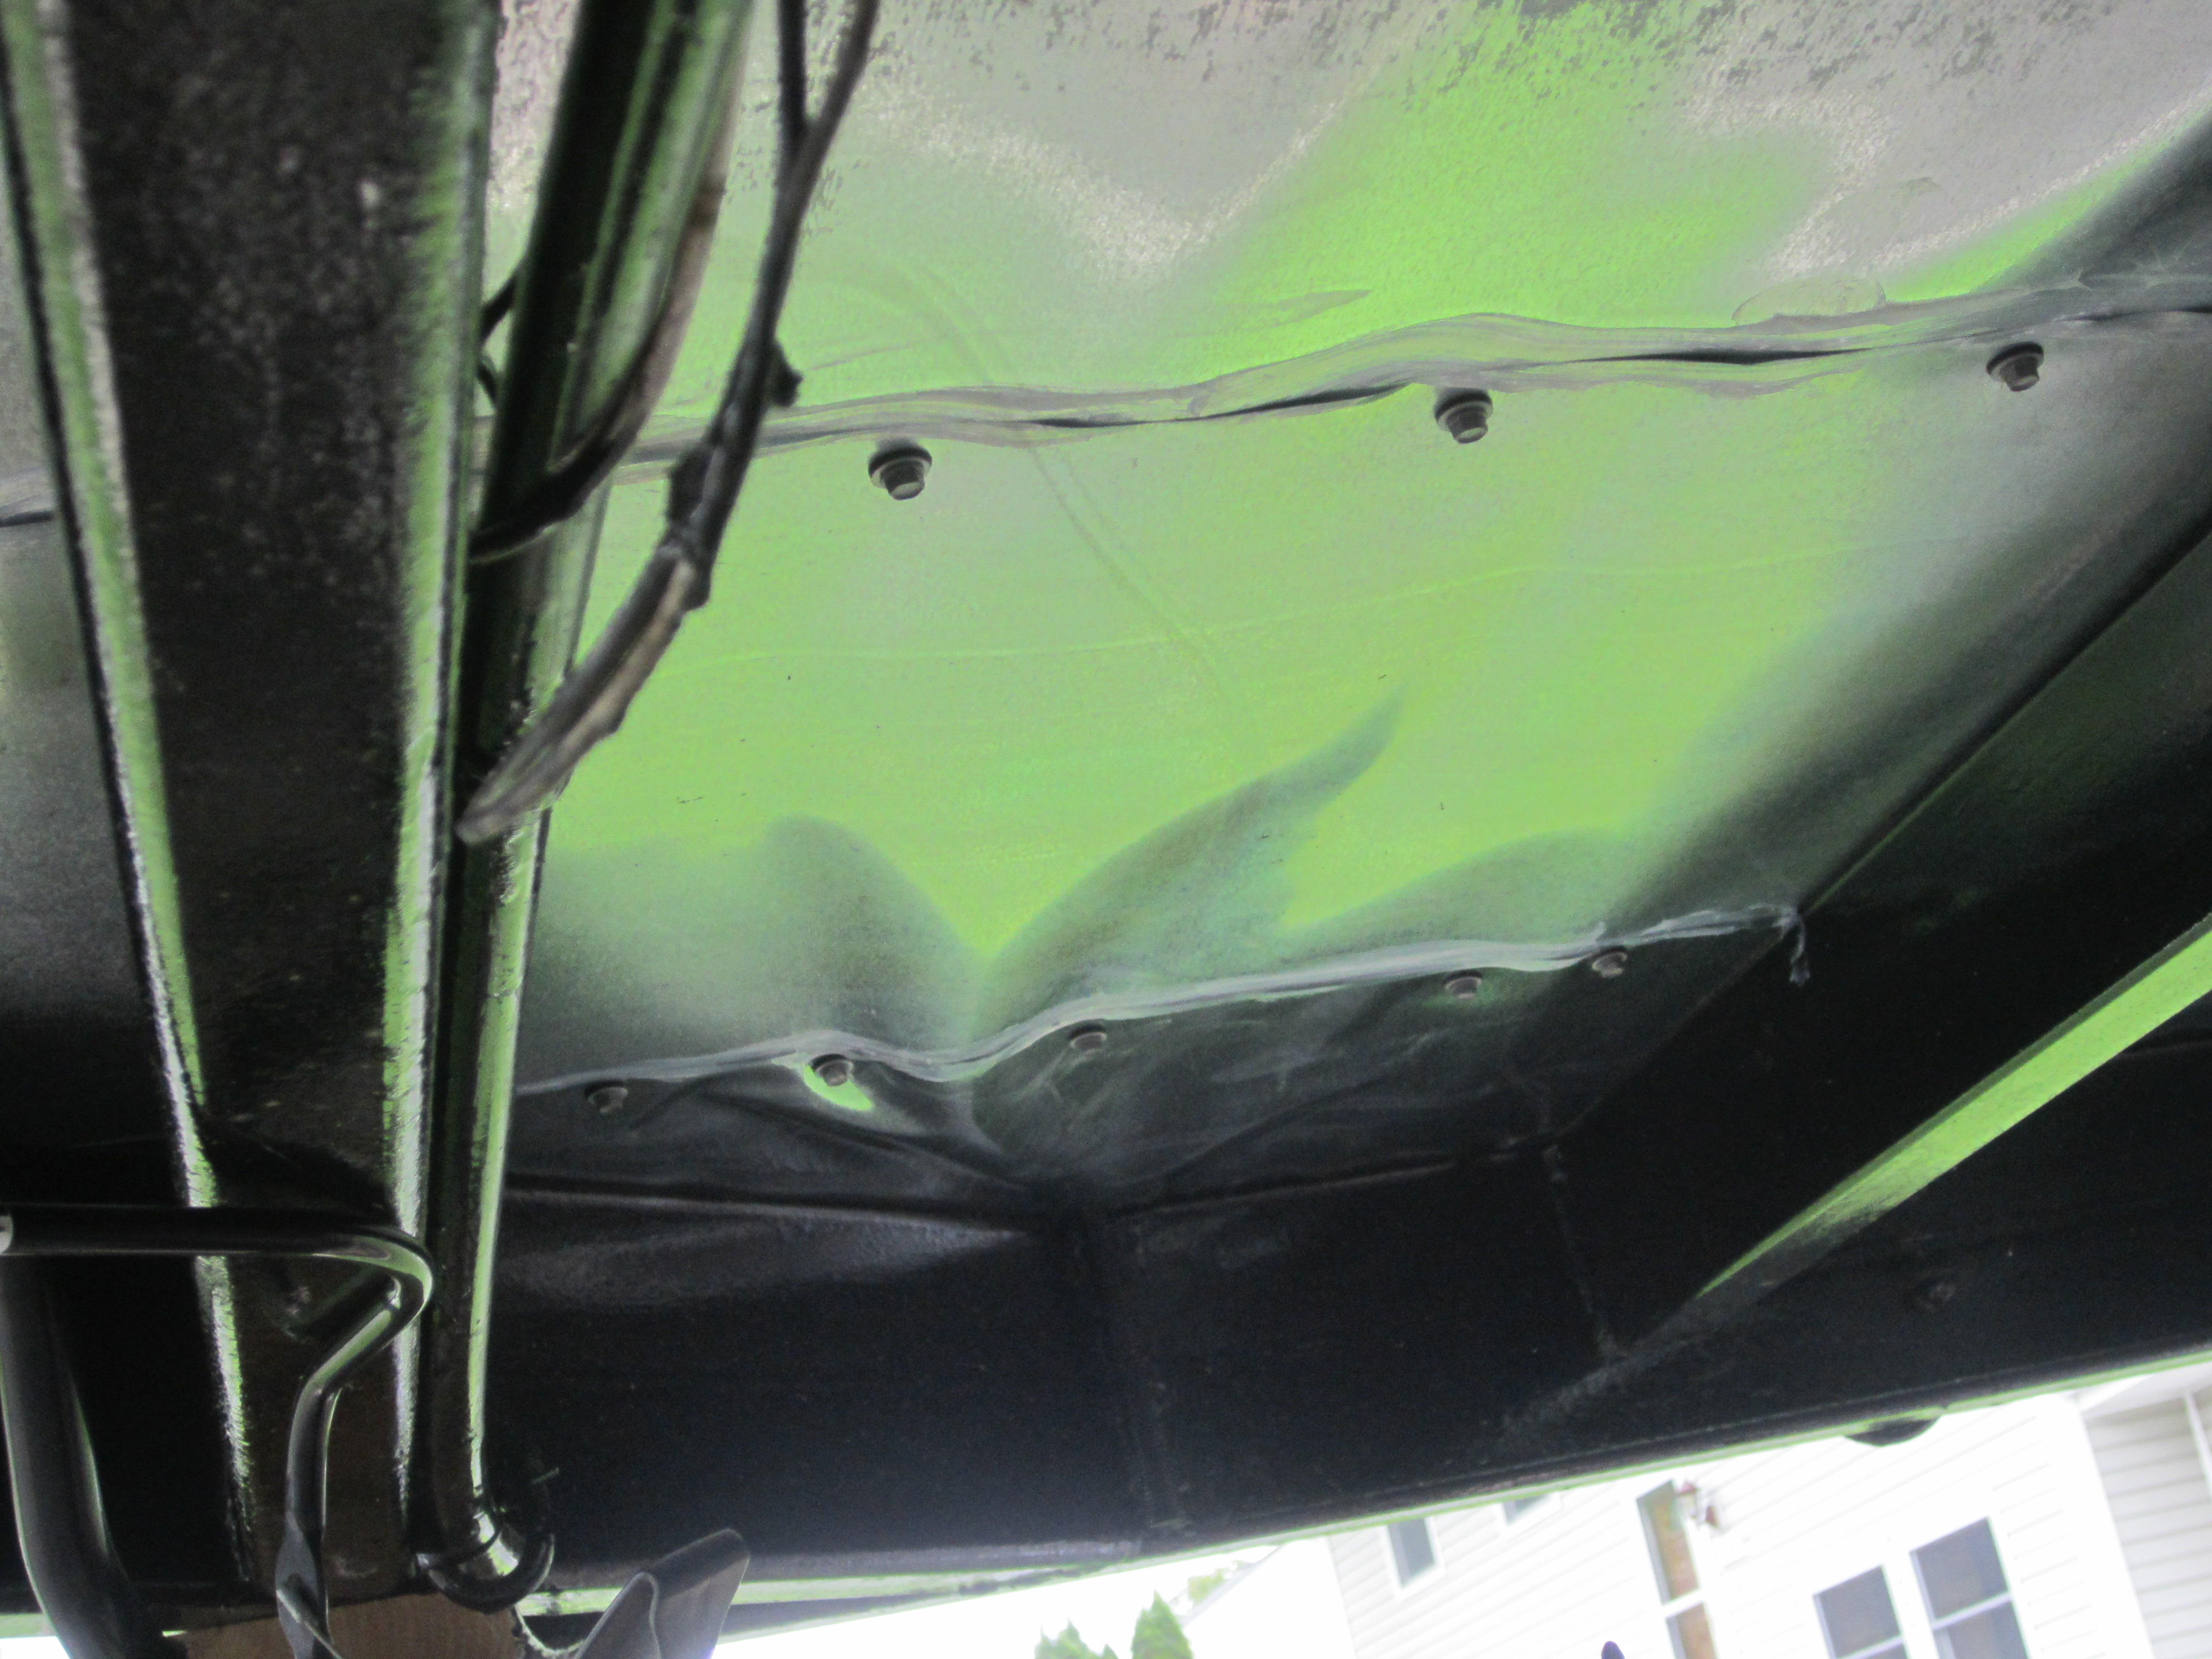
Rafter hold-downs further strengthening wheel-well area.
Shitty. That’s how I feel about my flashing job. It was the first thing I put on the trailer too! I was too excited and too determined, and I didn’t have Michelle to problem shoot with…so it didn’t turn out very well. Learn from my mistakes…let there be a positive side to this! When everything was said and done, it ended up not being as shitty; maybe even decent.
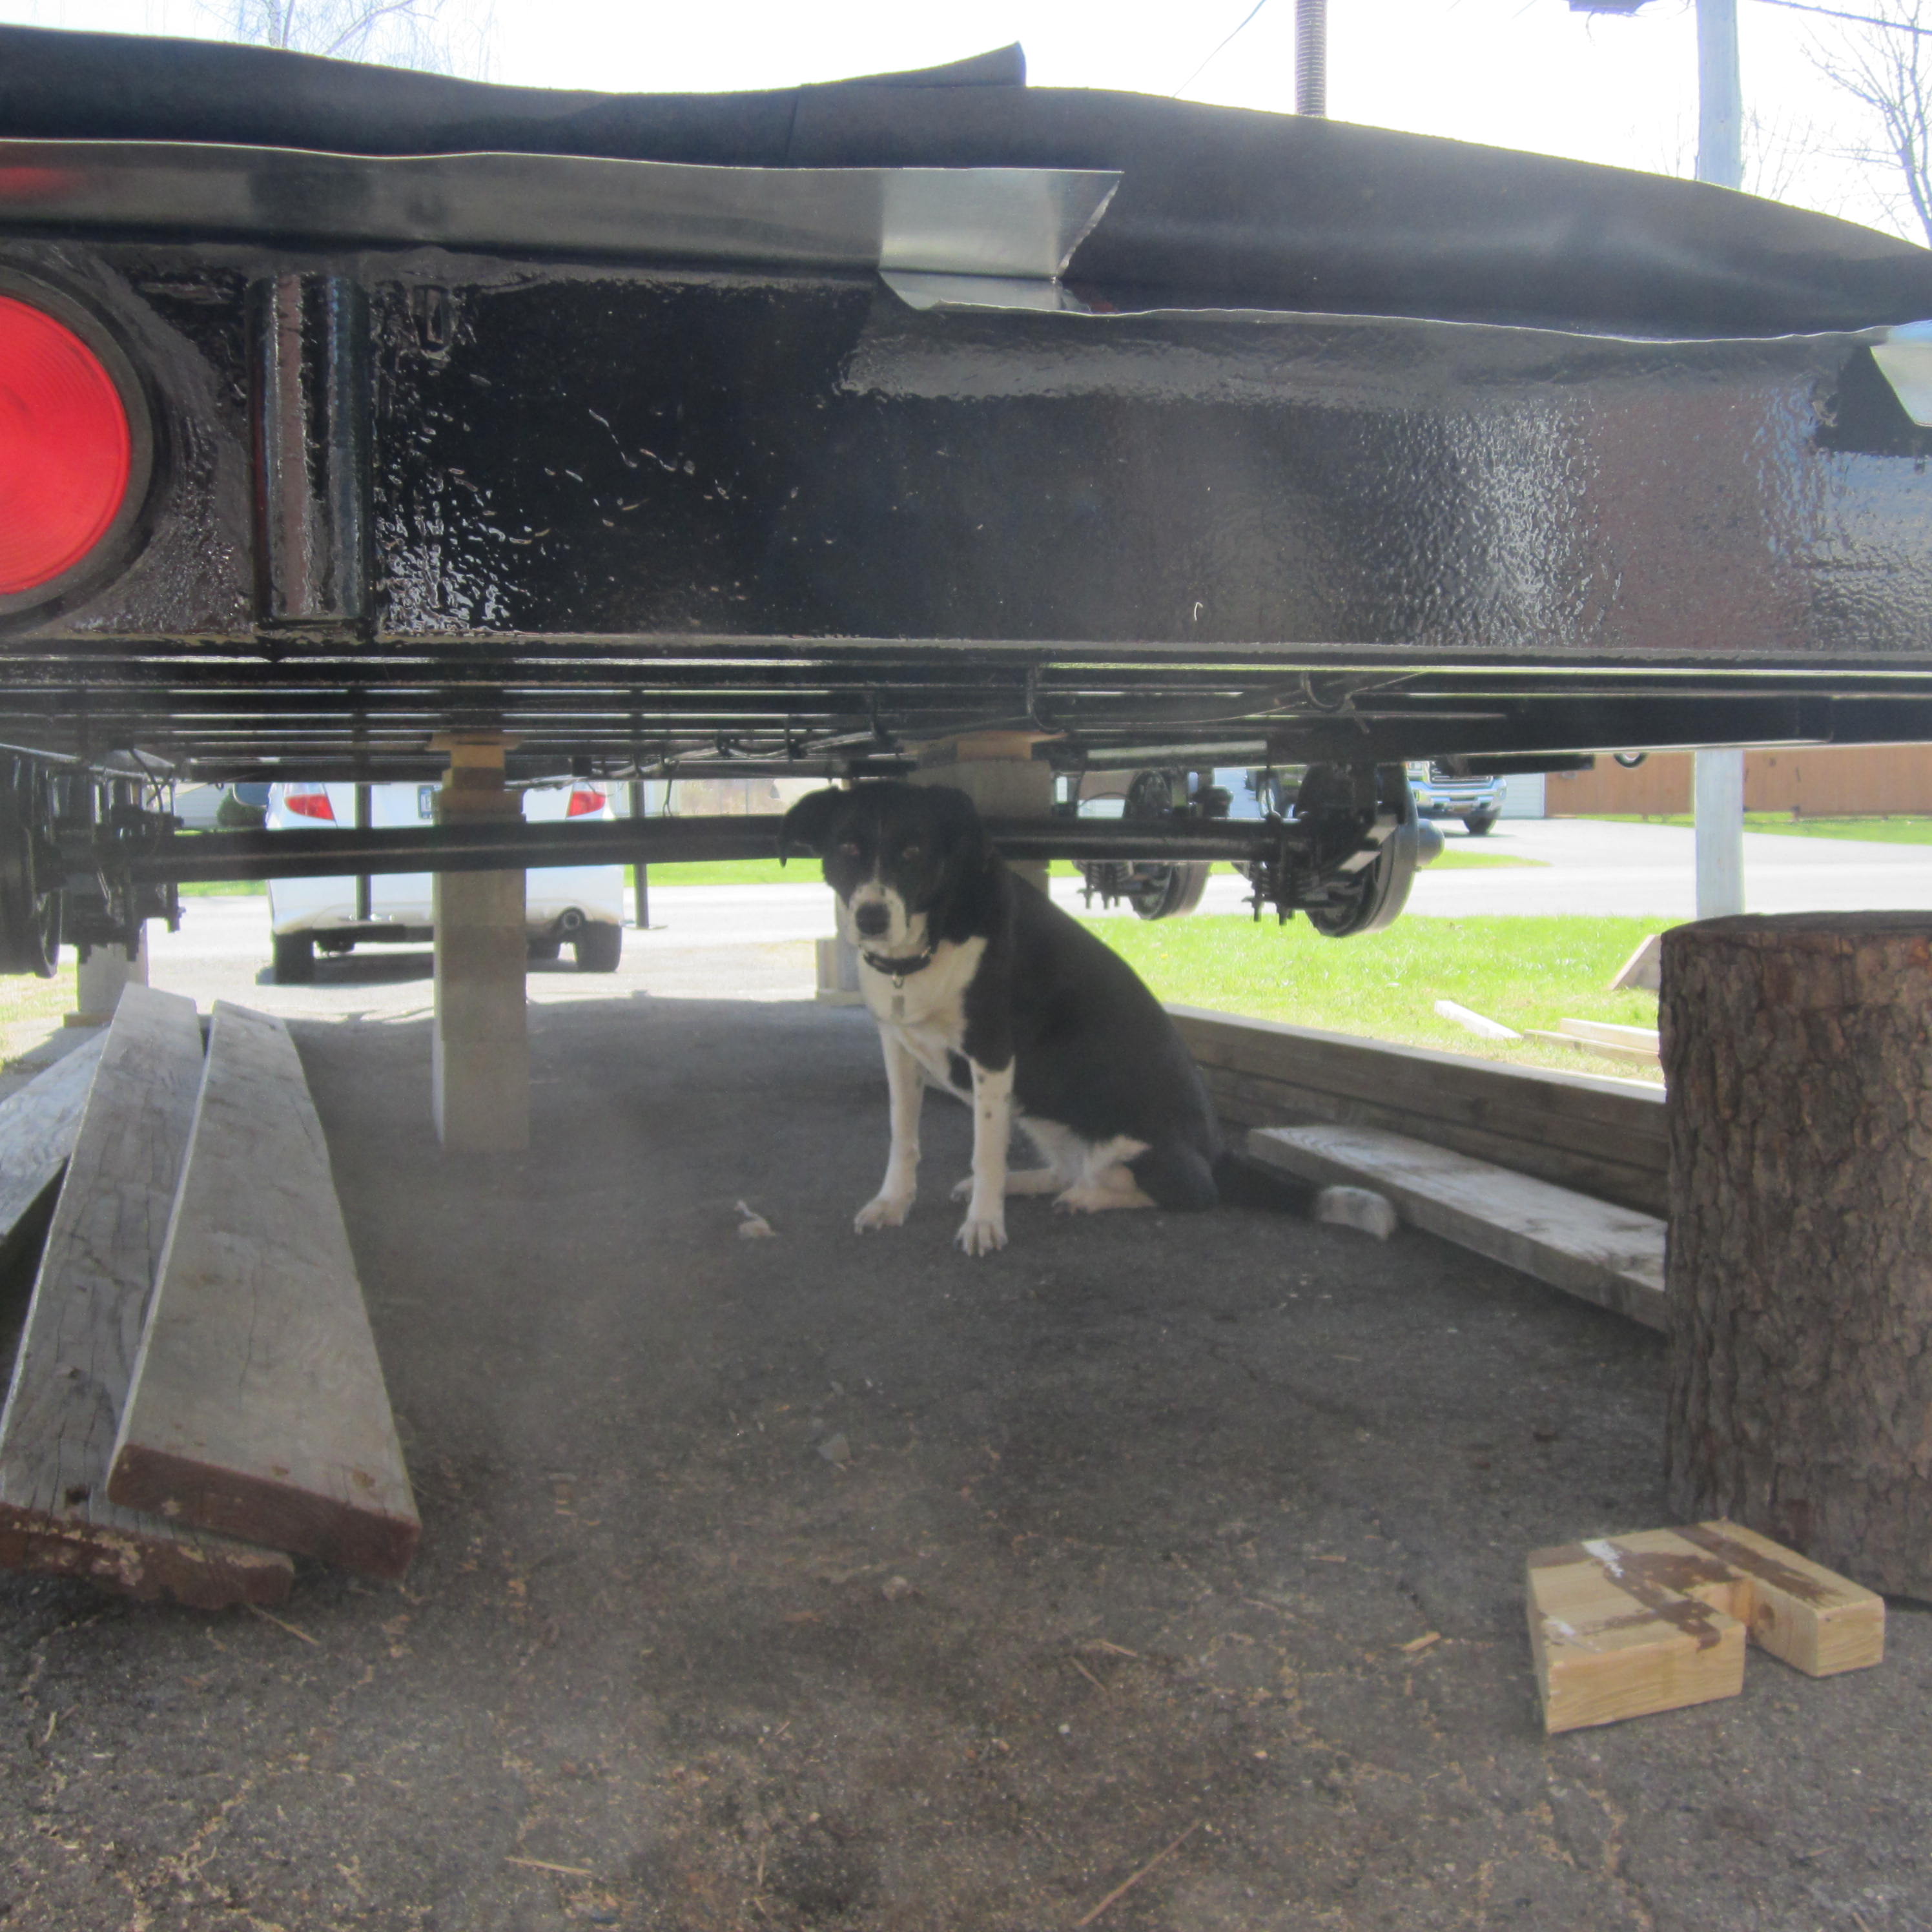
Inspector Charlotte: “Not your greatest work Chris…but the shade is nice.”
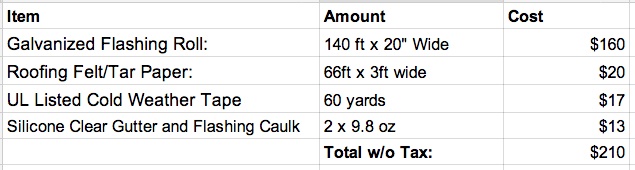
Materials:
*Would recommend using butyl rubber flashing tape (the stuff for windows) instead of UL tape.
Tools:
Wiss Multi-Purpose Snips
Drill with 5/8 or 3/4 inch Drill Bit
What’s the Purpose?
Do you want mice and creatures eating your subfloor? Do you want an added layer of moisture protection when parked or driving down the road?What about an initial layer of protection from road debris? If the answers are yes, metal flashing is a great solution. Some tiny house builders have used just 3/4 inch exterior T&G plywood with strong marine exterior paint. We decided to utilize a combo: exterior plywood with metal flashing. Ryan Mitchell’s article is a great resource for this step, too.
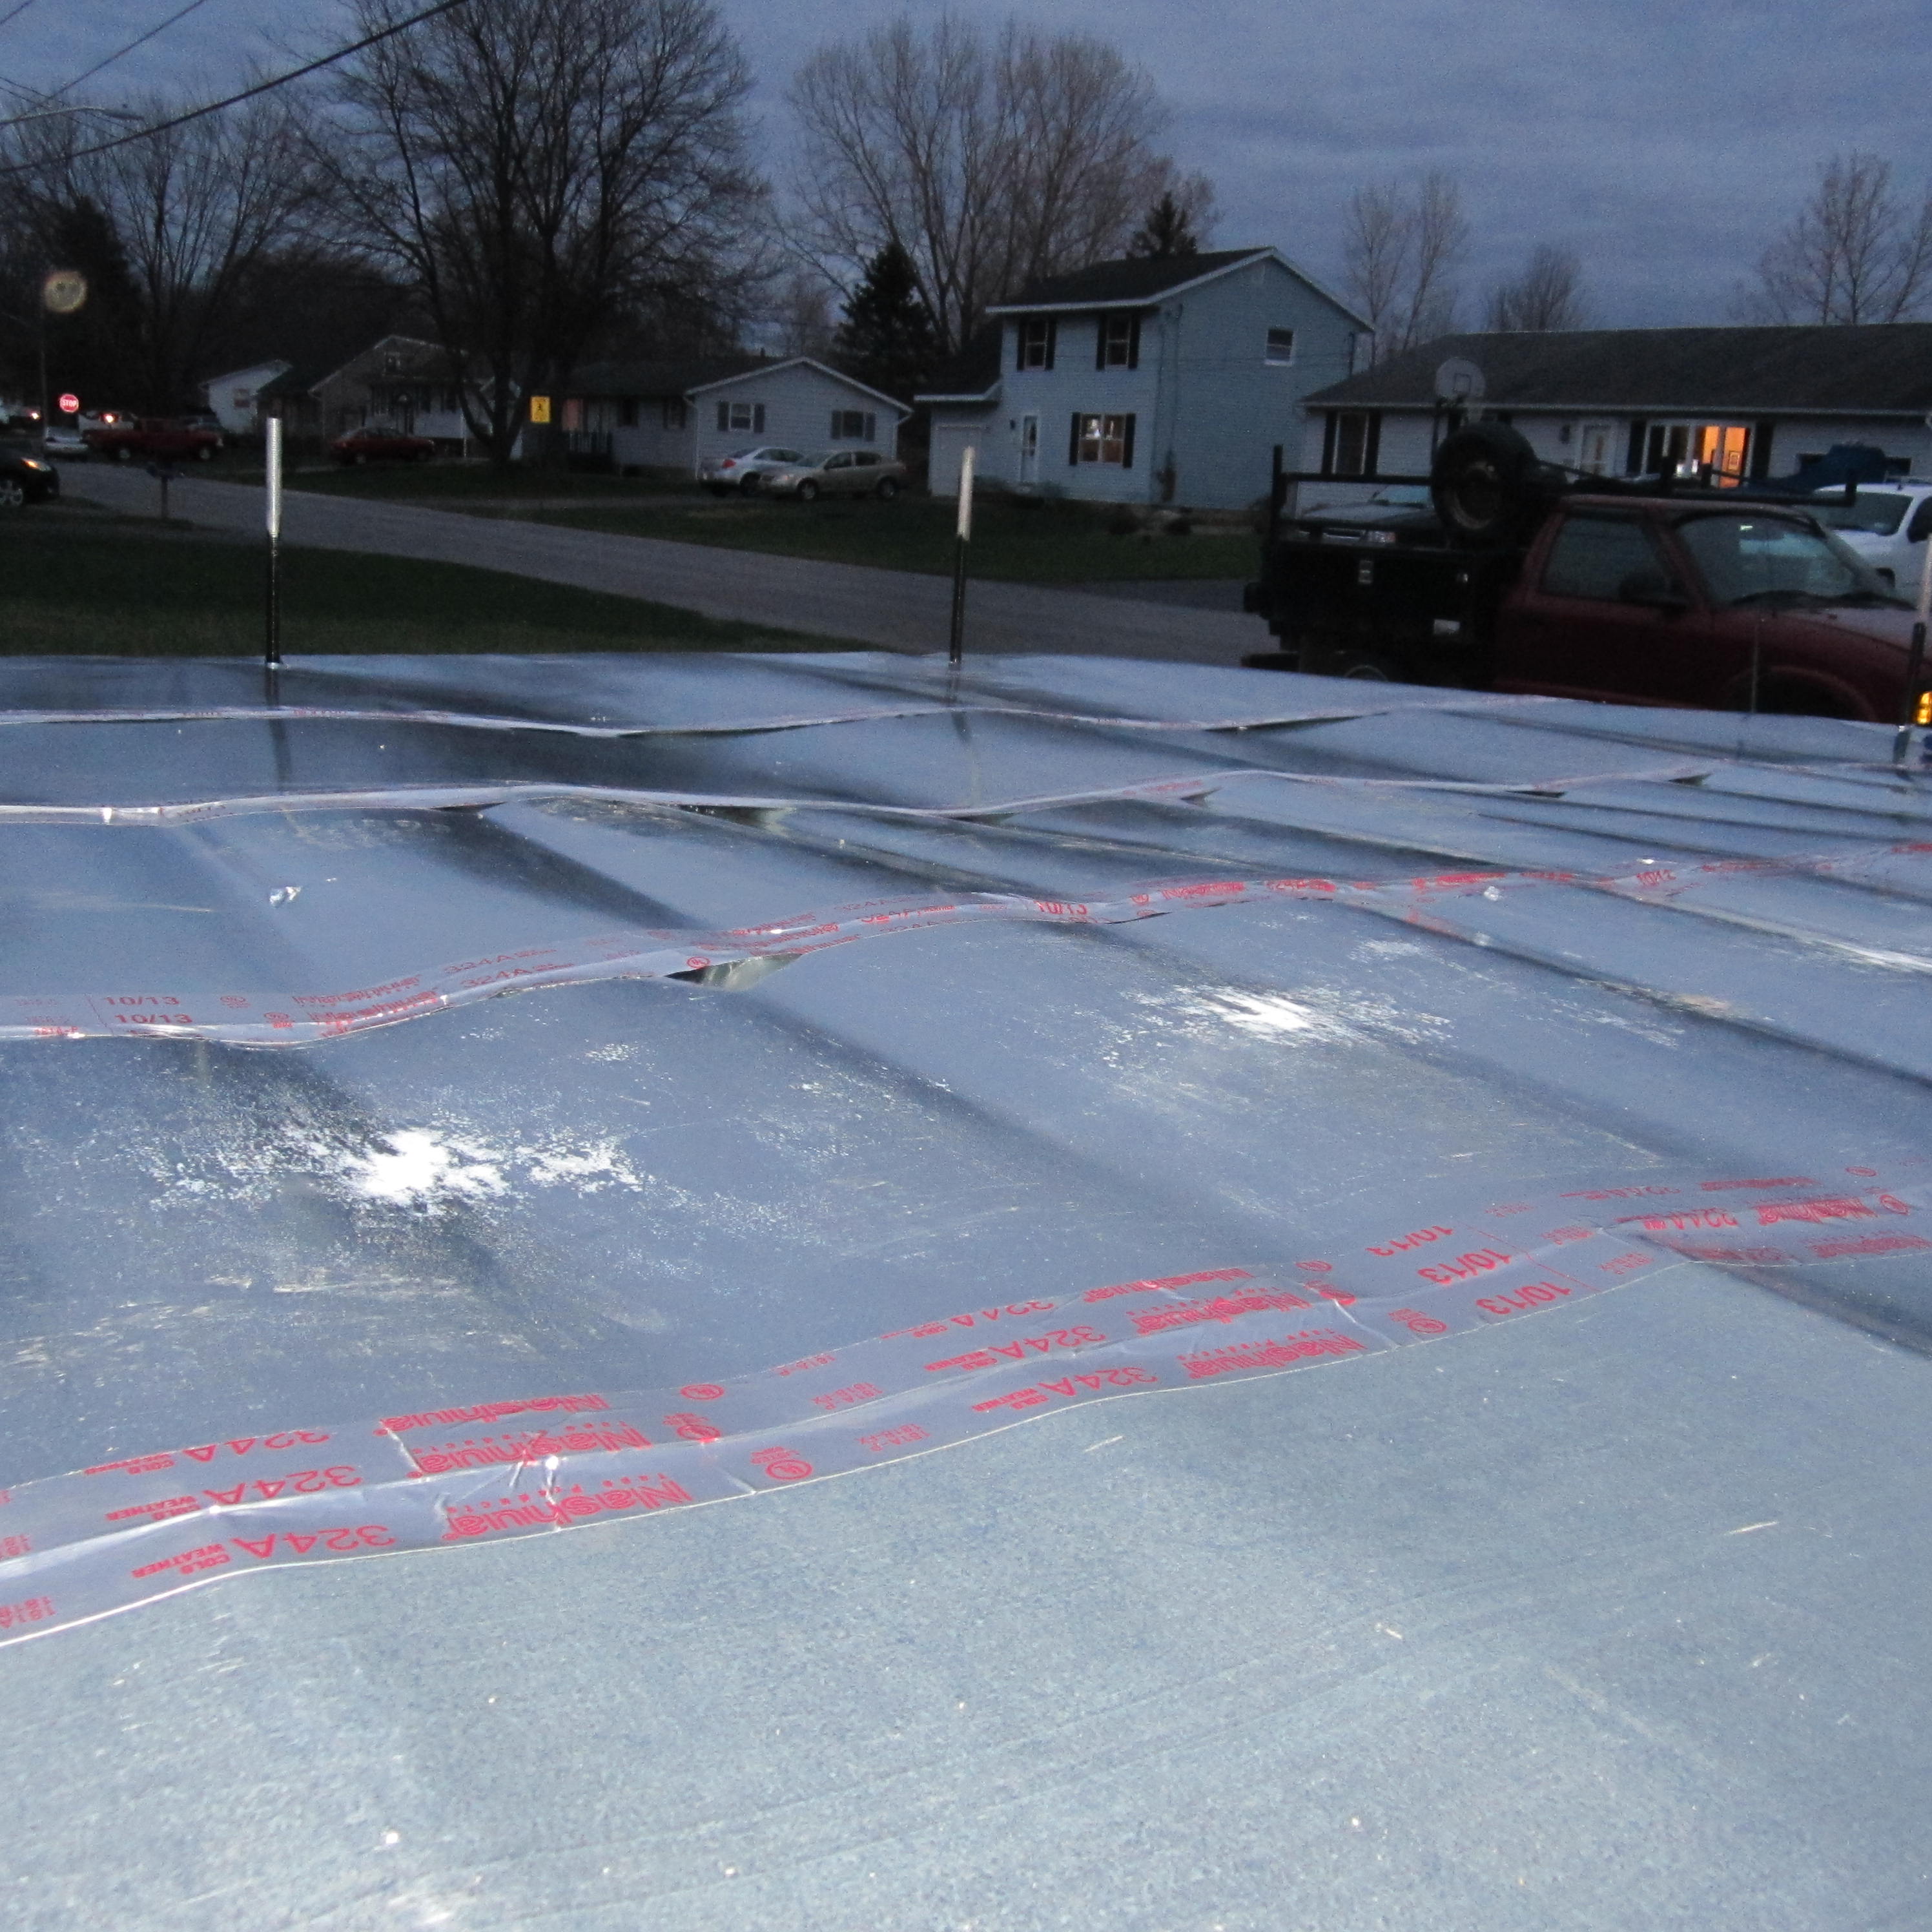
Laying Down the Metal
Before you begin, check out the “Reflections, Hindsight, and Alteration” section because I would have just boughten five 5 ft x 10 ft galvanized flat metal sheets for $100-120 dollars on craigslist, which would have been better protection, a lot less hassle, and cheaper, but I digress…I’ve seen a couple of approaches to applying the flashing. Some tiny house builders will have enough space to lay all the metal down on a large floor as if it was on the trailer. Then they’d tape the metal or fasten it to their plywood while it’s on the ground. How nice to have such a space! Or, others have their flatbed boards on their trailer. This allows them to fasten the metal flashing with staples or galvanized nails to the wood. How nice! For this no space, no boards, and anxious to build guy–it was laying the metal on across the top and hoping the 3/4 inch plywood would flatten it out.
Not ideal but on.
Shit Show Special
I had to buy more metal flashing twice (final count is the one above). Marking the holes for the bolts and drilling into the metal wasn’t ideal, but it worked out.
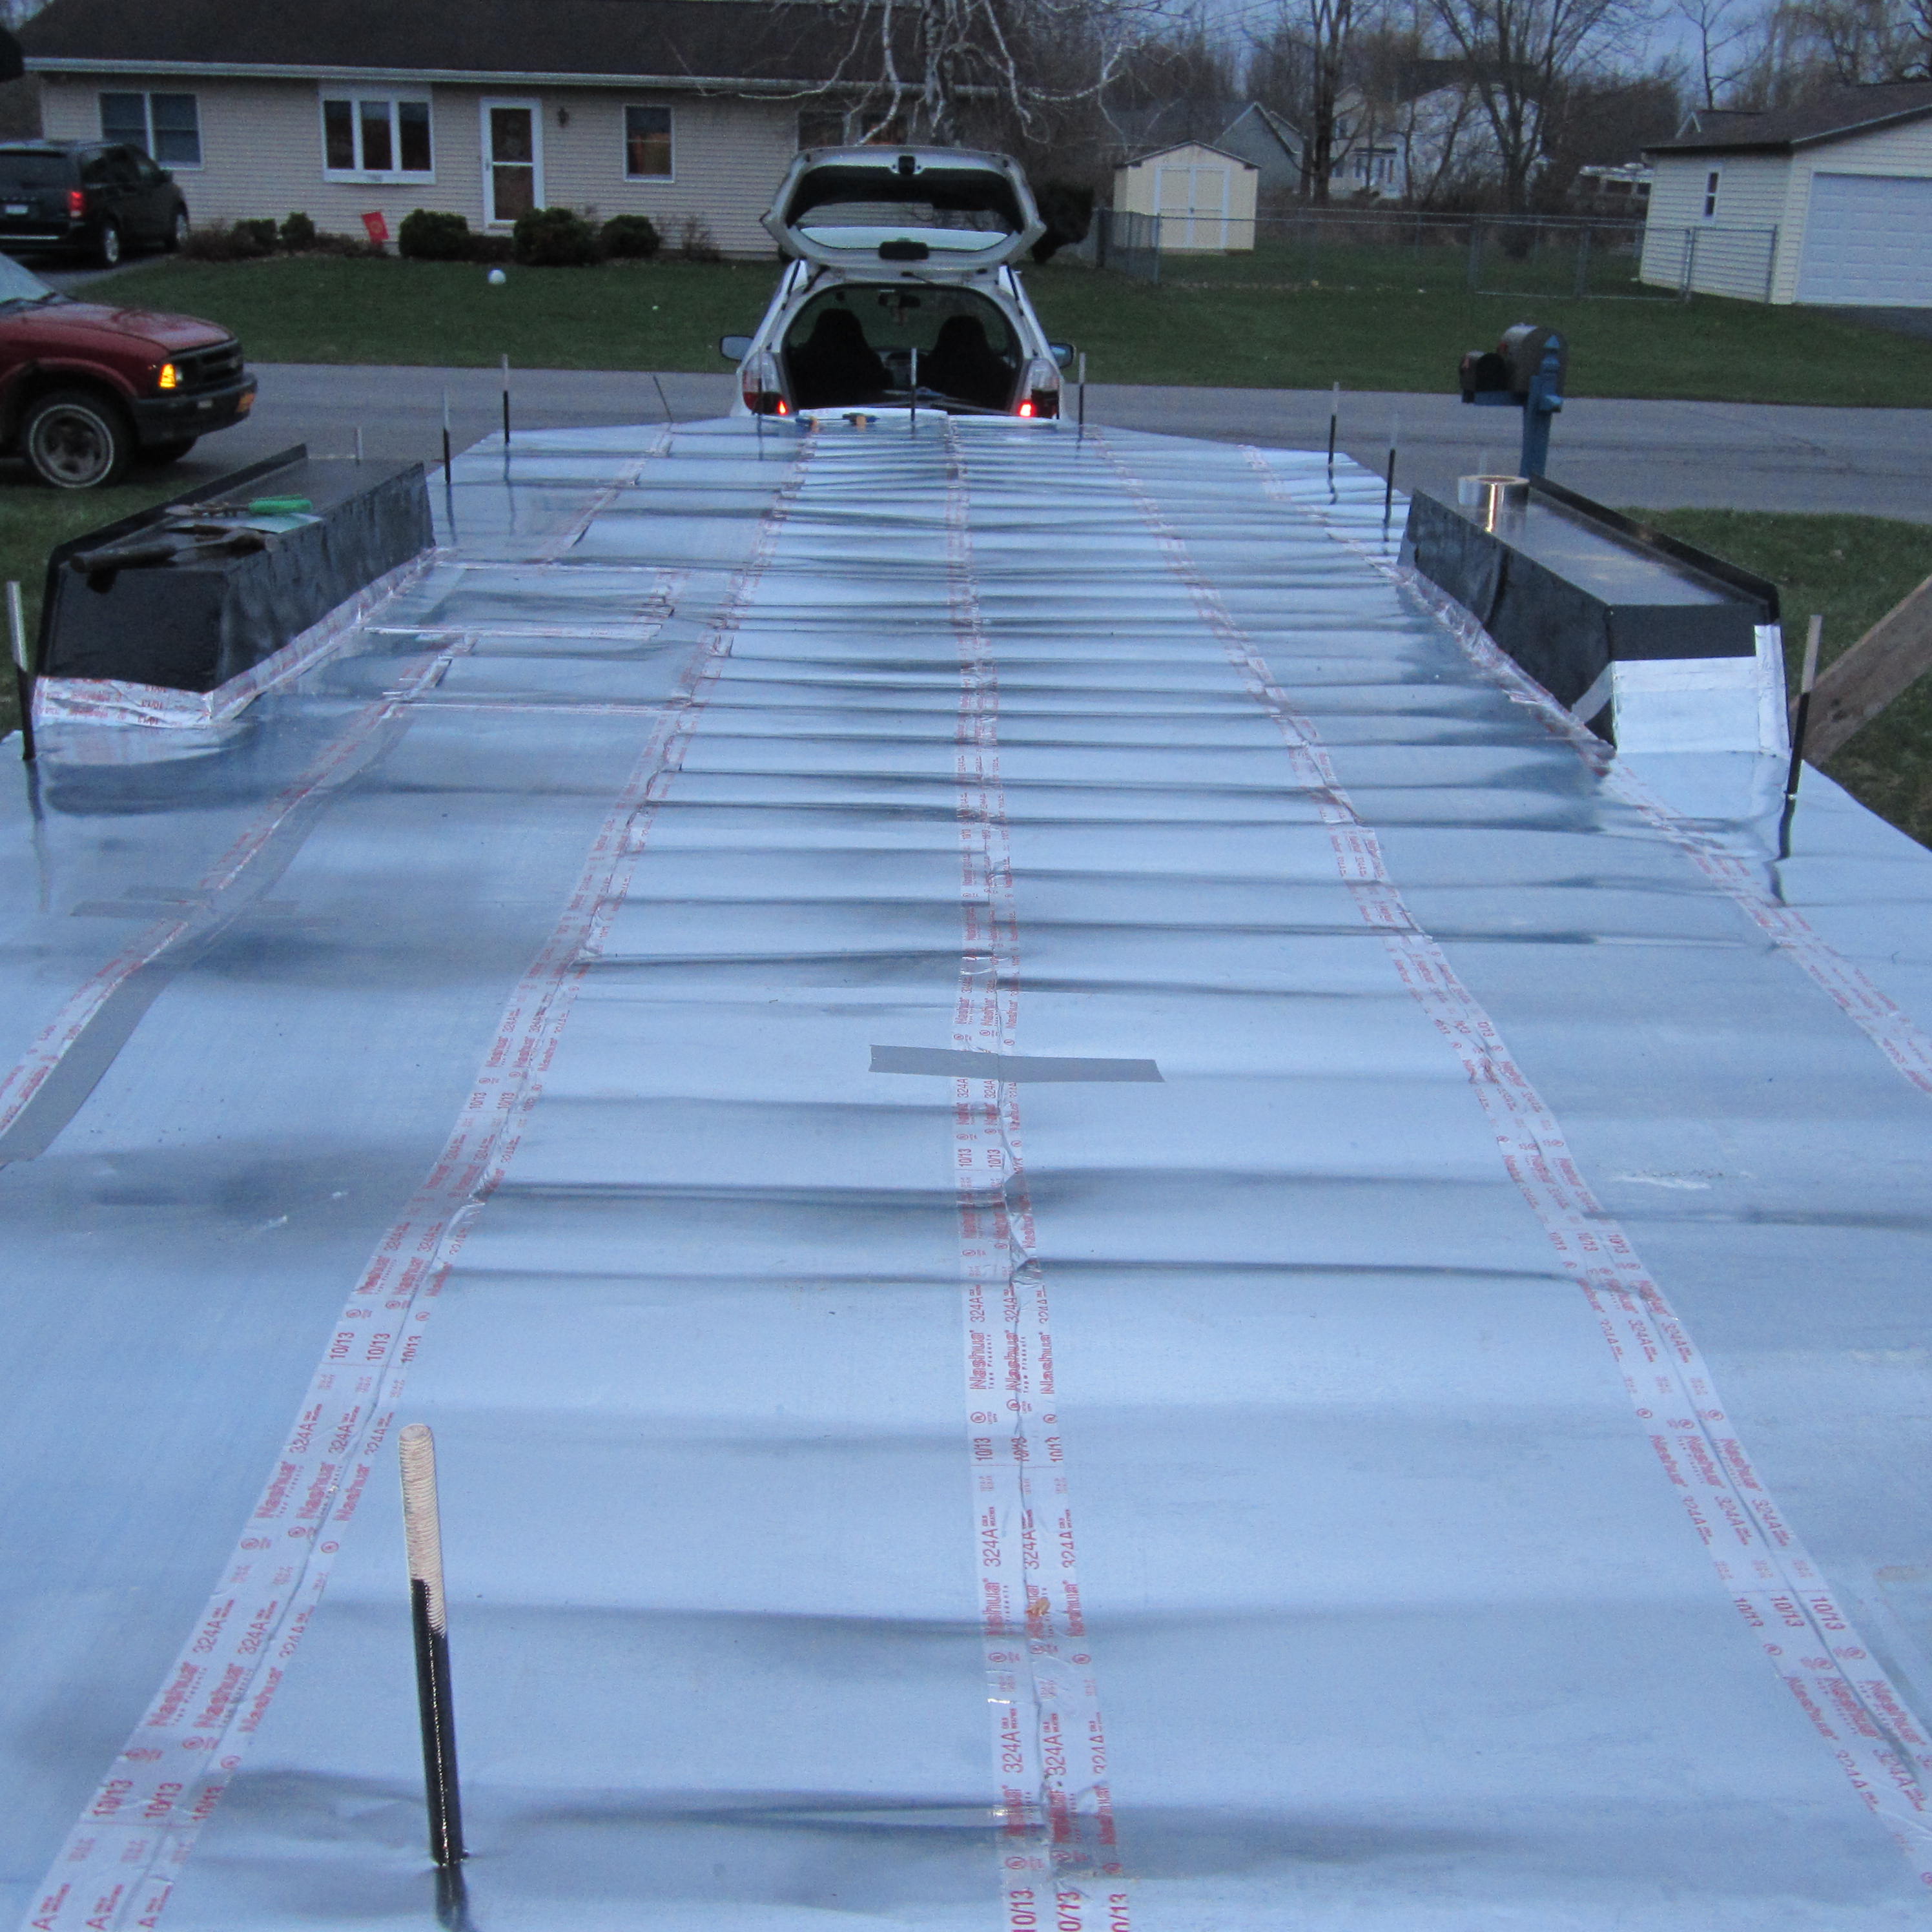
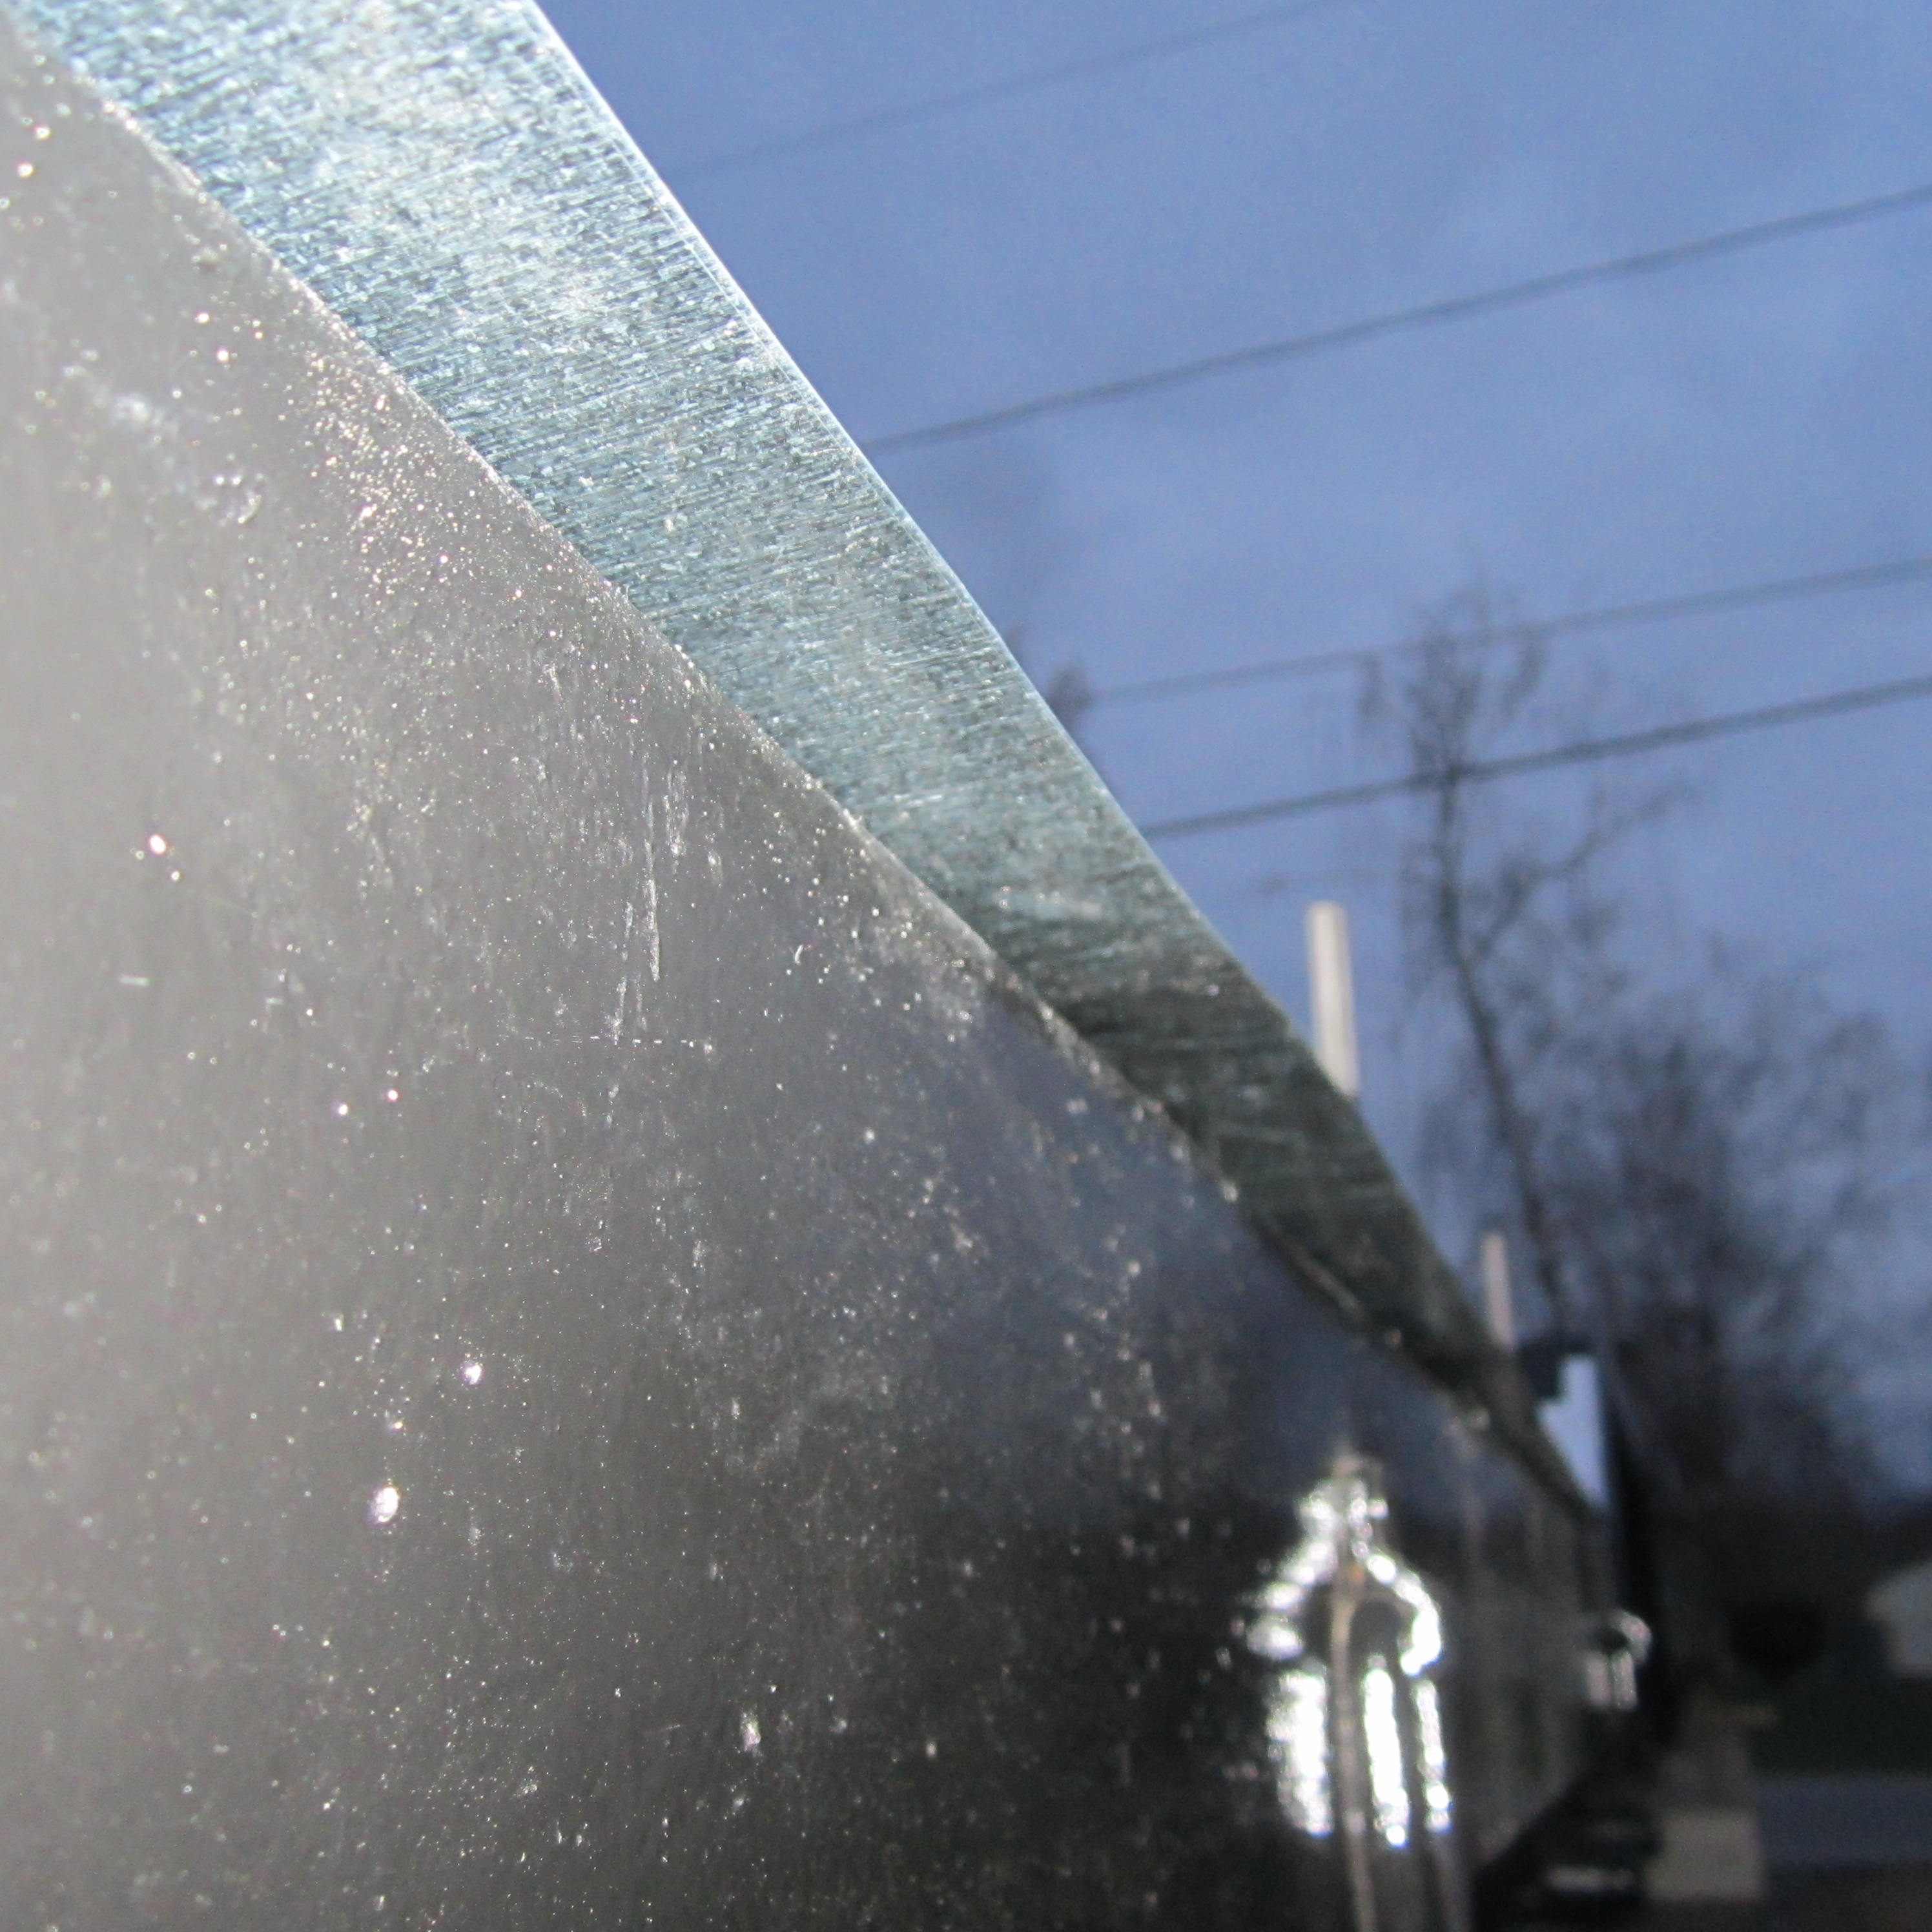
I thought the UL listed tape would totally hold the wavy seams together, but it was breaking a part as much as my heart!
Should have used butyl rubber flashing tape. I overlapped the seams by 2 inches (that’s just how the overlap worked out when dividing my 8.5 ft trailer by 20 inches). Before applying the tape, I would silicone between the flashing sheets for an extra layer of moisture protection in addition to the tape. I added 1-2 inches of metal overhang off the ends and sides, thinking I’d attach it up to the subfloor. Then, I found out that this would be stupid because it would trap water and bring water in-between the flashing and 3/4 inch plywood, so I ended up cutting it off with the angle grinder (which was a slight pain, so save yourself the trouble).
Adding Work: Needless overhang that had to be cut off.
Cover Up!
The tar paper went quick. The tar paper will be added moisture protection. If you use aluminum flashing, it’s crucial to separate the aluminum from your pressure treated plywood with tar paper; otherwise, they will negatively react. One of my friends recently mentioned that it might have been good to add some liquid tar between the galvanized metal and trailer–preventing them from corroding. I didn’t do this, but I hope the paint on the trailer adds that needed layer of protection.
Adding More Work
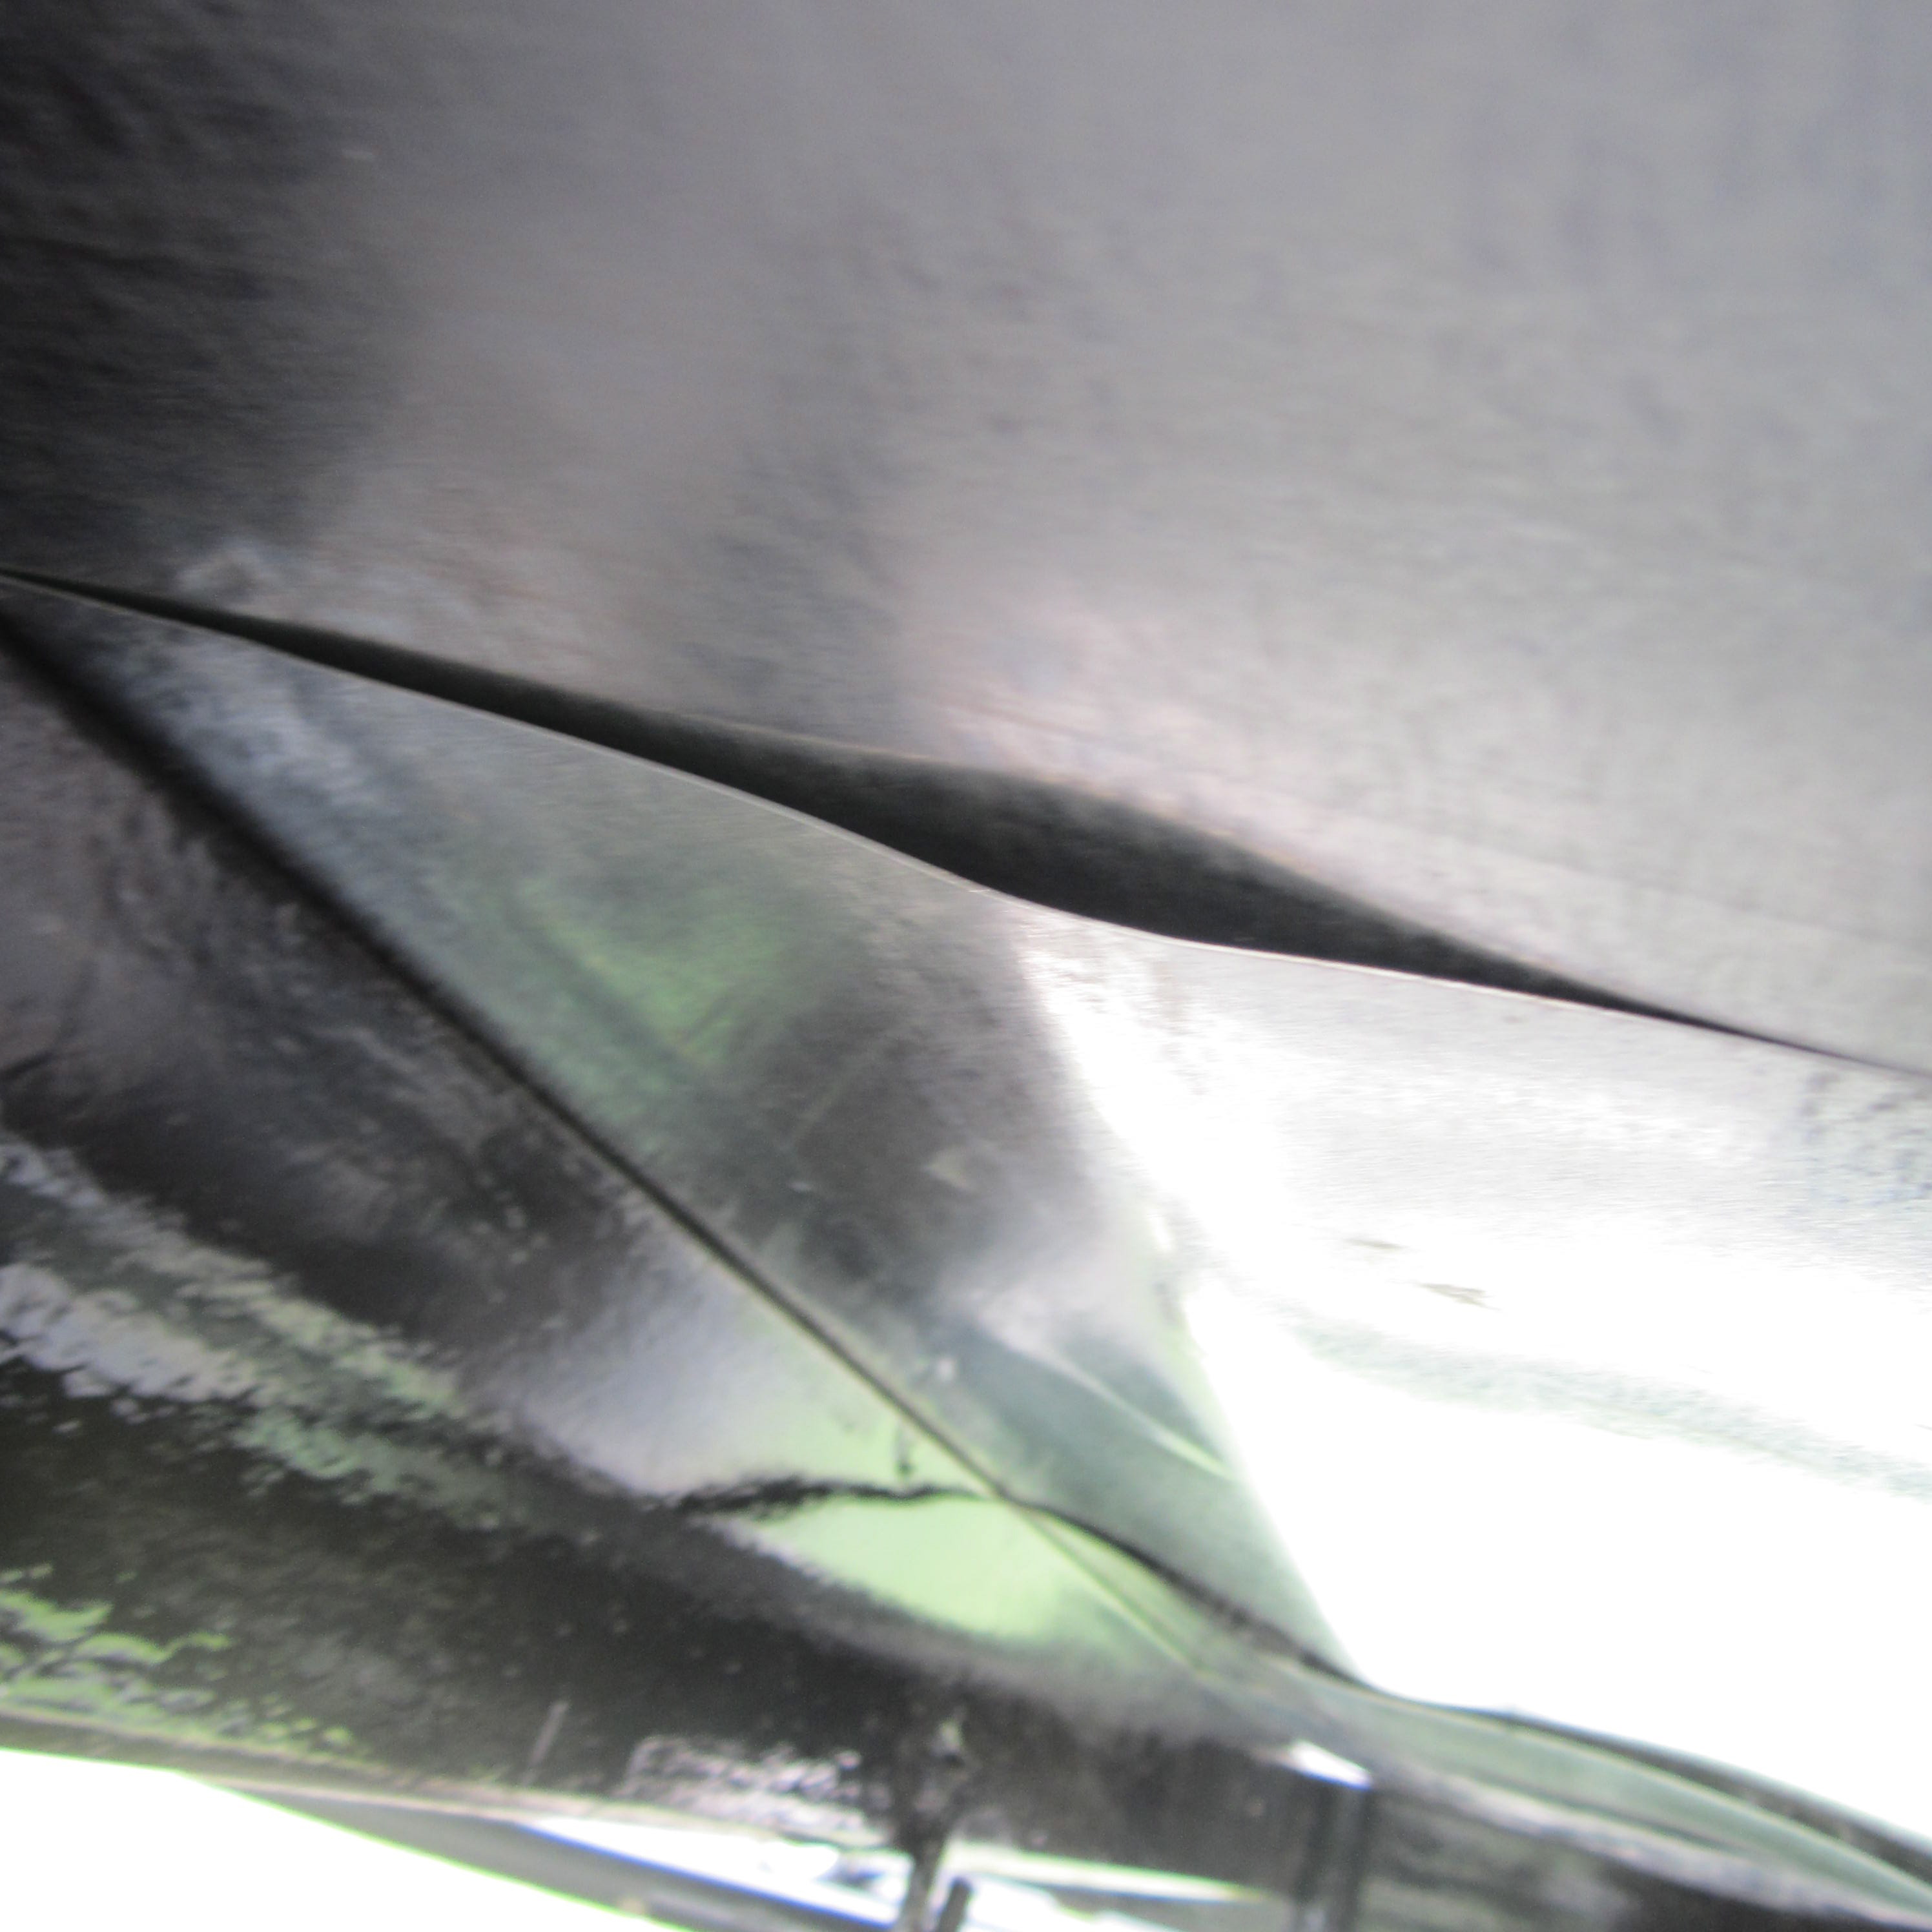
As you can see, adding the 3/4 plywood didn’t solve my wavy problem. Frustratingly, I needed to take care of these gaps.
Wavy on the Bottom
Up to 1/2″ gaps with those waves. Yikes.
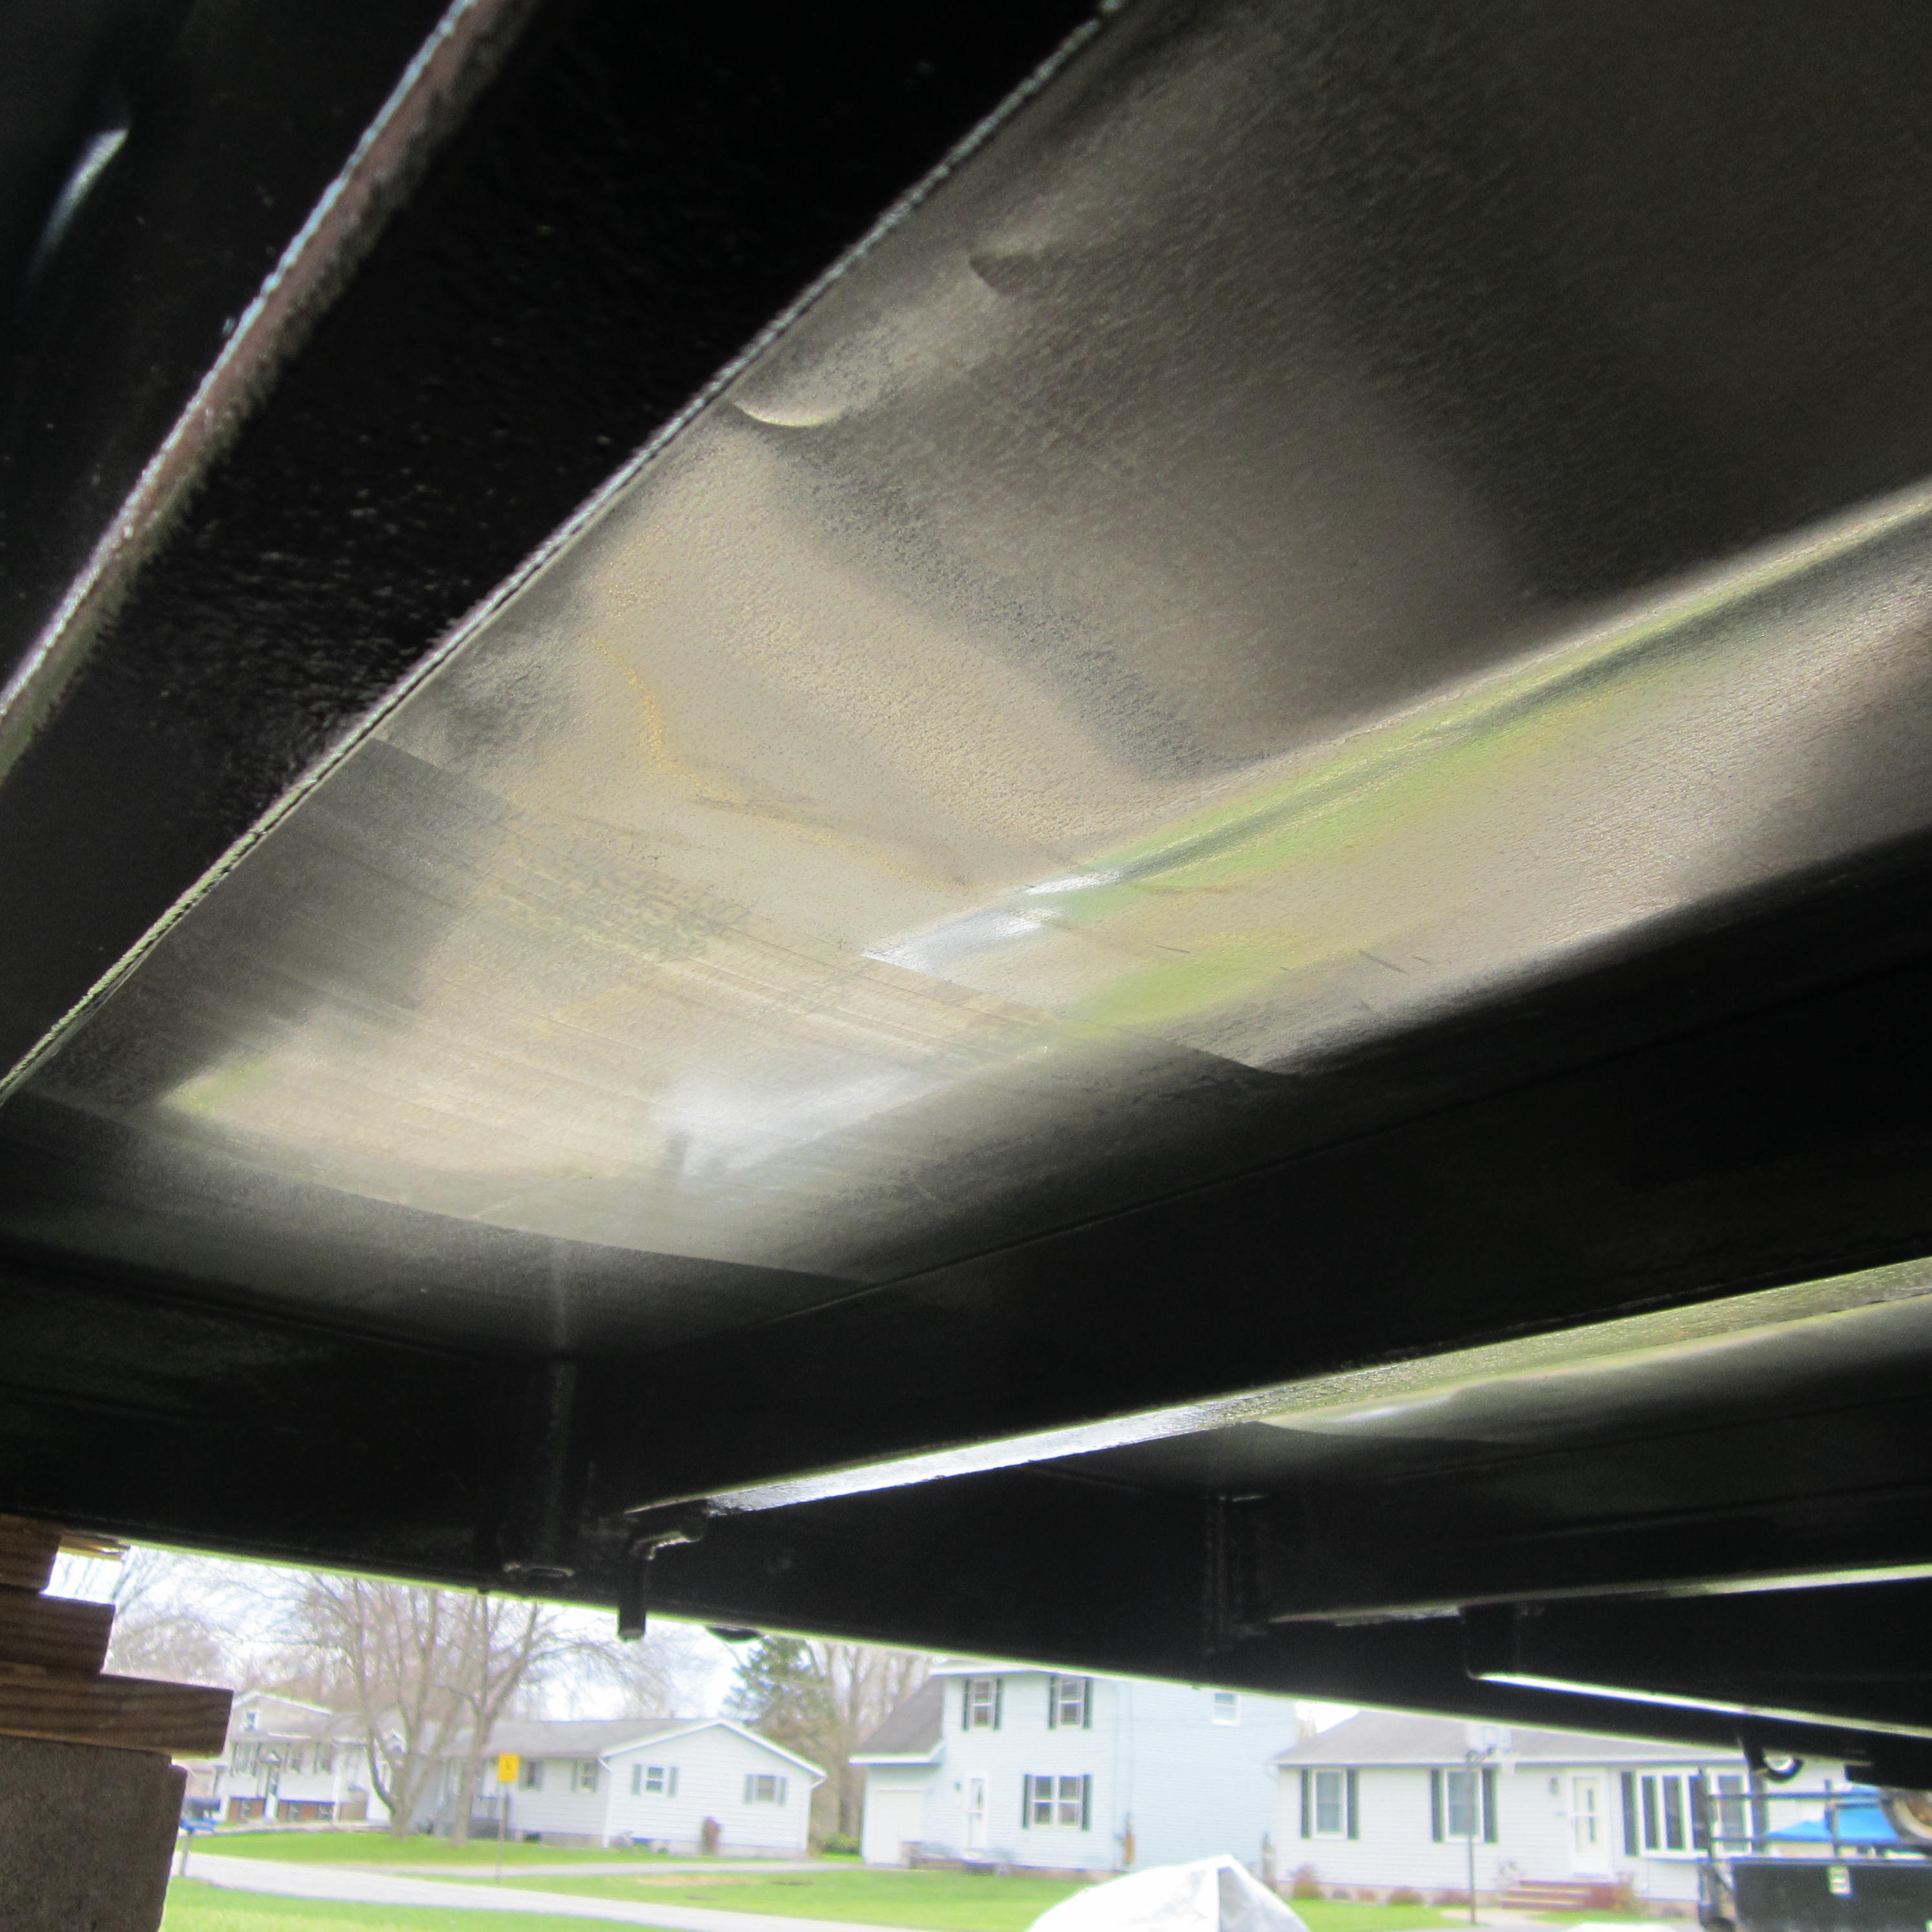
My solution to the waves was adding more silicone and using really short Tek roofing screws (#12 x 3/4 in. Fine Metallic Steel Hex Drill Point Roofing Screw) so I wouldn’t go too far into the 3/4 plywood. I had to buy five things of silicone and five boxes of screws (an extra $85 in the end).
SSS Approach: Screws and Silicone Salvage
Even though it was a rocky road, I have achieved the flashing’s purpose: moisture, road, and rodent protection. Definitely a lot of lessons learned on this step.
The reins are ours,
Chris
Reflections, Hindsight, and Alterations:
Use flat 5 ft by 10 ft sheets. Would be stronger and thicker metal protection. Wouldn’t have to worry about wavy metal with my trailer setup. Would have been even cheaper in the end with prices I saw on craigslist!
Use butyl rubber tape instead of UL Listed tape. Butyl rubber tape is a great moisture barrier and very sticky and a lot wider (usually 6 inches). This would have been the better choice.
One way to prevent the waviness could have been to create a metal joint by bending the metal edges. This would have eliminated the need for any tape or silicone at the seams, too.
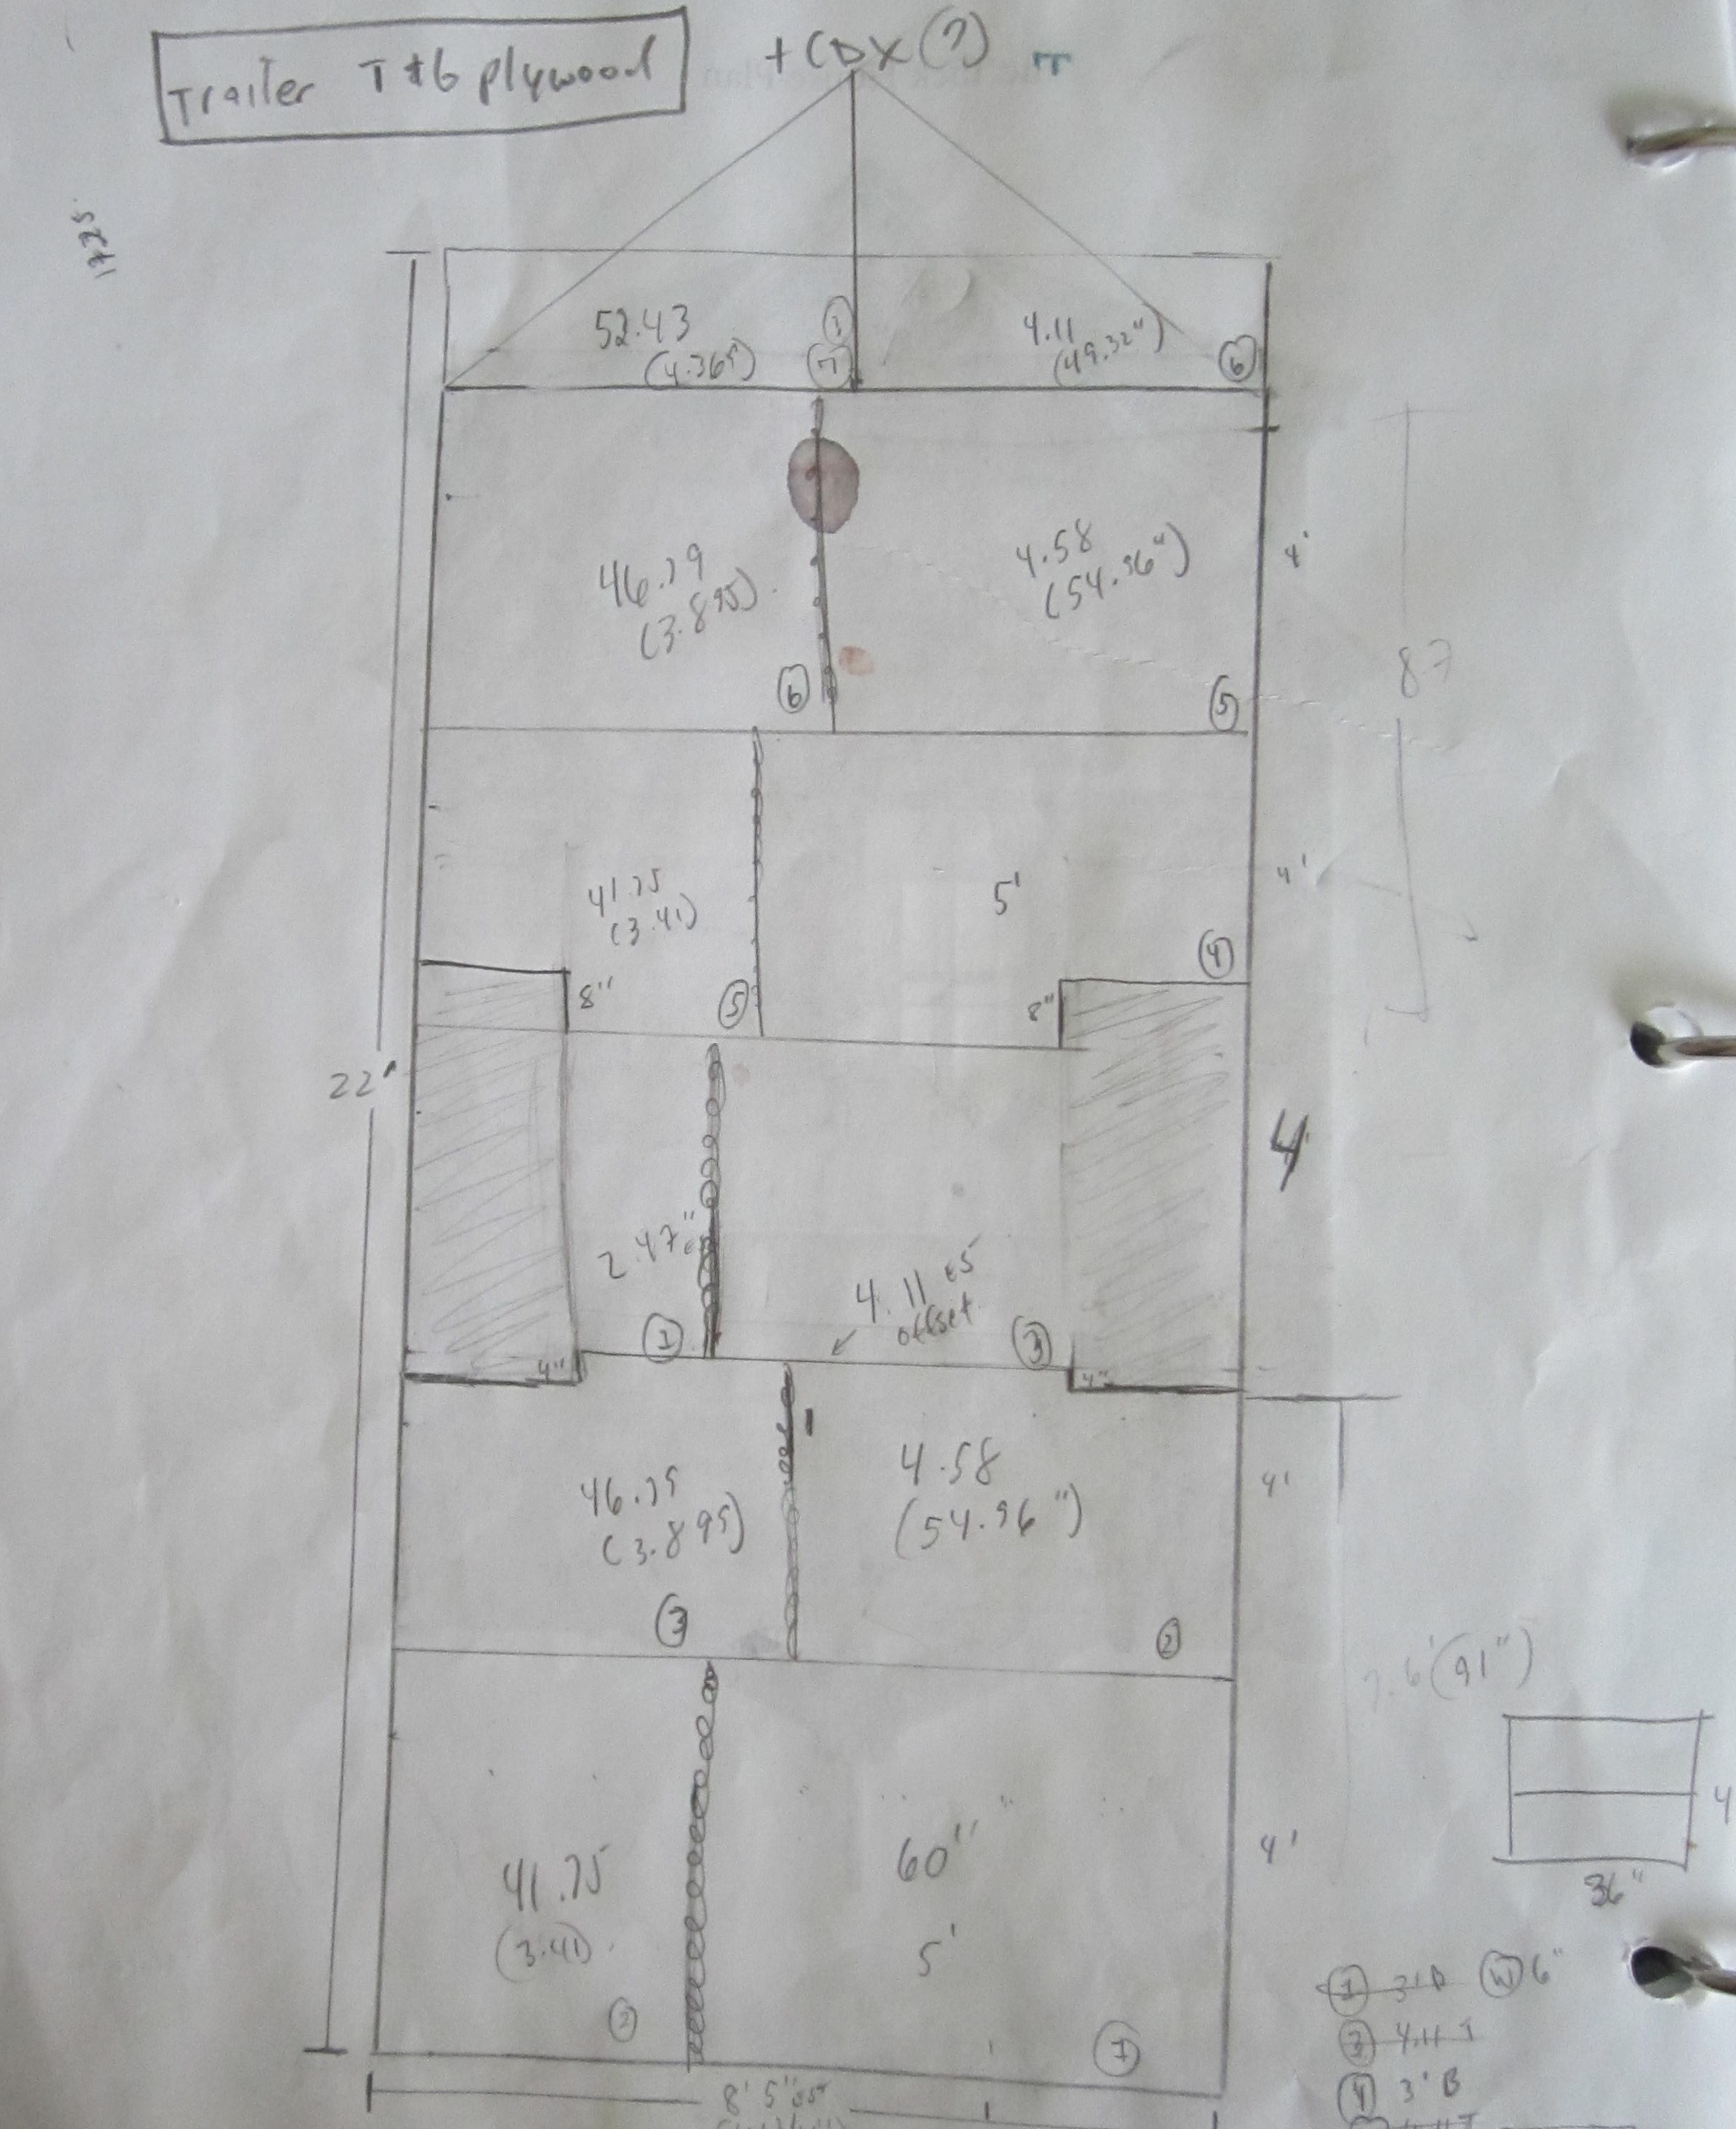
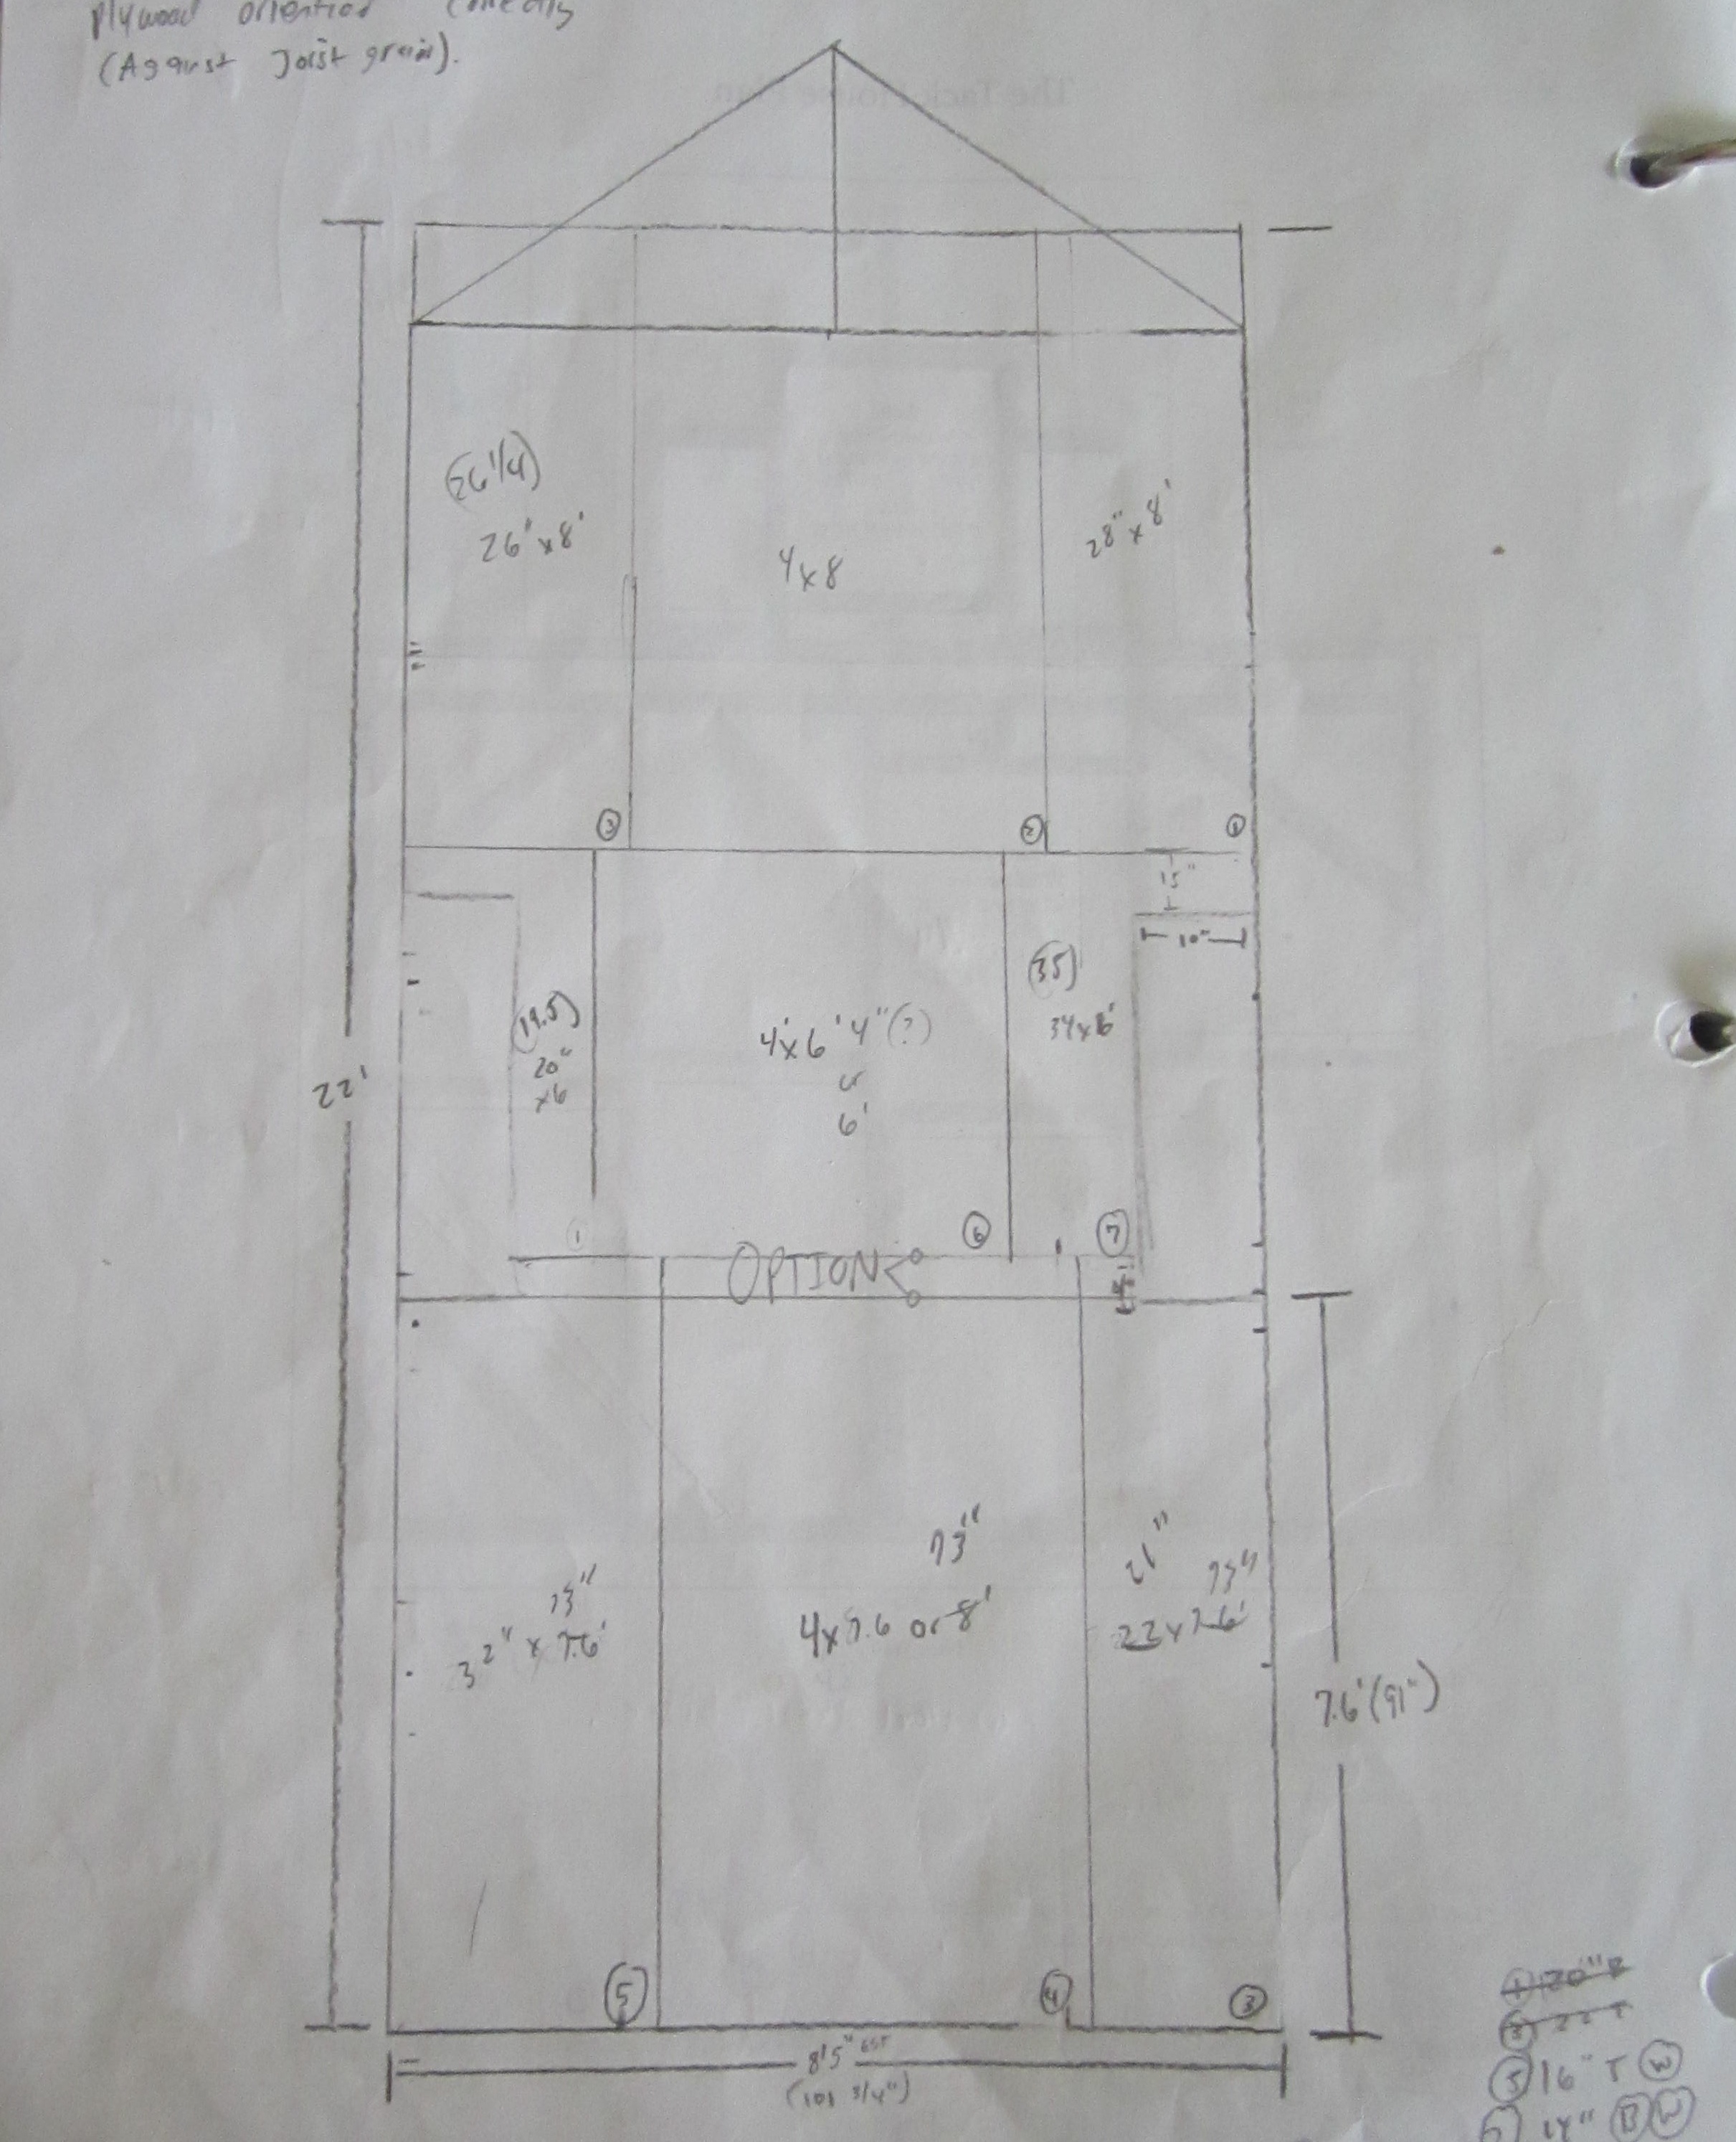
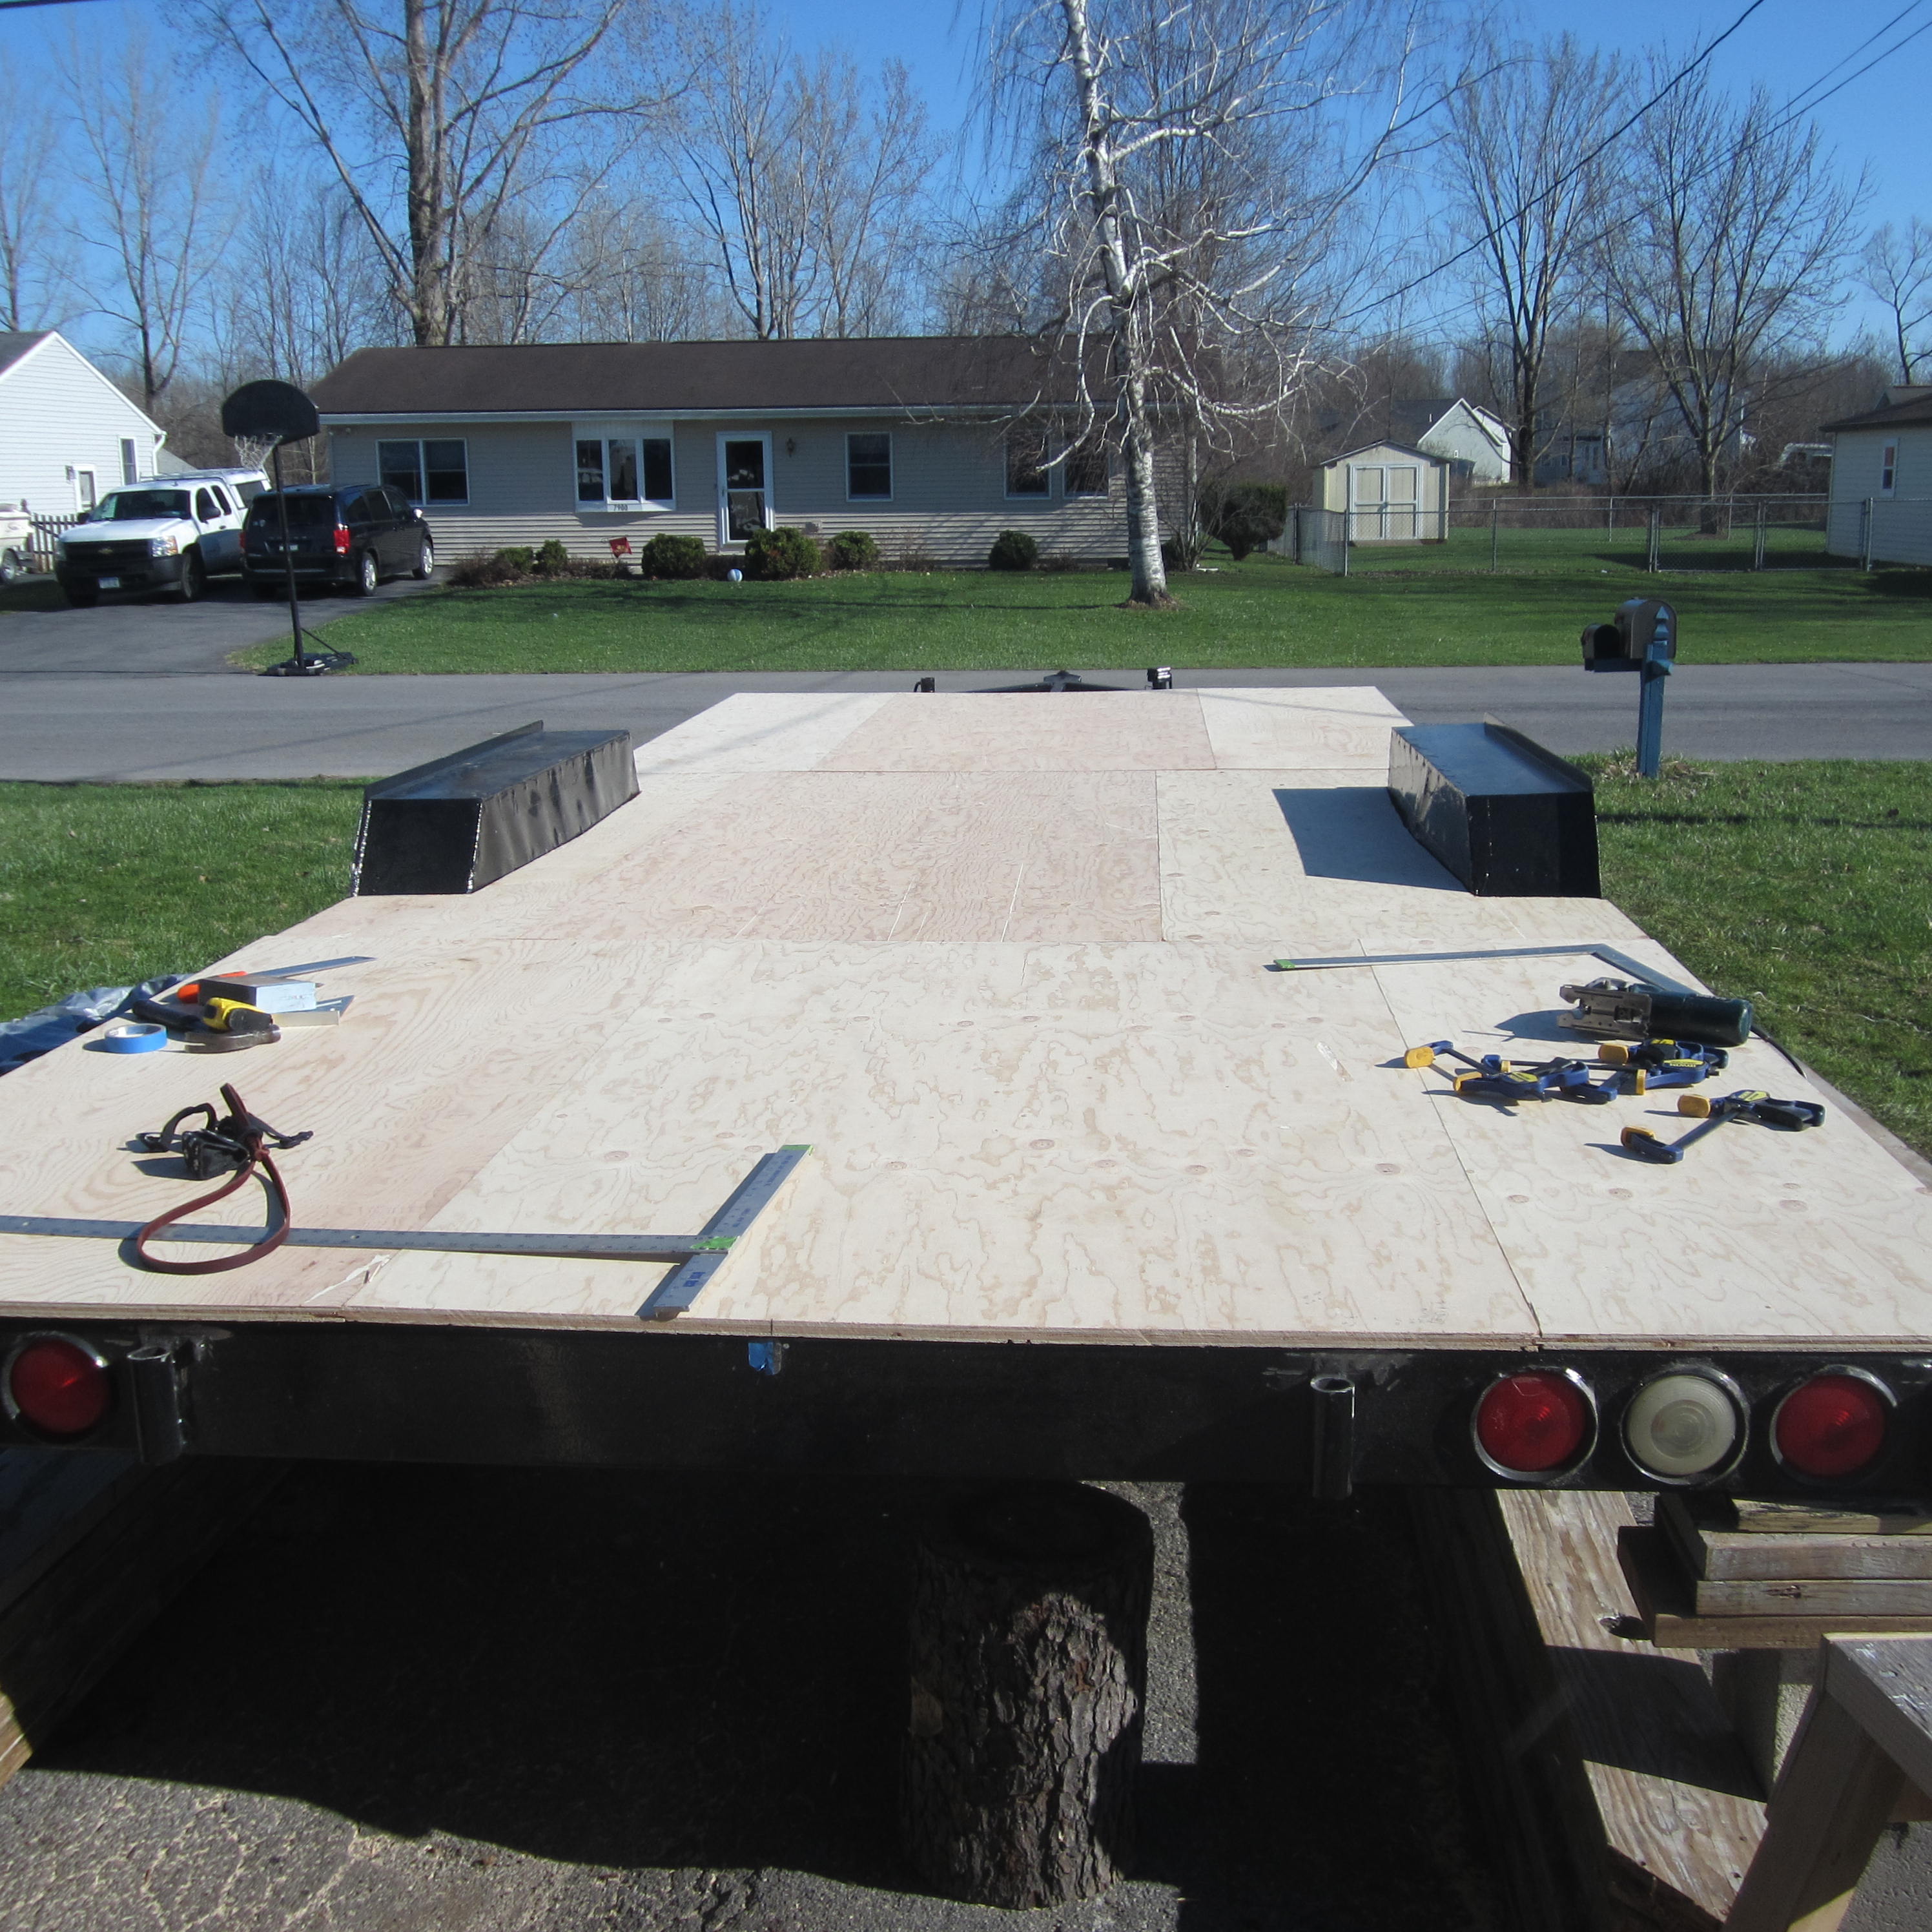
After receiving our lumber, the plywood and wood needed to be acquainted, so we left the plywood on the trailer for a week to see if they liked each other…any gullible readers? I hope so. The first step was to correctly cut and lay out all of the plywood on the trailer without the obtrusive bolts complicating things (I’ll weld them on later). I mapped out two ways to lay the plywood efficiently. I did this before purchasing the lumber to help calculate my plywood count. I ended up using a slightly adjusted “longitudinal” approach to make sure the plywood seams ended up on the trailer’s metal joists.
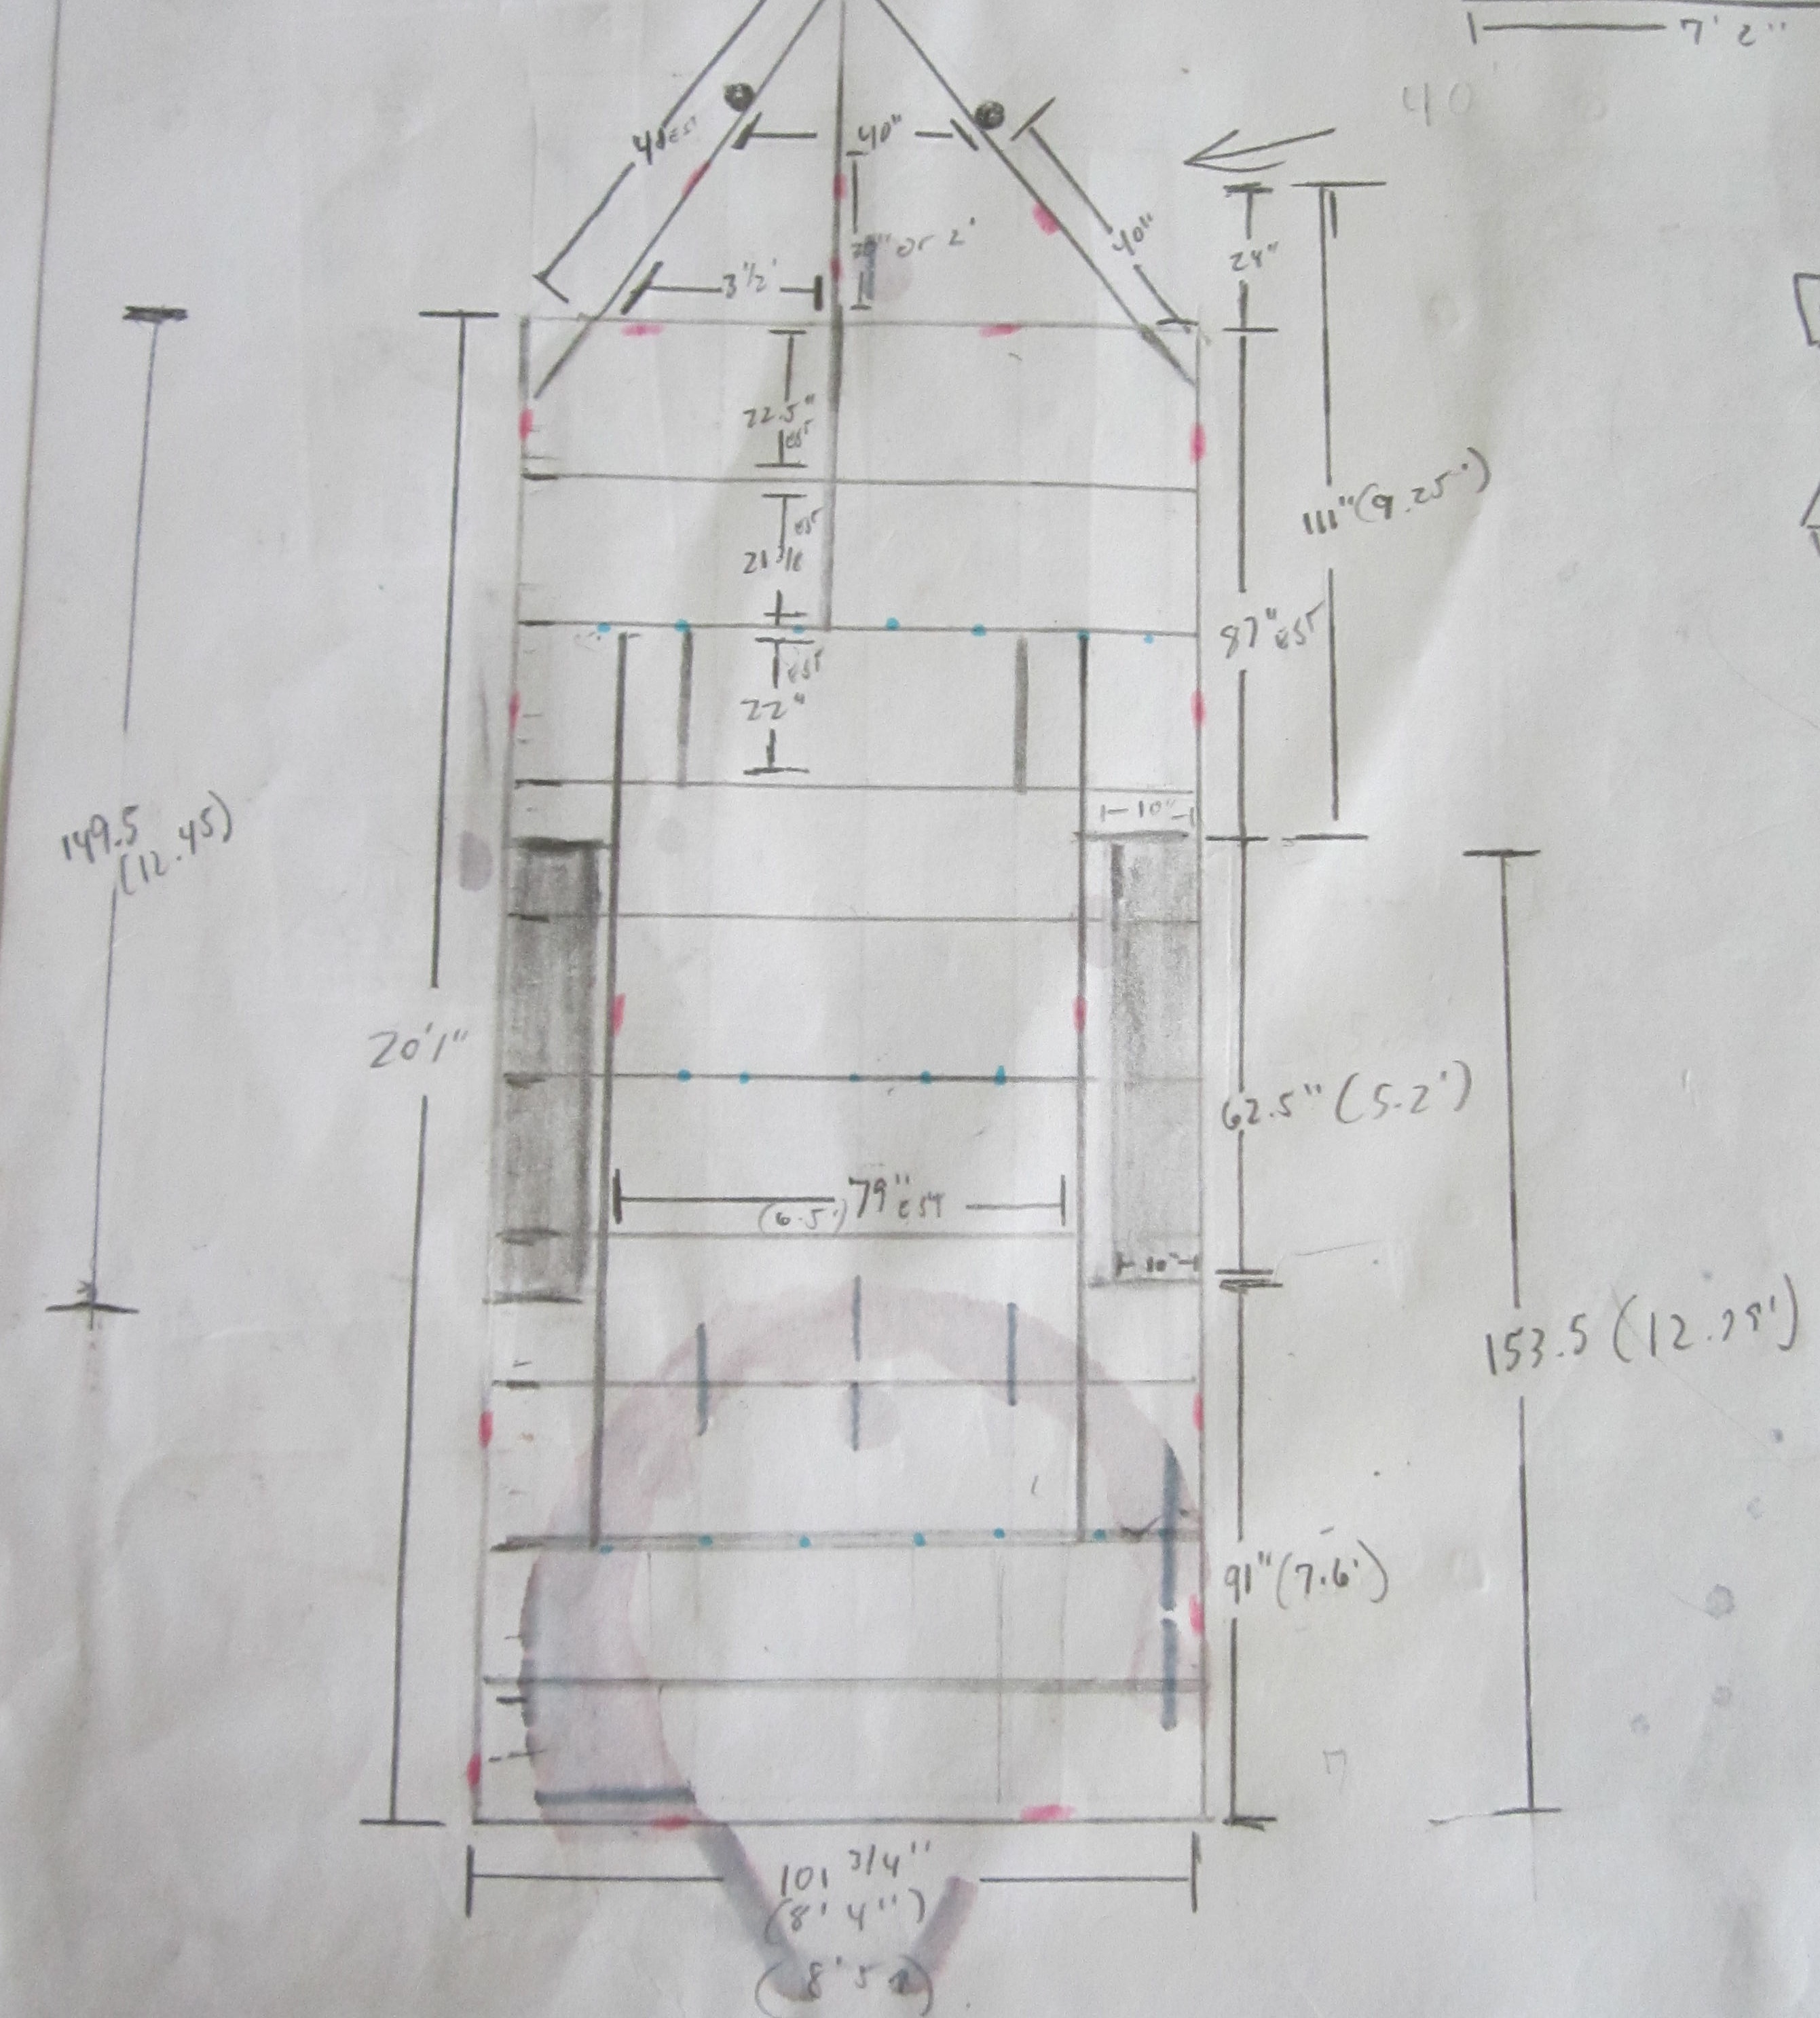
Trailer Dimensions:
Trailer Schematic
Orientation Option 1:
Lateral Option
Orientation of Plywood Option 2:
Longitudinal Option
Confession: Permit-less Punks
If your trailer is a typical eight foot wide one, it’s a lot easier to lay out your plywood. Our trailer is wonderfully and awkwardly eight ft, four and 3/4 inches. With our roof overhangs we will be pushing the state’s limit of 8 ft, six inches. Because we rarely plan to move the house, we’re comfortable with pushing the width limit to gain as much interior space as possible. Will this “inch pinching” decision come back to haunt us? I hope not, gulp!
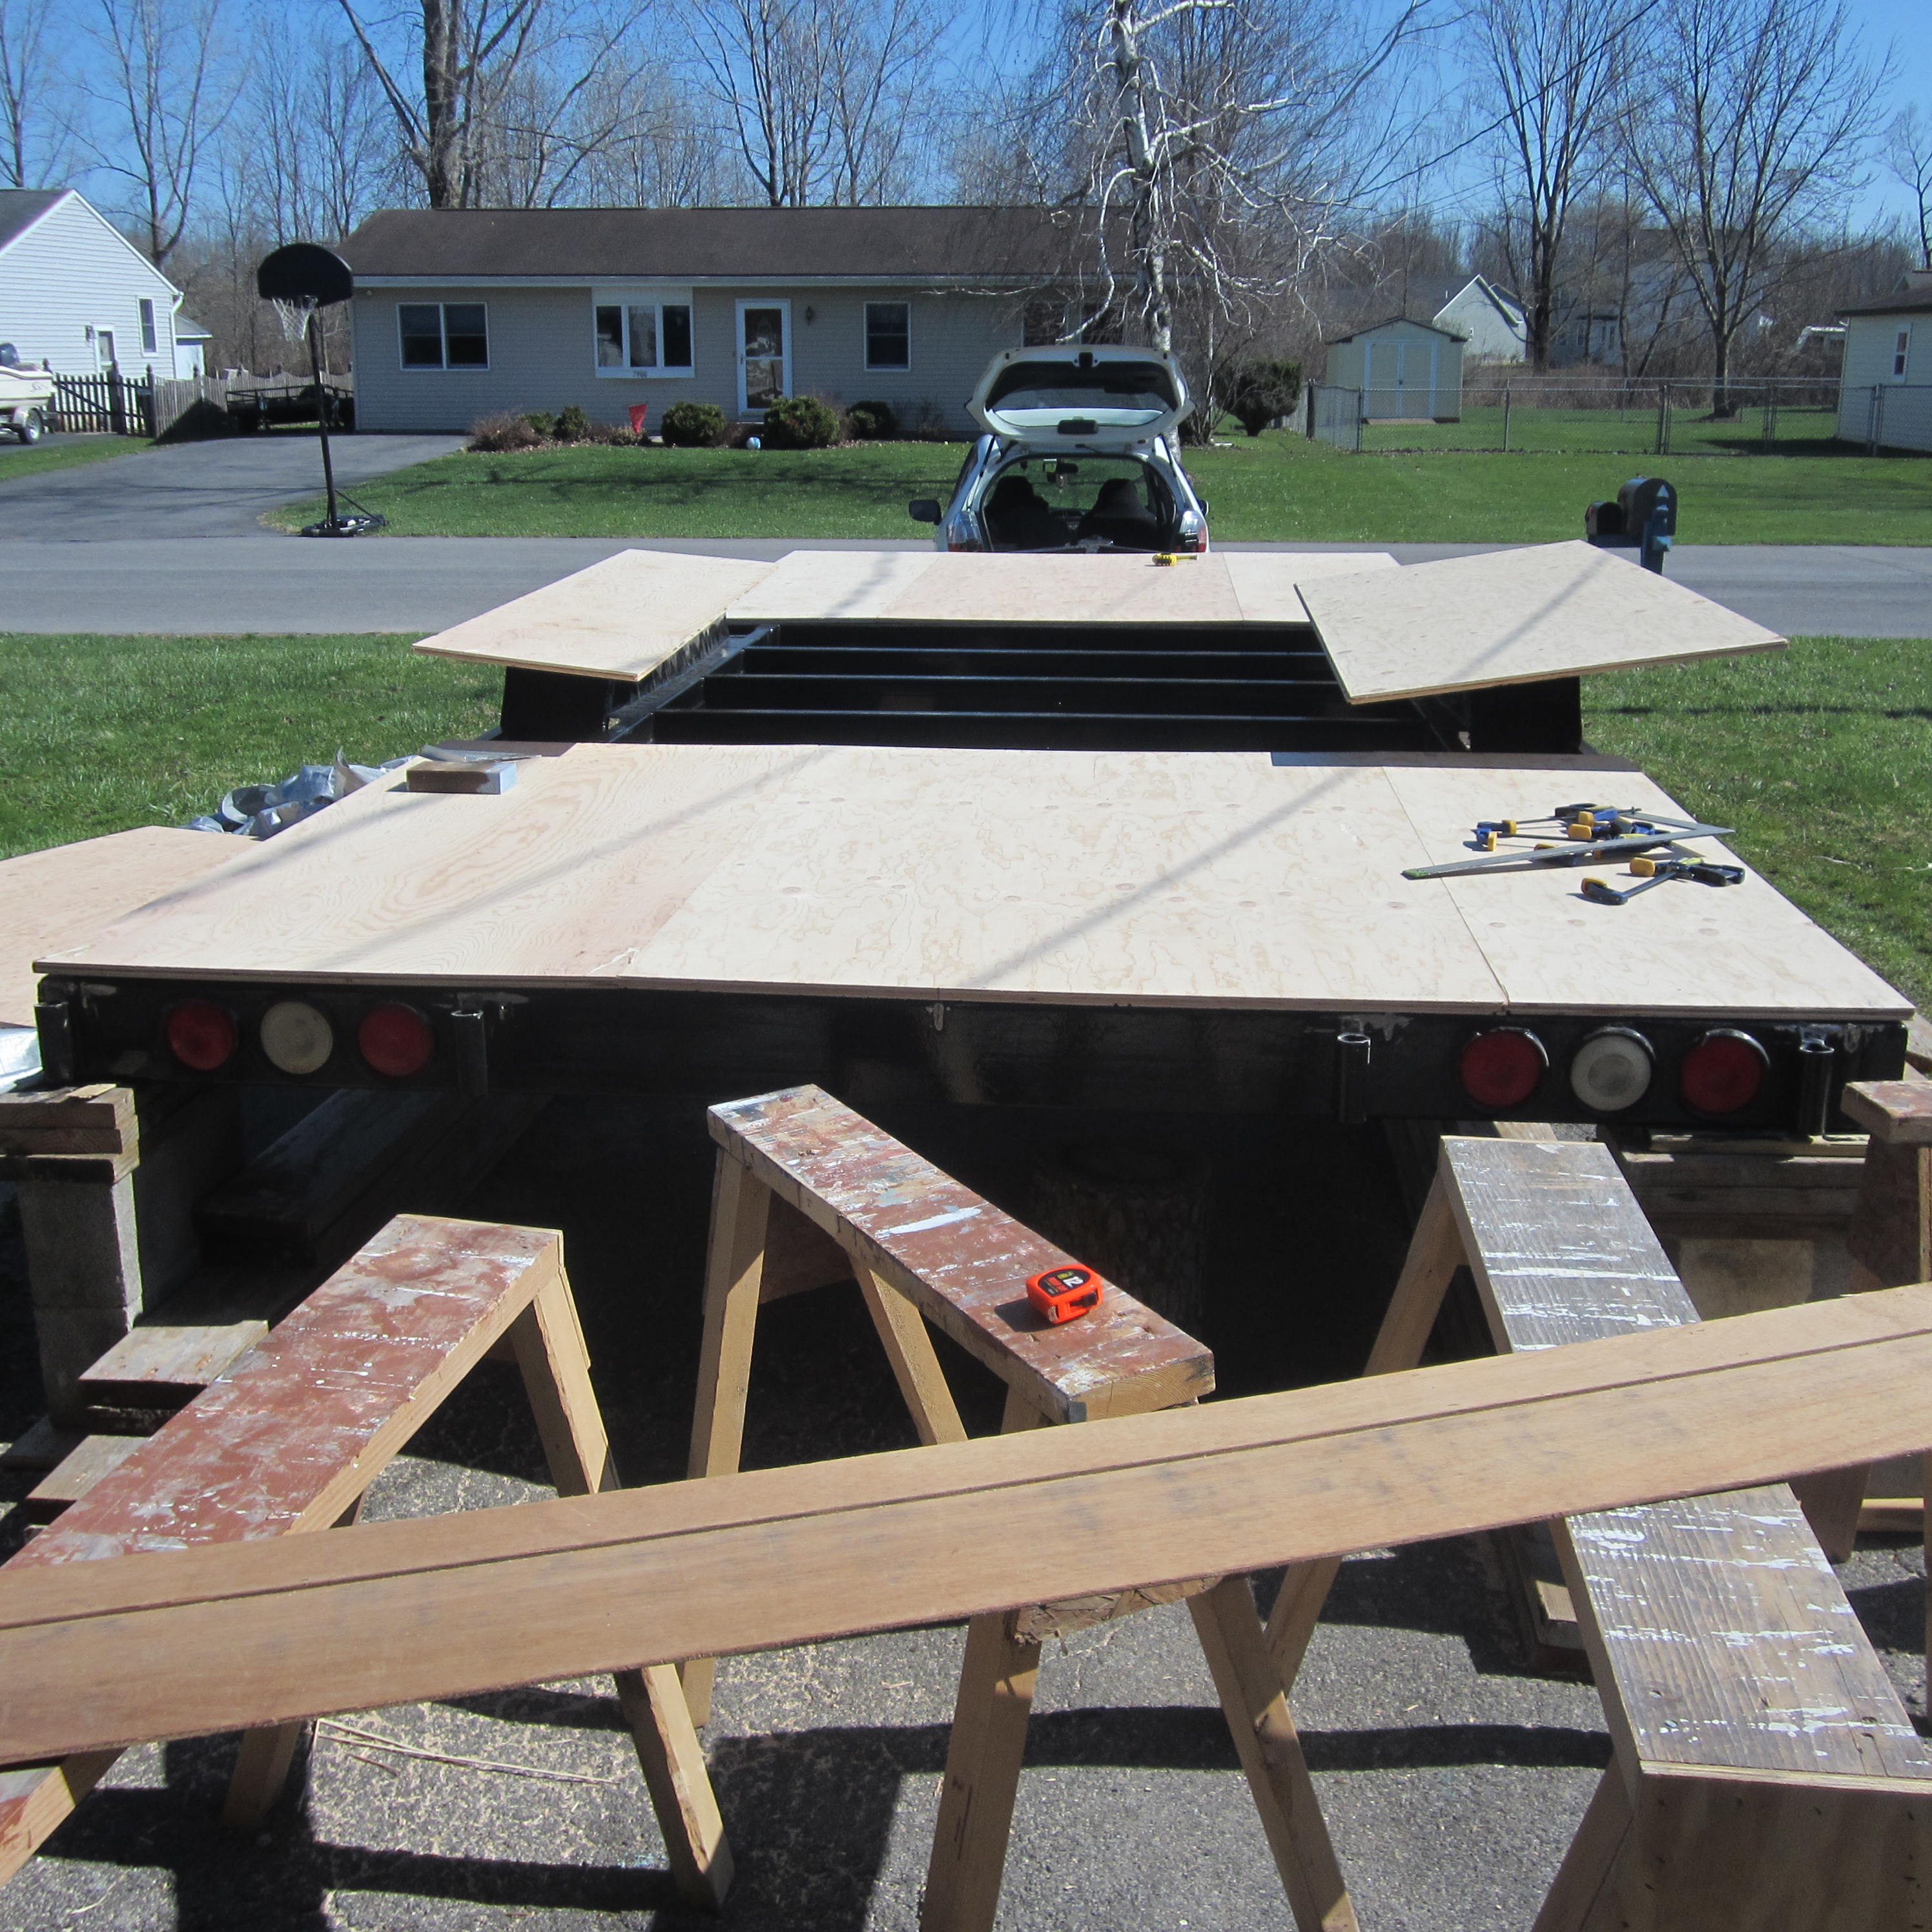
The Beginning of Endless Wood Cuts
Ignoring 100,000 demanding future cuts for the house, I emphatically engage with the initial large and heavy plywood puzzle.
Tools:
Circular Saw and Jigsaw
Powered Drill with Your Bolt Size Bit (5/8 in) *A little bigger
4 ft and 2 ft Square
Cutting Guide with Clamps
Plywood Puzzle
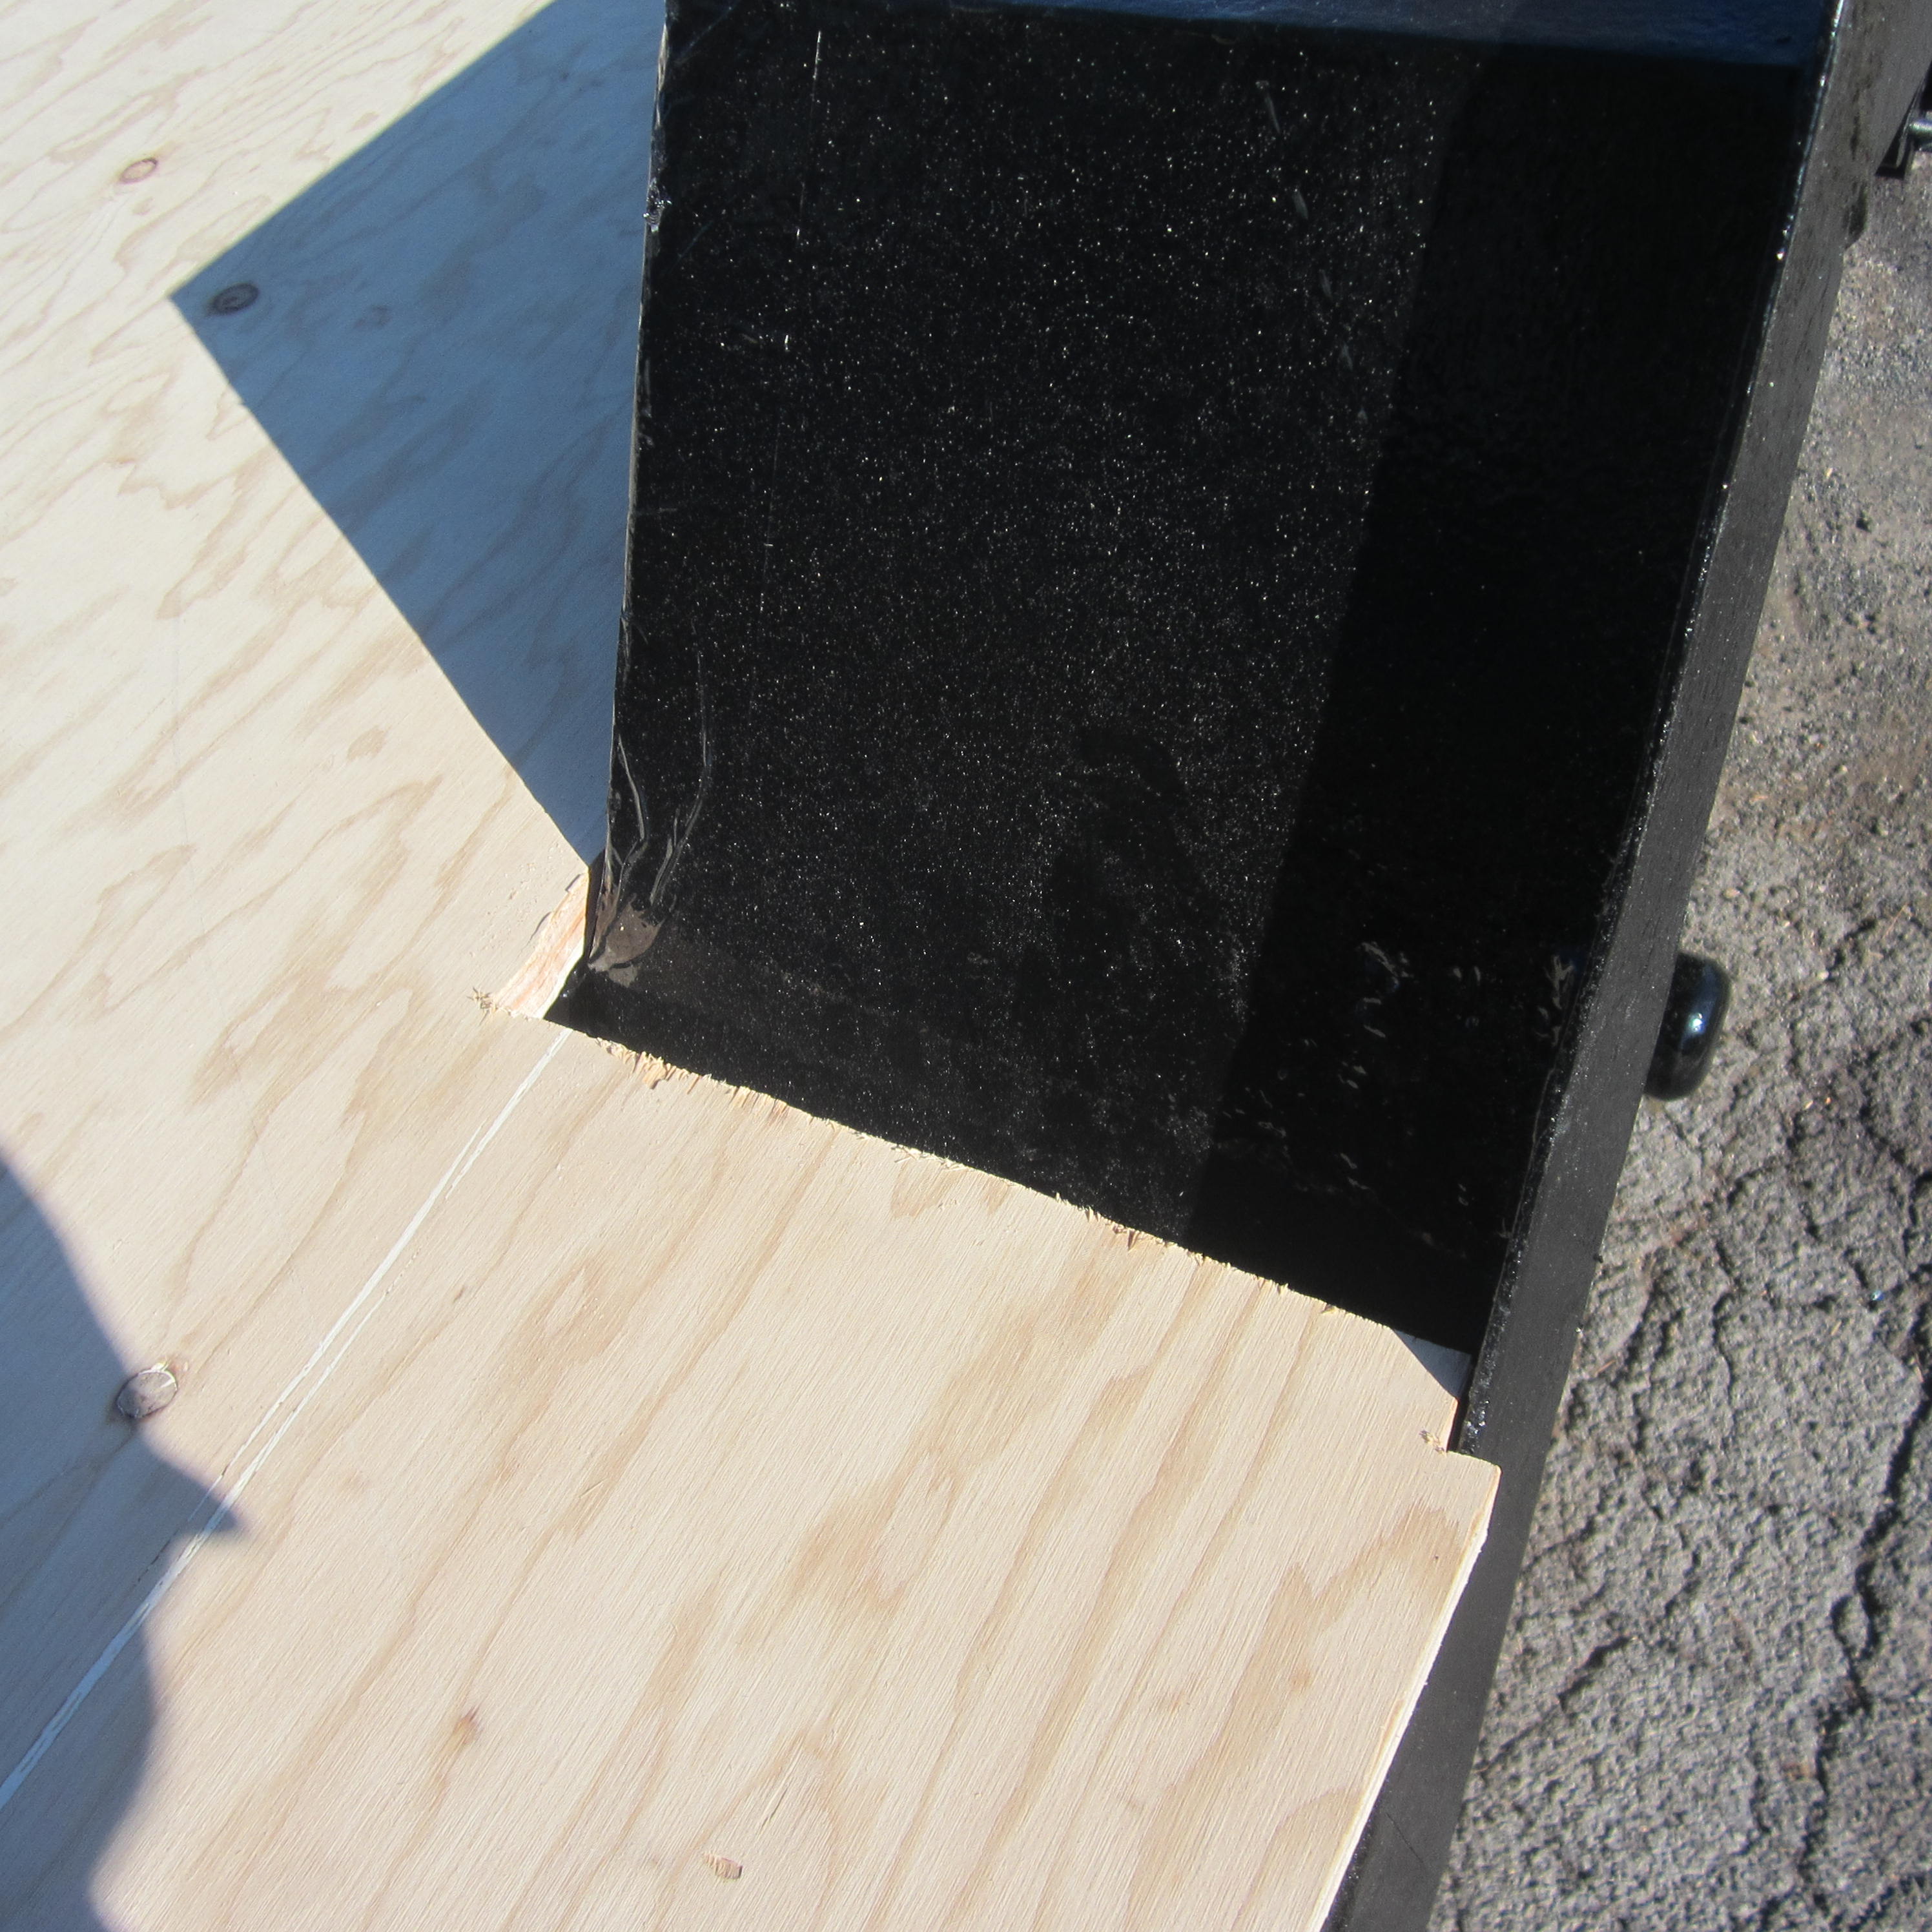
Jigsawing the Wheel Well
It fits!
Turmoil Already
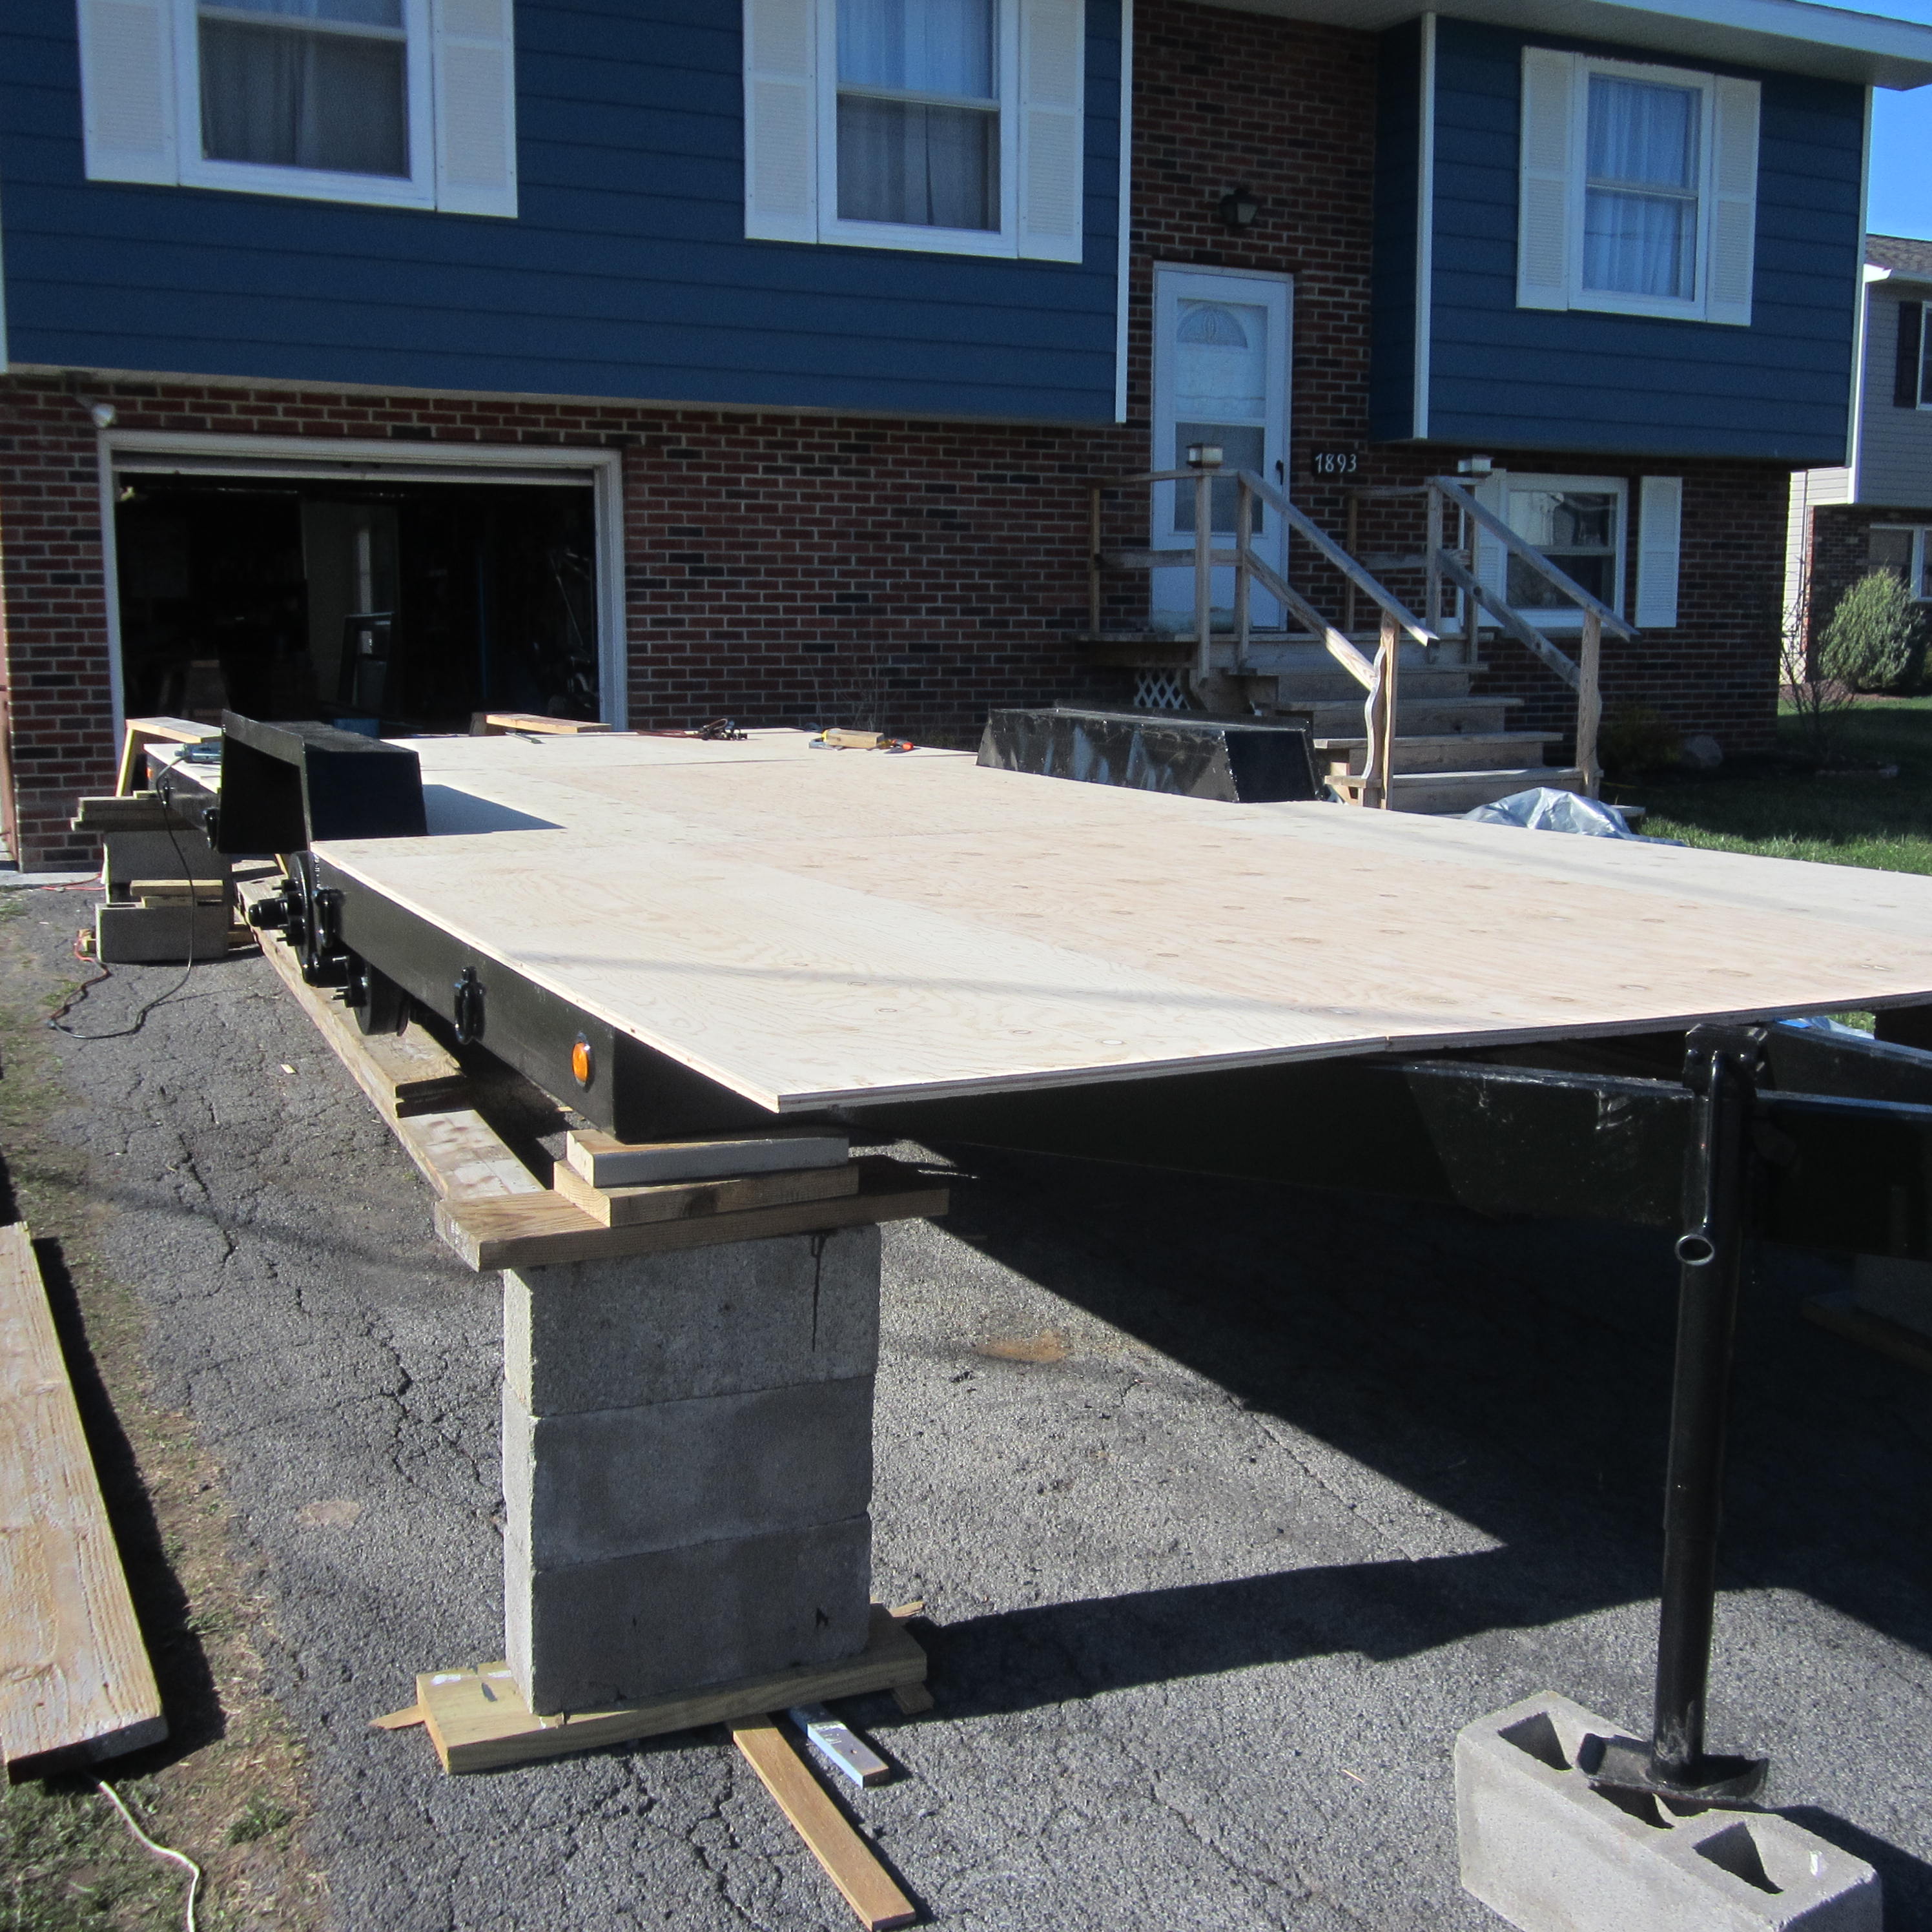
Unbeknownst to me, after the wheel wells–the trailer starts to taper as you approach the angled hitch area! So, it wasn’t square and flush with my plywood’s factory edge pieces–which was really throwing me off. I thought the whole trailer might be out of alignment and warped. Panic anyone? Because my glass is half full, the trailer tapers only a half an inch on each side gradually over the last four feet–not so bad, so instead of moving the whole house’s frame inward, I tossed the dice, letting it hang over (the bottom plate will still be 85% on the steel frame and bolted to it). Surprisingly, the turmoil led to an idea.
Inch Pinchers Become Foot Pushers
“This overhangs. Why not gain some feet in the front? Extend the overhang!” exclaimed Chris.
“Wow. The extra feet would be nice! Would it effect turning and driving the trailer?” Michelle said.
“That’s what I was wondering about…I don’t know. If we only do two feet, it shouldn’t, but I don’t know. Should we go for it?” Chris said gazing at the hitch area while day dreaming about even more space.
“Yea!” Michelle said…day dreaming about more space.
Let’s hope our space ambitions really don’t haunt us–but yes, although in all of my tiny house research I have never come across any instances or examples of it, Michelle and I have taken the risk of expanding the house over the trailer two feet. This will give us 22 ft total. The angled steel framing near the hitch is four feet in length, so we’ll still have two feet–hopefully this is enough for all turning we’ll need to do on the road.
The Dice Keep Rolling: Extending the House
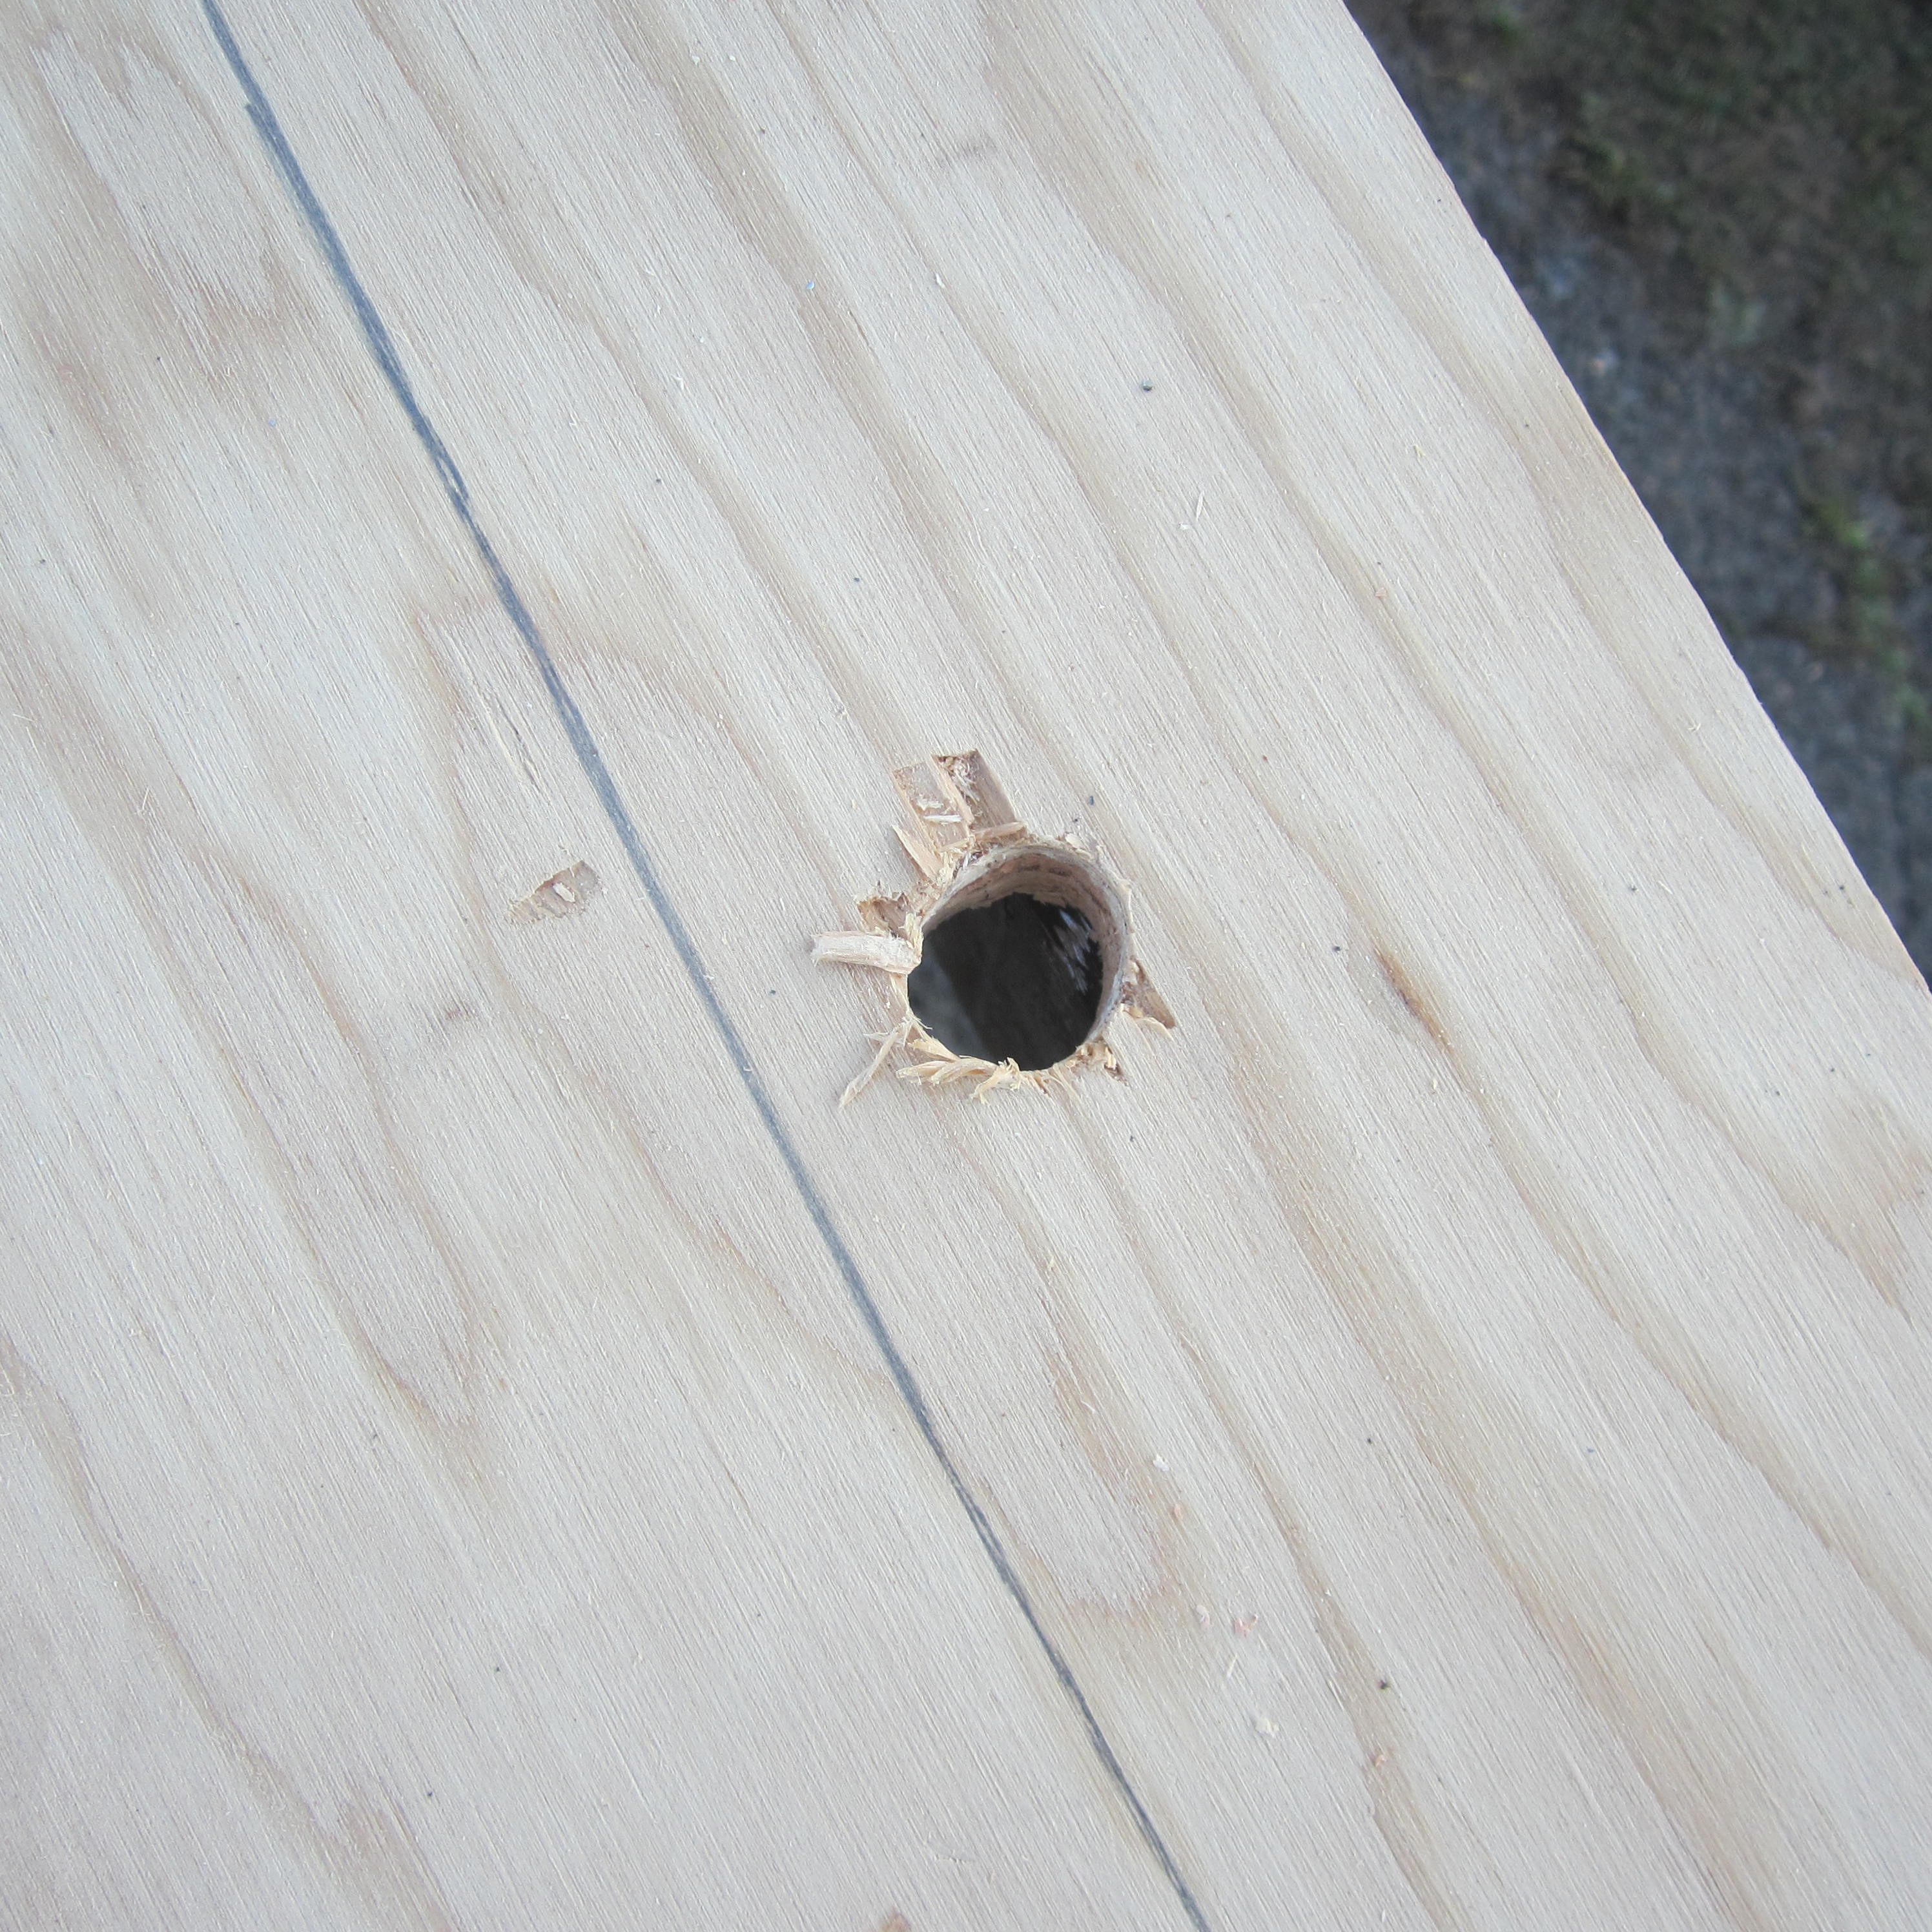
Bolt Holes
Finally, I drilled holes where I plan to weld the bolts. Had to buy a drill bit that was slightly larger than the 5/8 inch threaded rod. Initially, I was using a 5/8 inch bit and spinning it around to make a larger hole–not something my arm wanted to do sixteen times–doubt the drill liked it either.
Always ruining things with holes!
The reins are ours,
Chris
Reflections, Hindsight, and Alterations:
Although the extra space will be nice–the extra width may cause a lot of problems while driving–and it makes more wood waste because it’s over eight feet. Would have enjoyed an eight foot wide trailer for its simplicity.
 Wall Assembly Hold-Downs