Replacing Rotting Door Wood: Rot to Not
The Judge
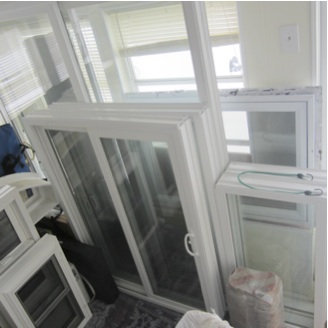
Michelle comes home to an awkwardly smiling Chris. Chris presents the door he drove 45 minutes to get. It was supposed to have built-in-blinds with a luscious and deep stained wooden interior. “Where are the blinds?” “Didn’t have them. Just this screen.” “Hmmm…that’s weird.” “Yea.” “Oh well, hey is that rotting?” Stumbling explanation ensues.
Rotten Altitude?
Up and up he hikes into…new territory once again. Now, he’s entered the land of rotting wood doors! Oh no! As always, it’s time to explore and try something new. It’s a slight bummer that I’ve needlessly brought it upon myself; however, let’s get this door back to something worth using, and also save my “deal of the century” reputation with Michelle.
Materials:
- Piece of Wood
- Wood Putty
- Stain or Paint, Polyurethane, Brushes or Rollers
- Biscuits for Joint Planer
- Wood Glue
Tools:
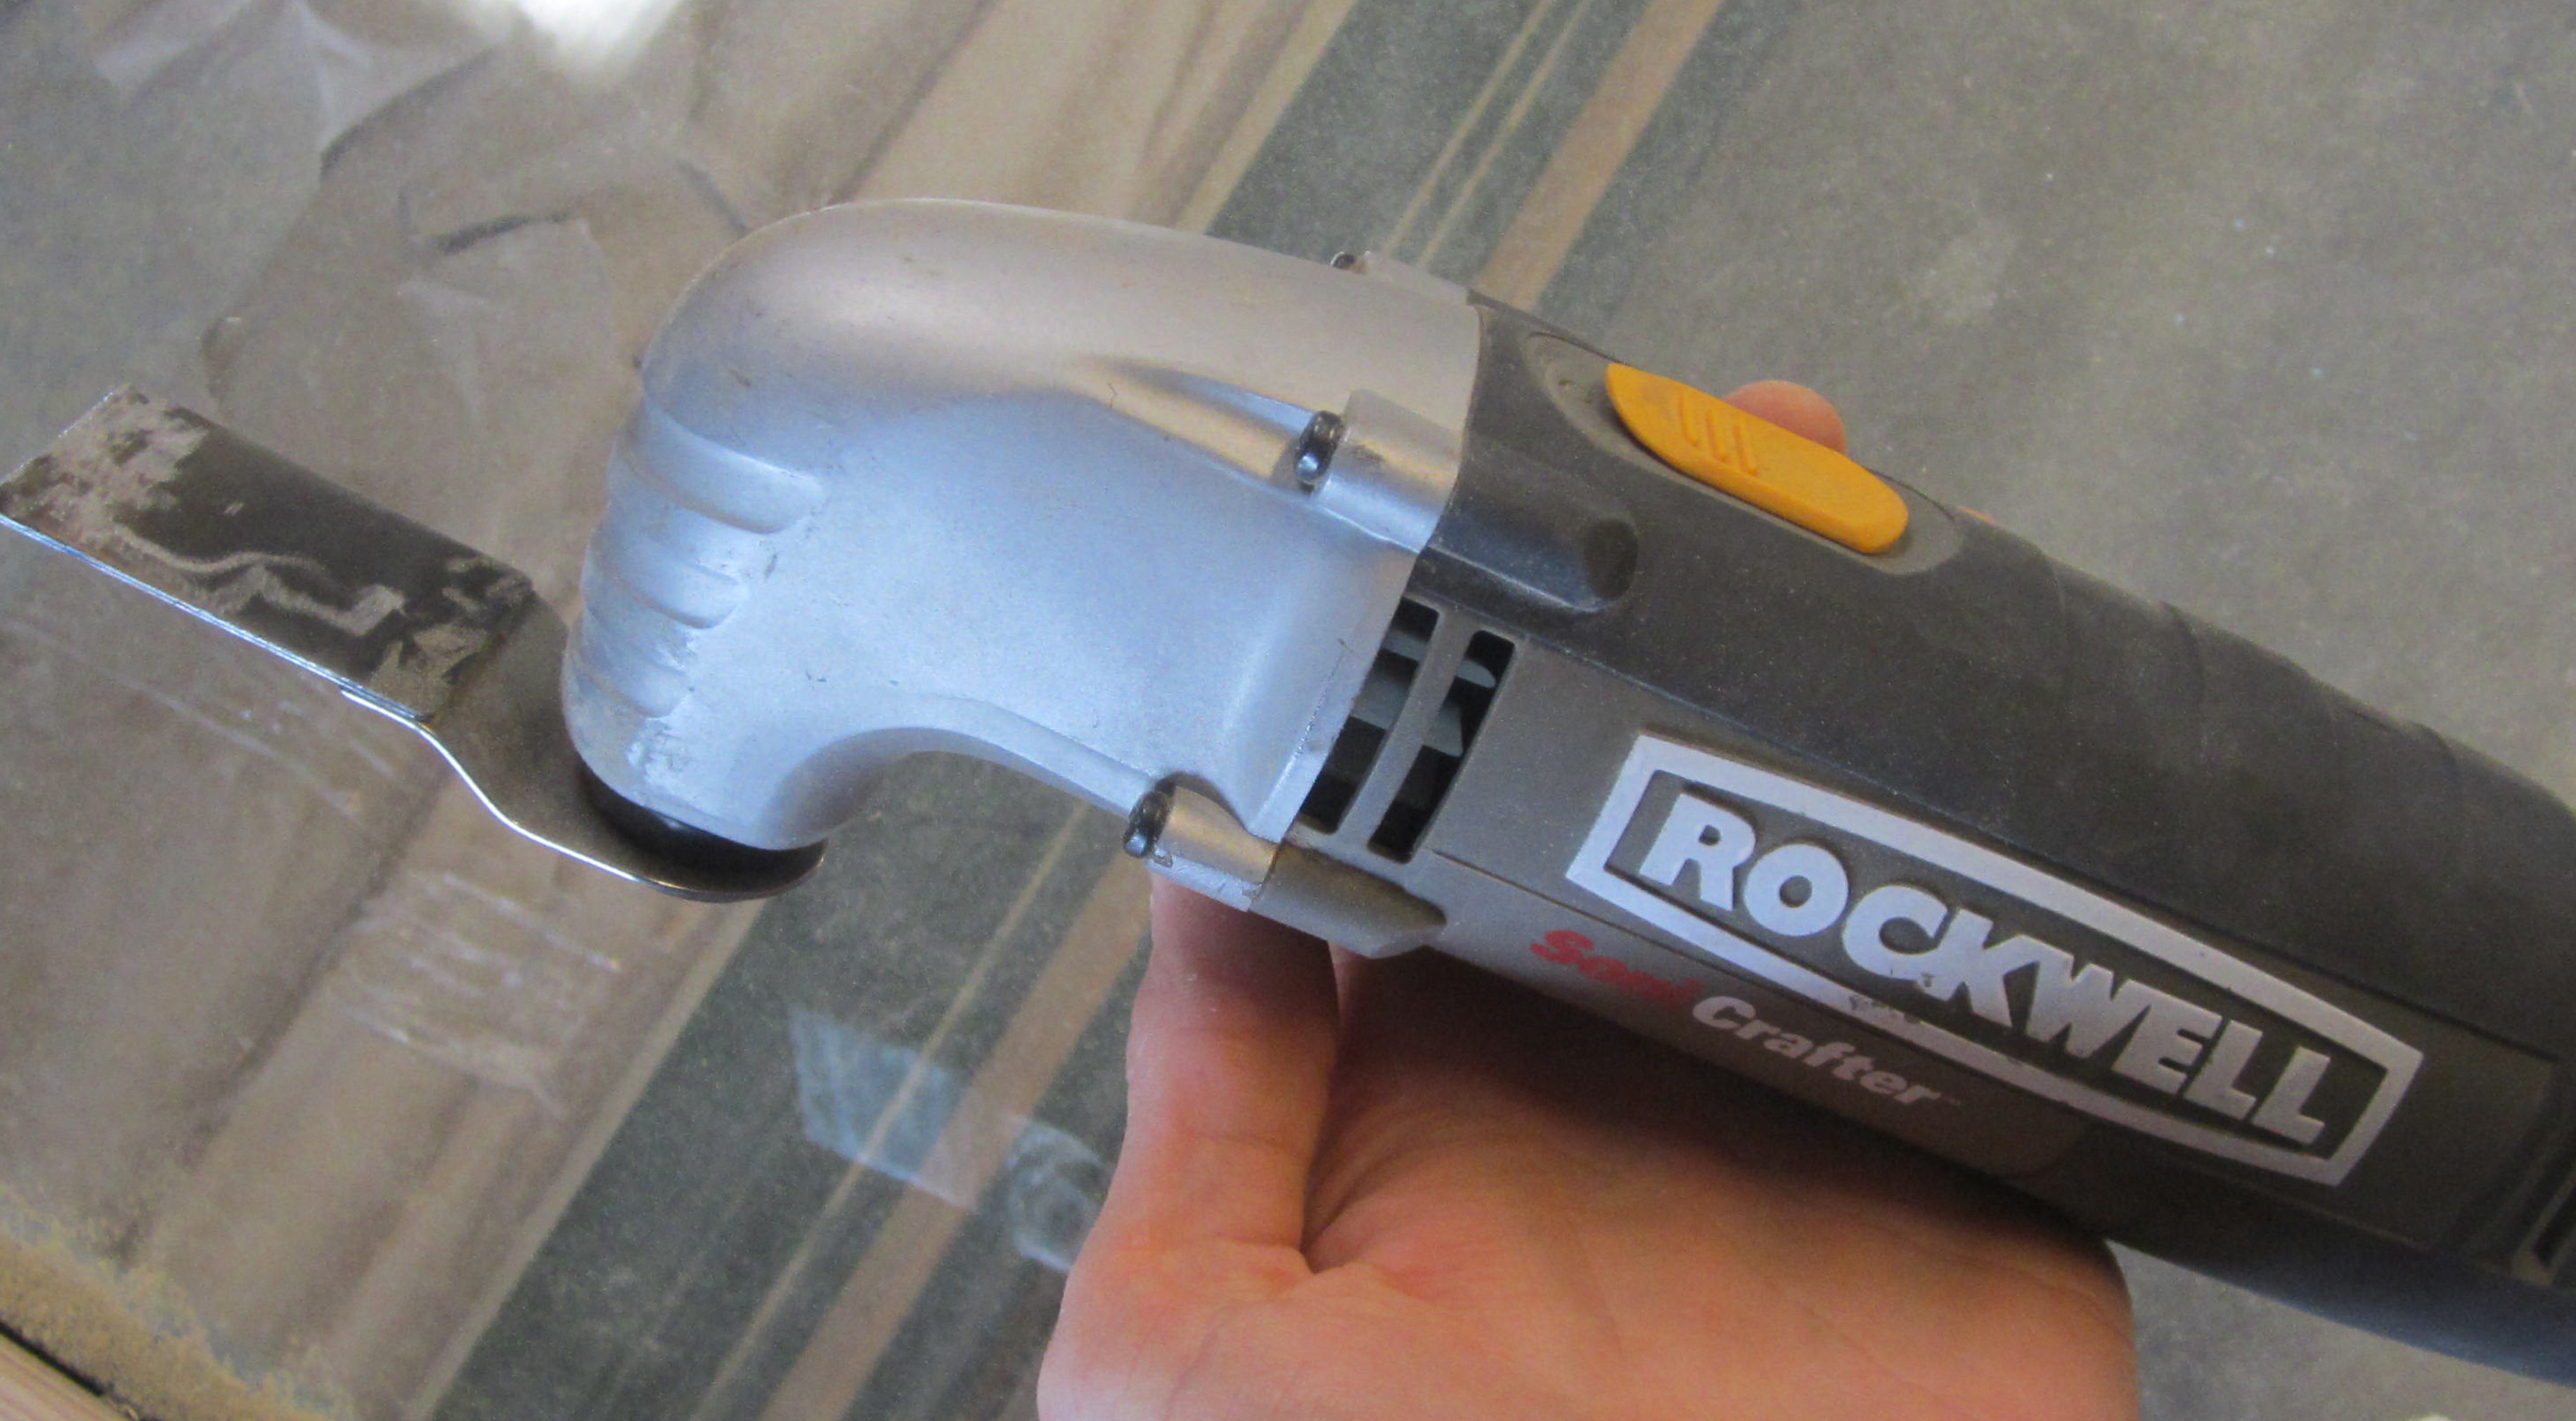
- Oscillating Tool or Multi-Tool
- Chisel
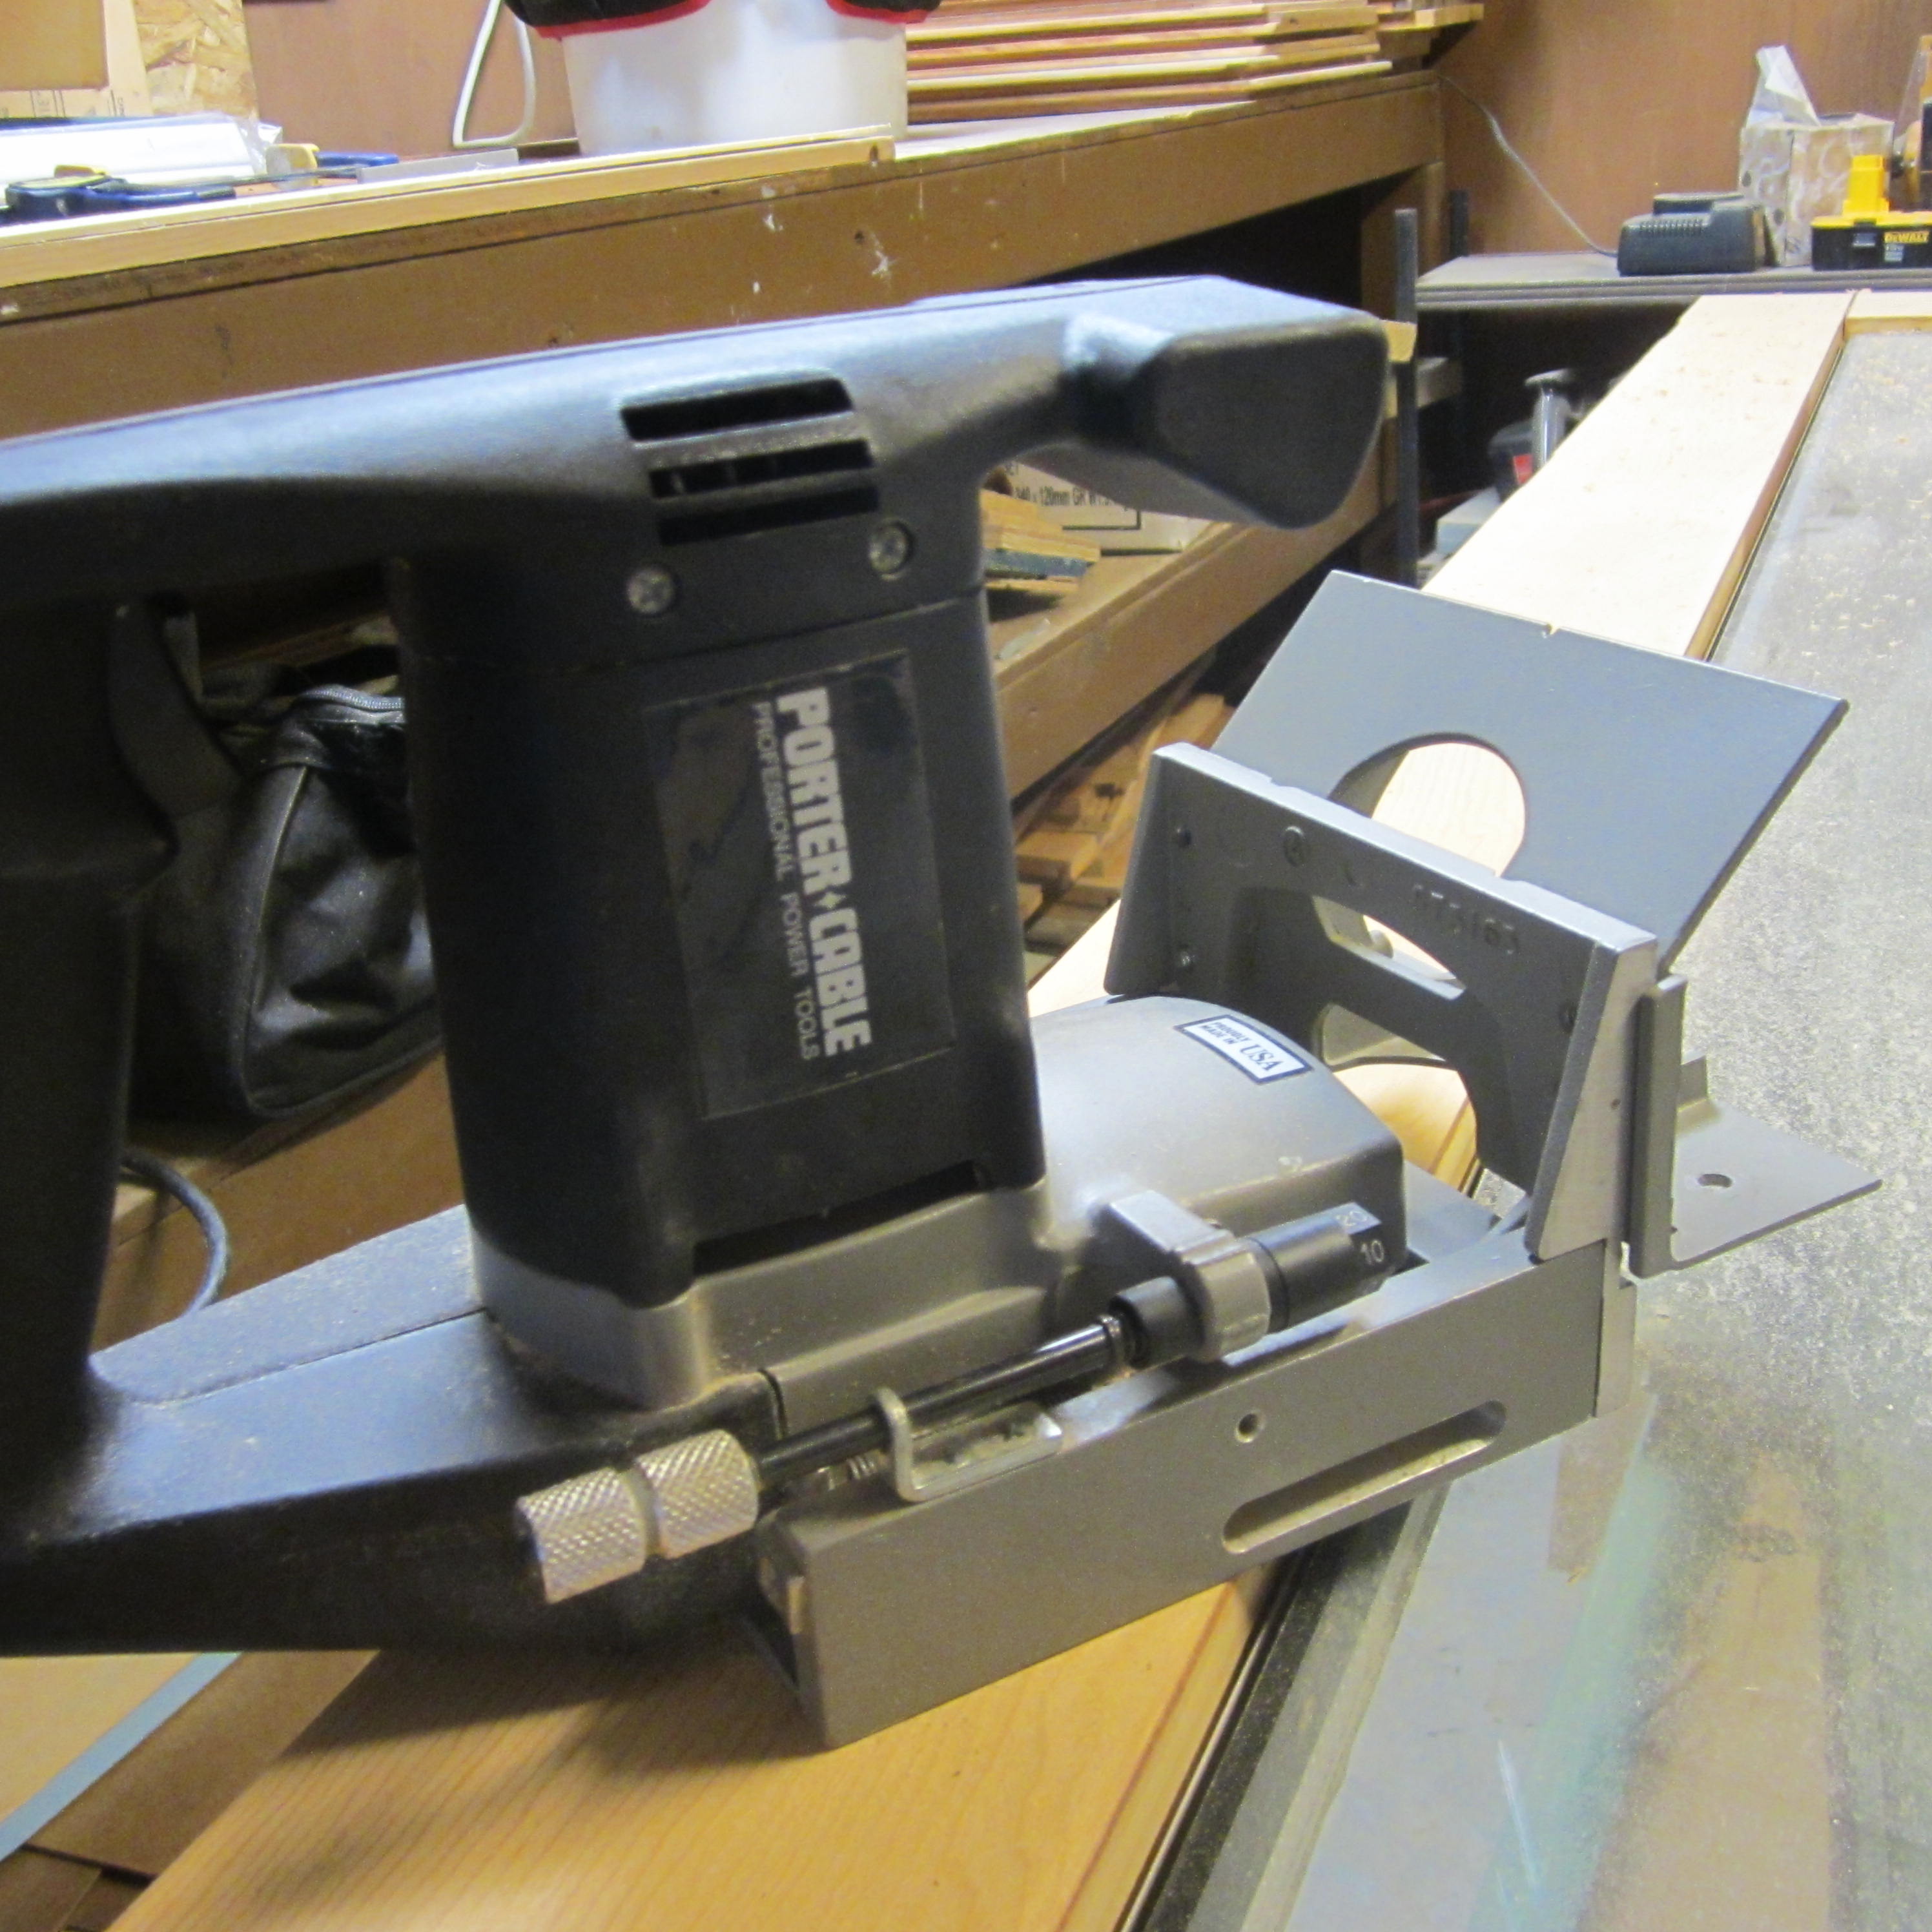
- Joint Planer
- Brad Driver
- Table Saw
- 4 ft Clamps and Small Clamps
- Oscillating Sander and Pads
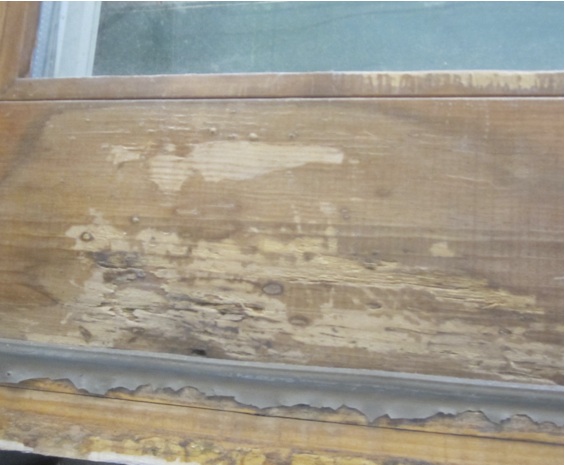
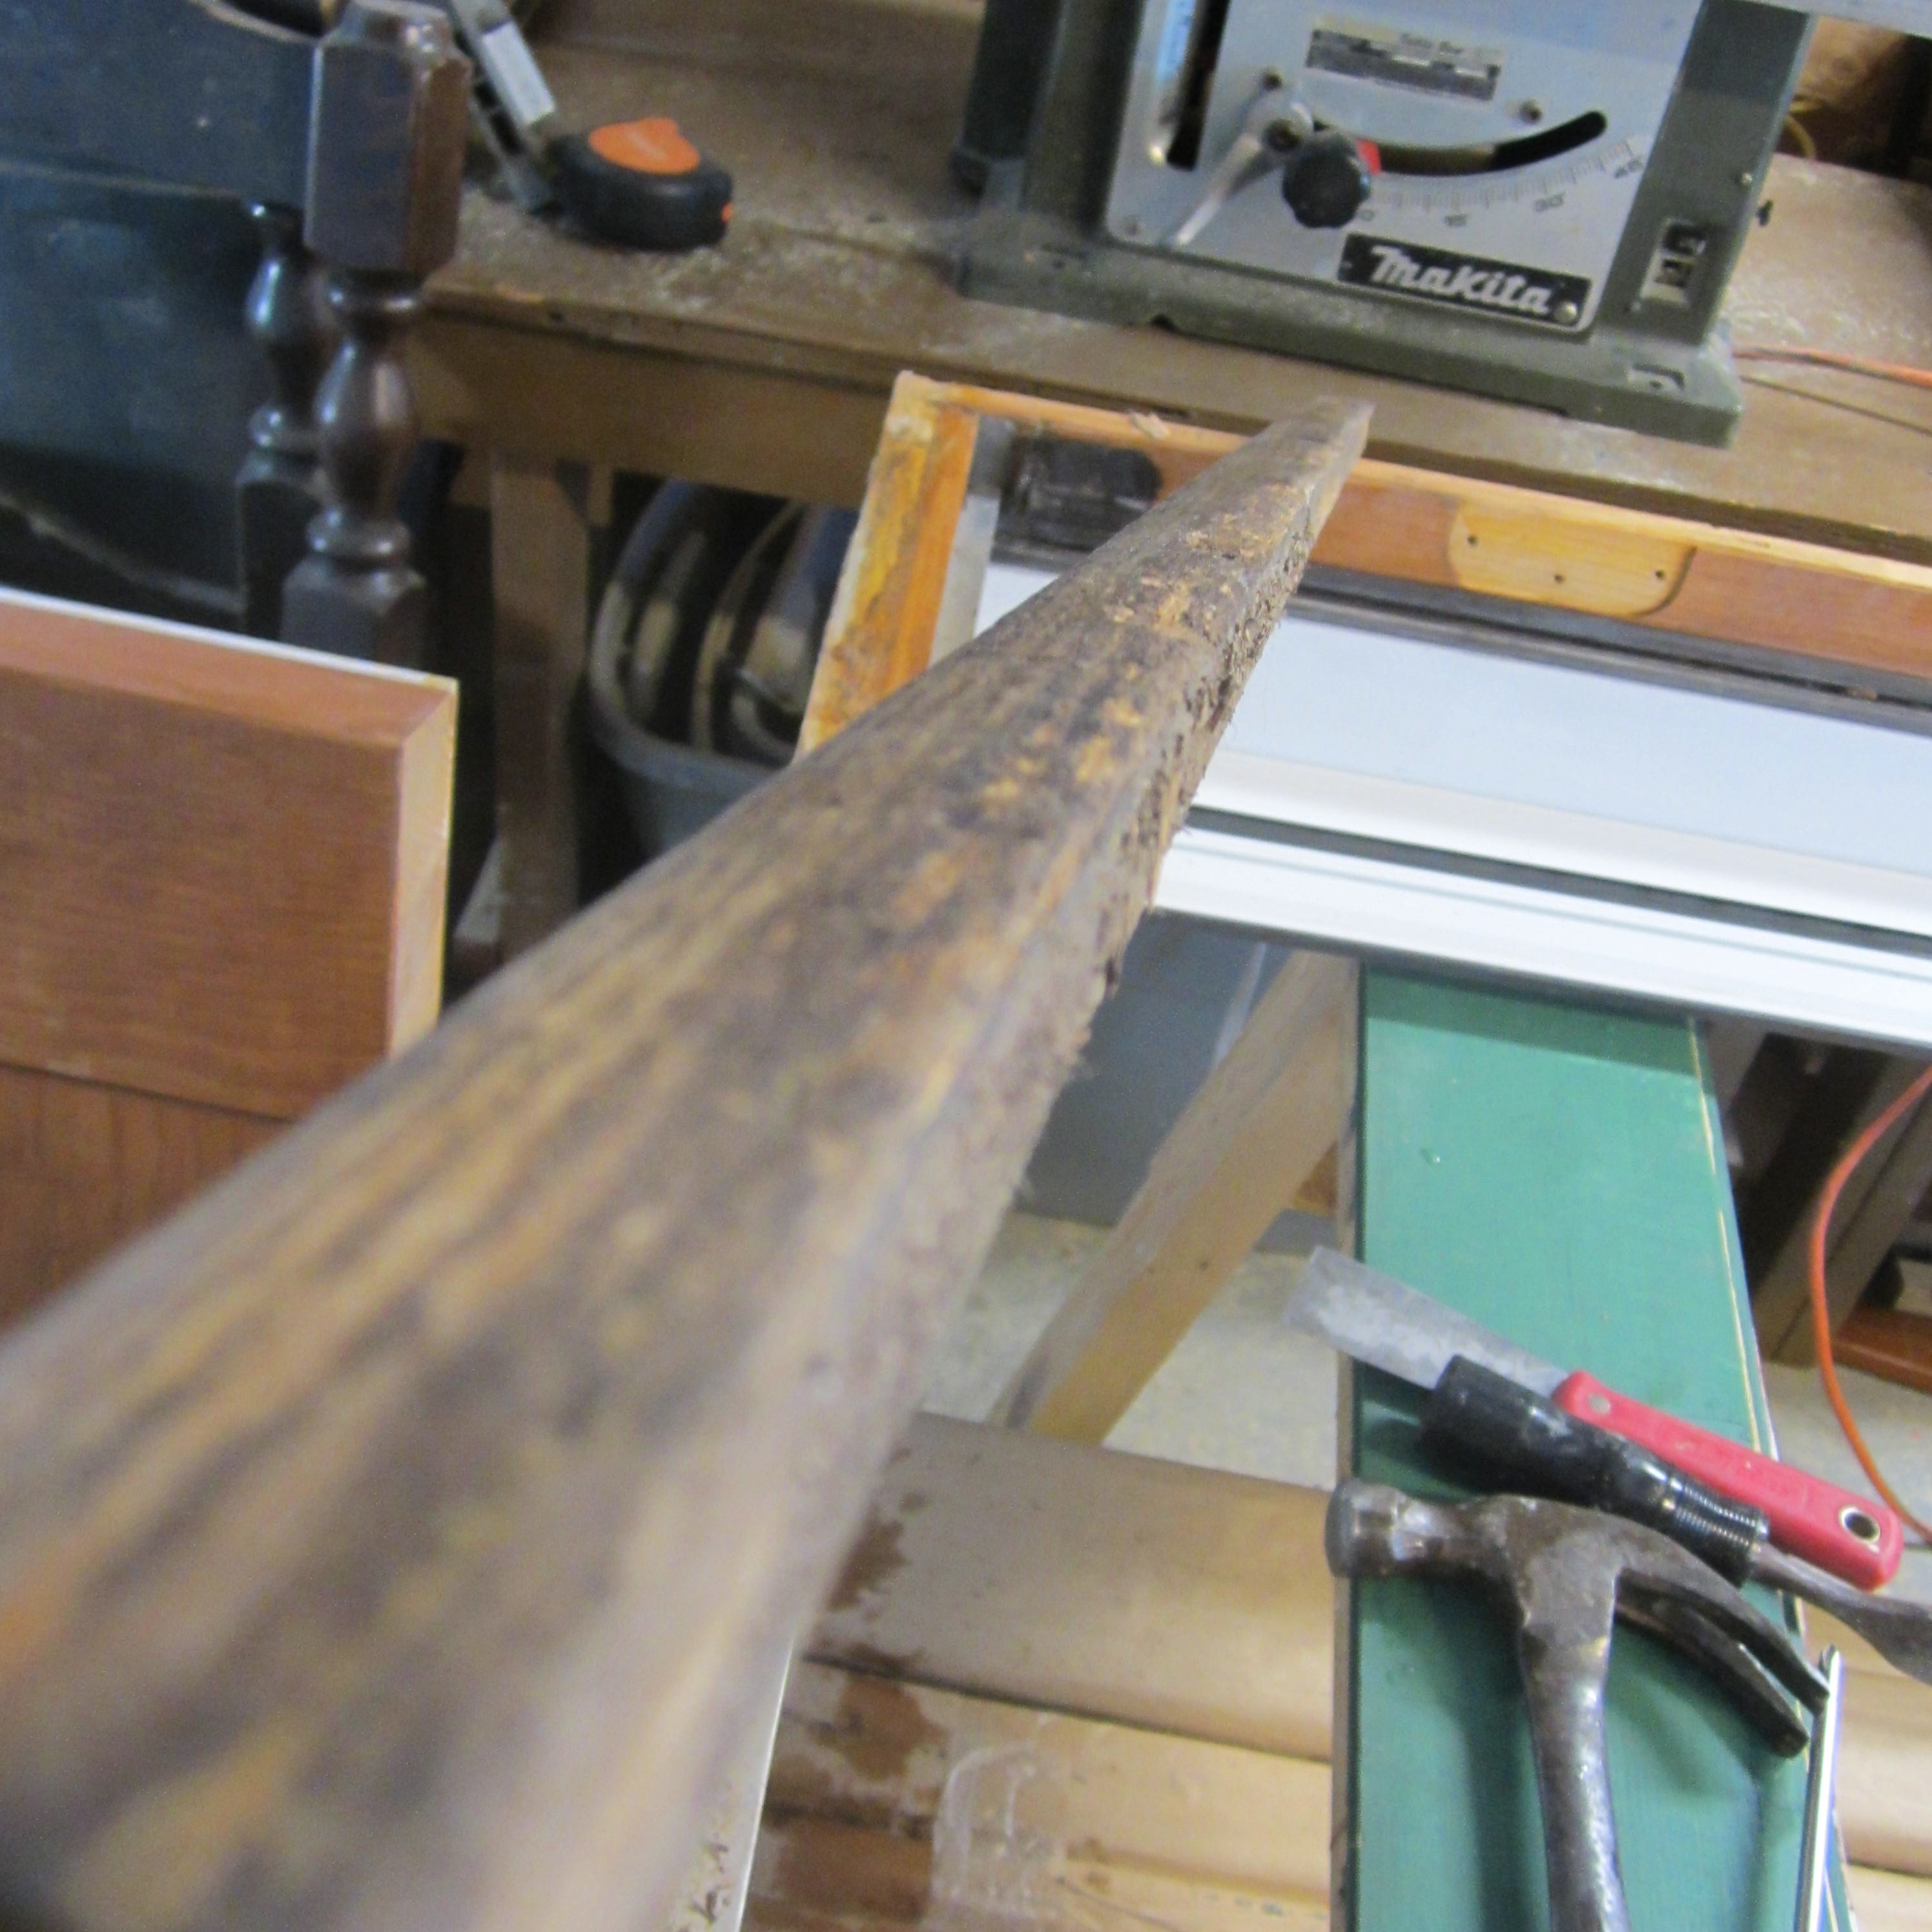
Get Away Decay
To remove the rot I checked out some online videos, and I saw people using an oscillating multi-tool. I didn’t have one, but my neighbor Michael Greenwood did. He was kind enough to lend me the tool; thanks Mike!
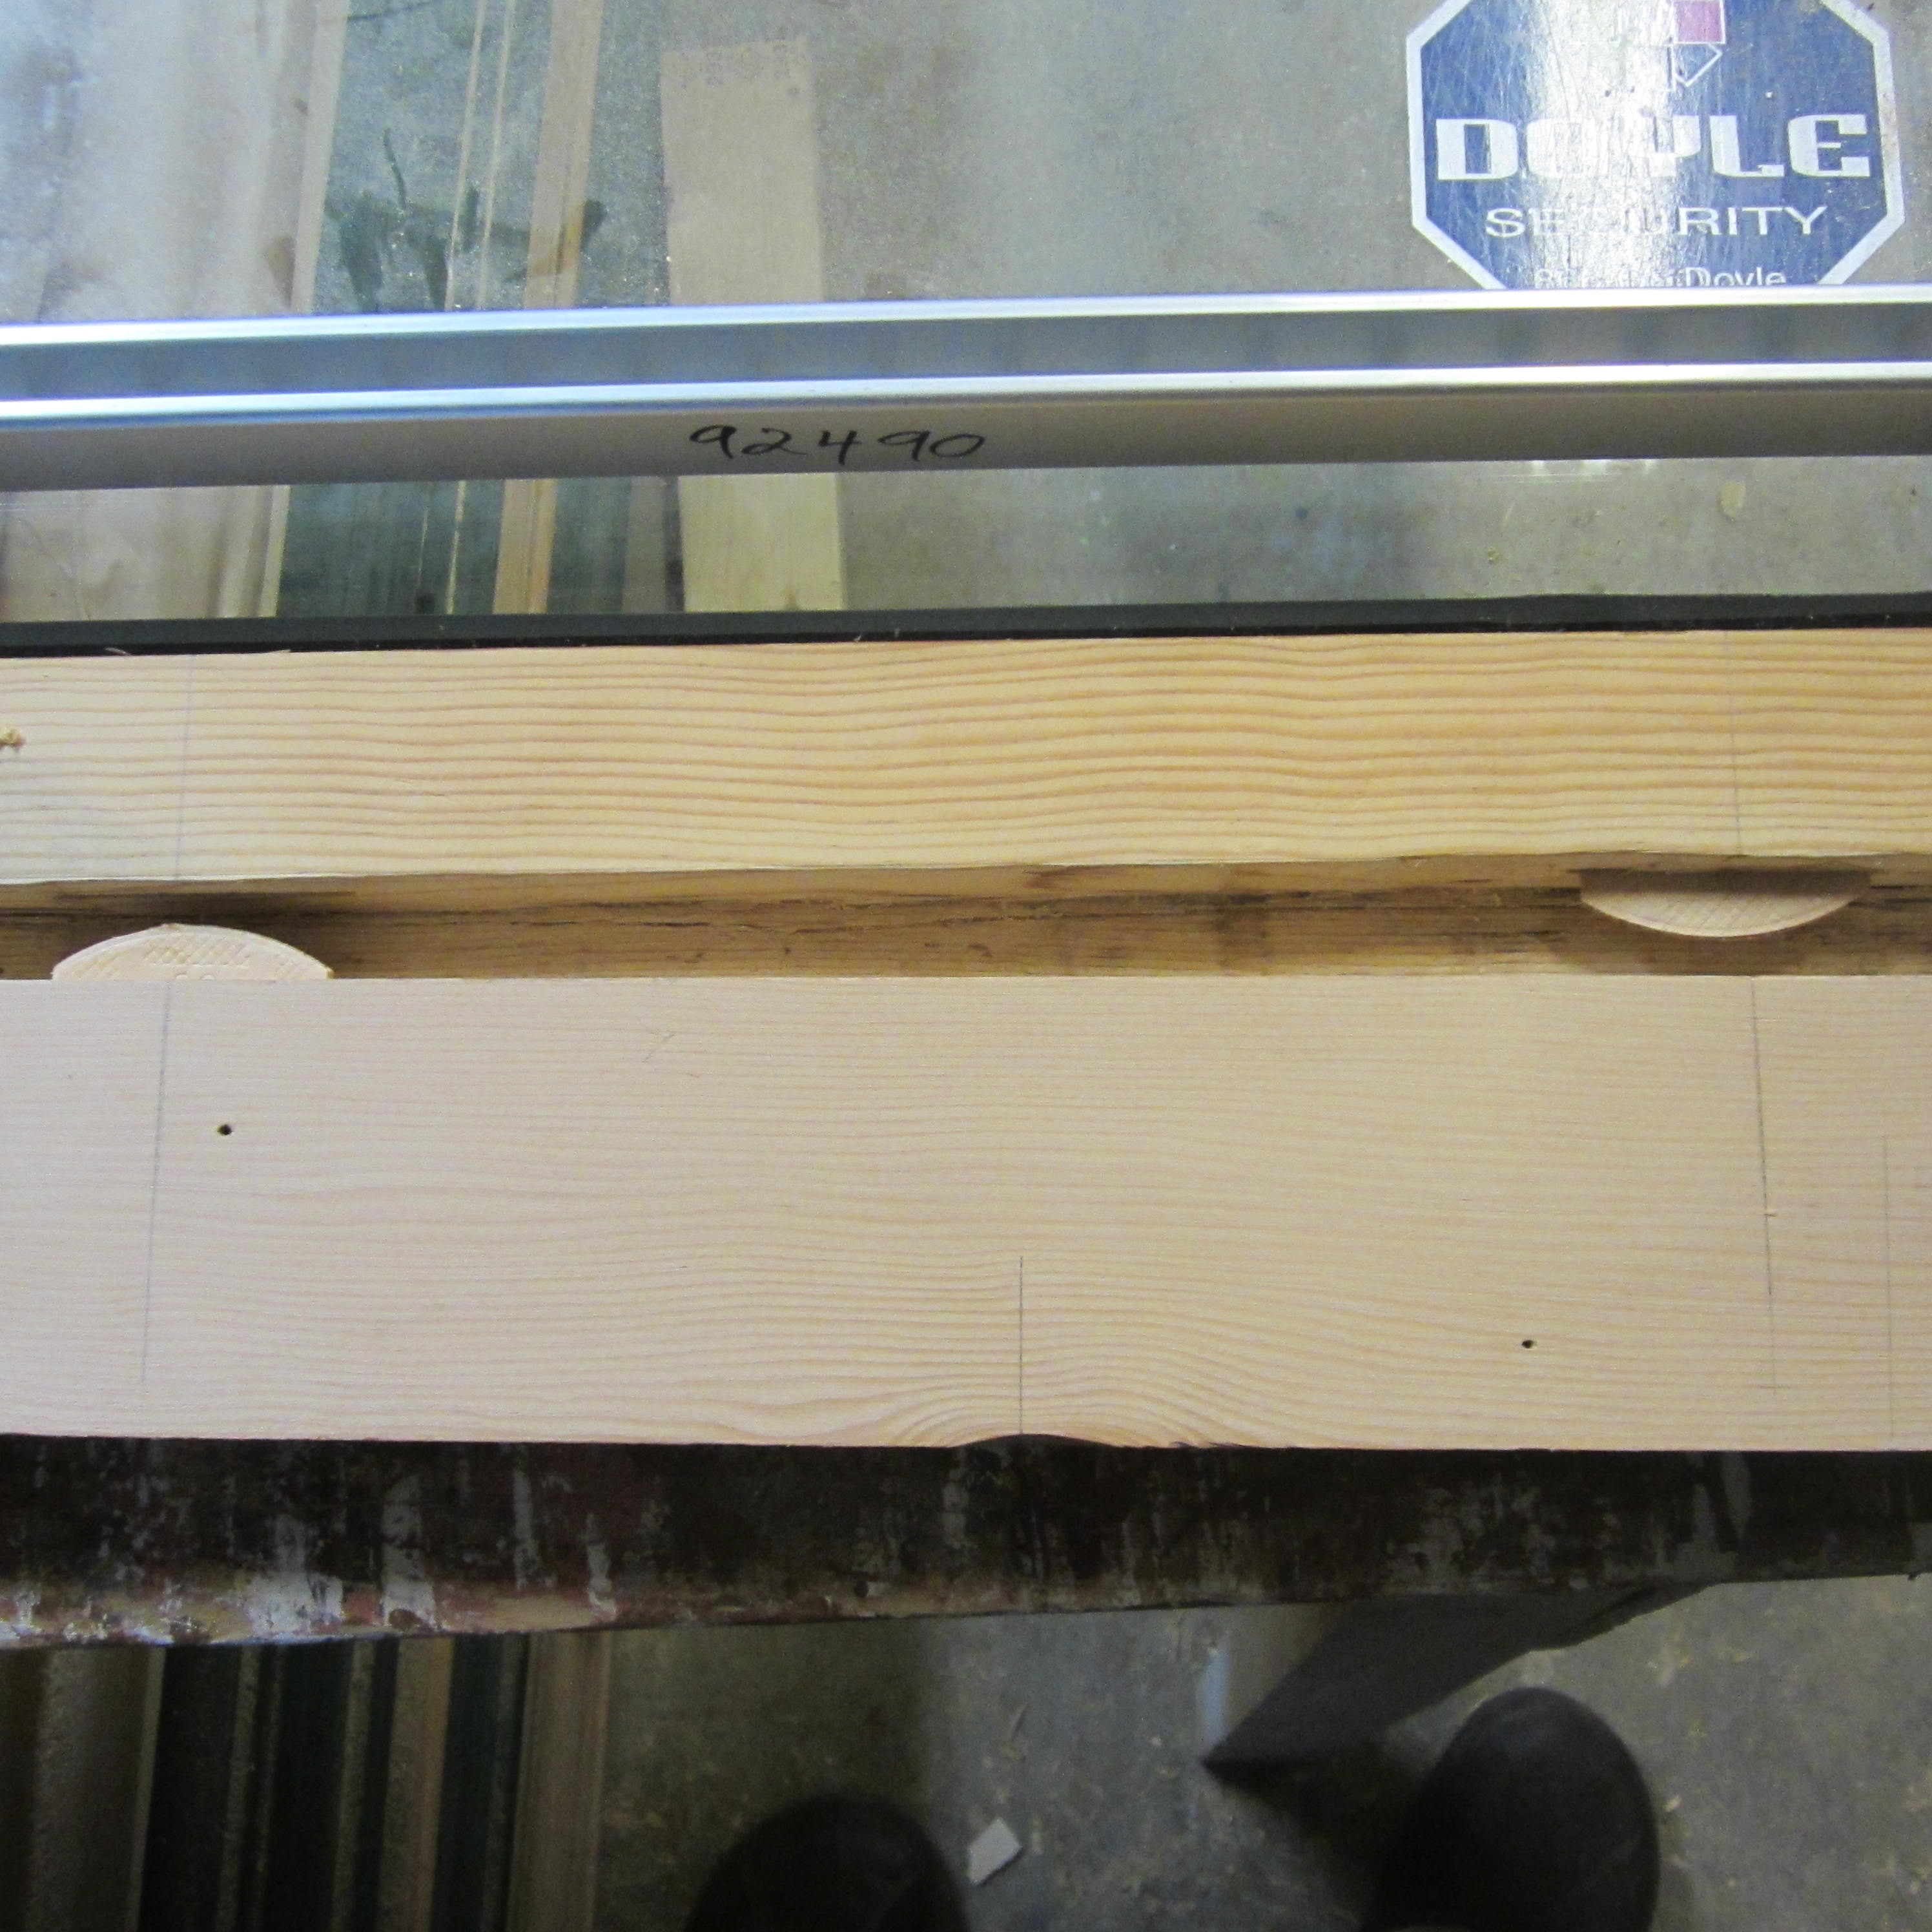
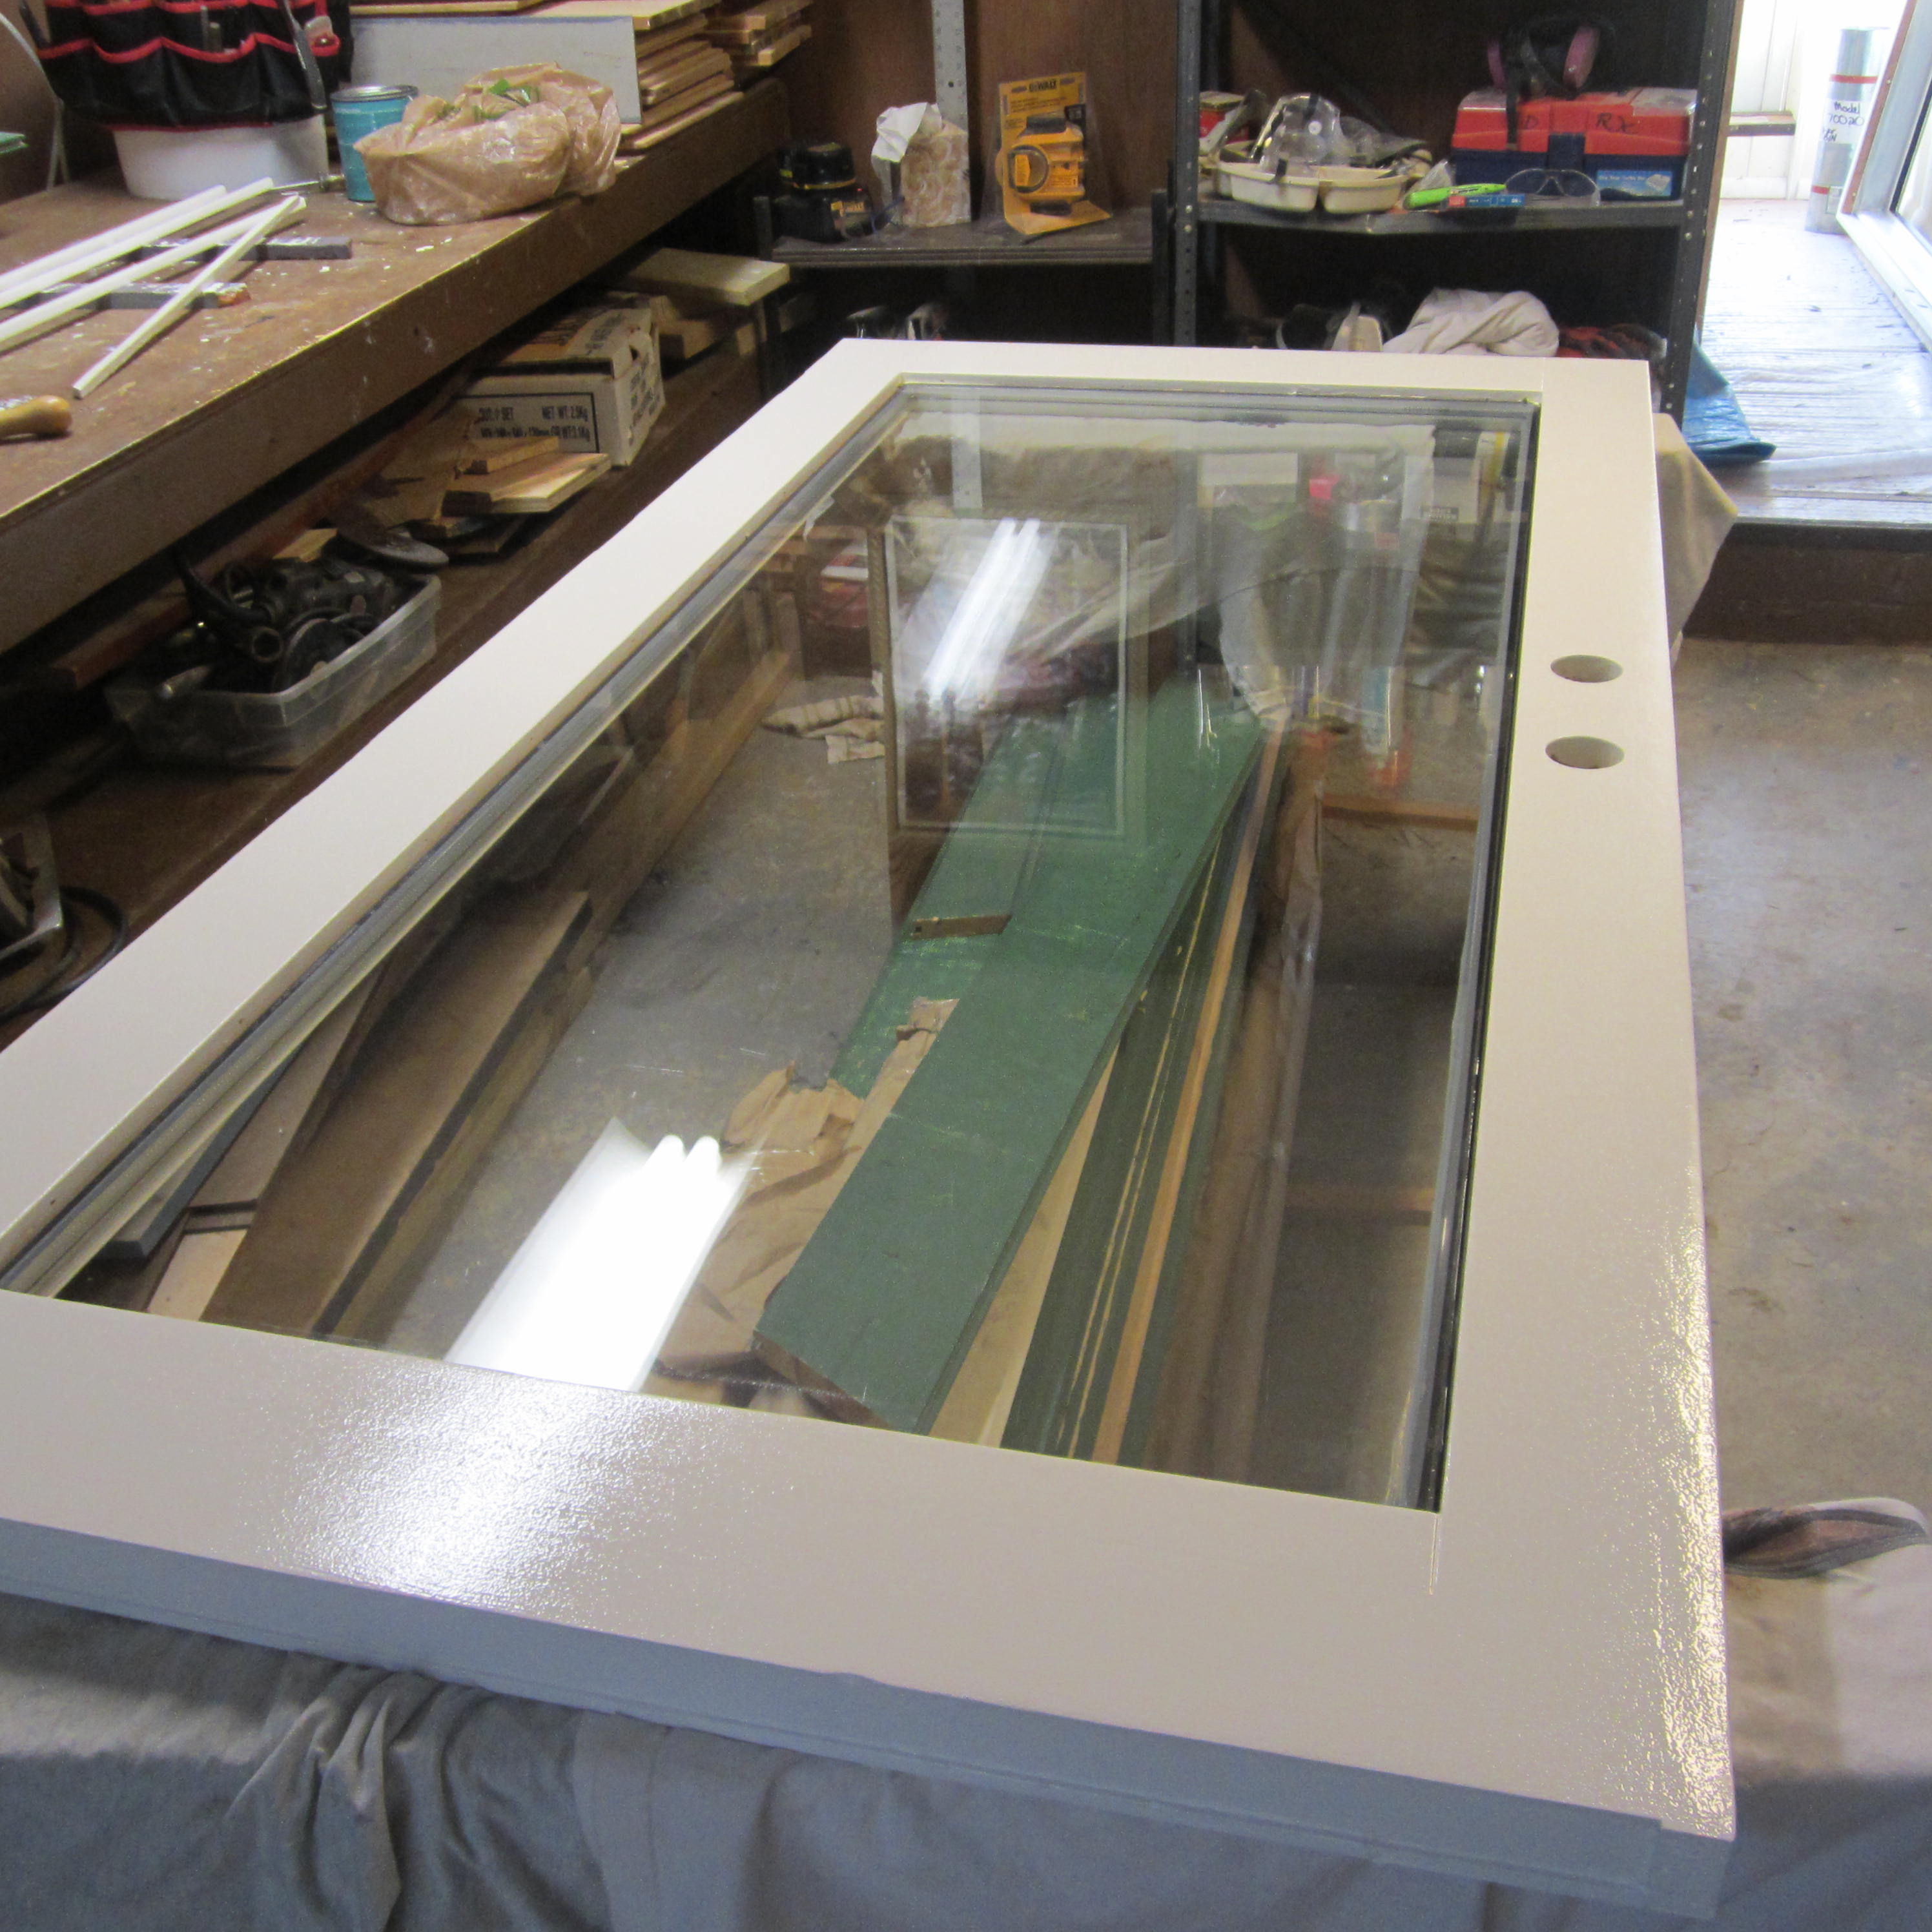
I originally intended to remove the entire bottom piece of framing wood; however, after removing layers of the door, I found that I couldn’t figure out how to remove the tempered glass (probably needed some heat applied to the seals) and I wasn’t sure if I really did want to remove it and make the seal weakened/have to reseal it well, so I decided to just cut out the bad parts. I created my guidelines as well as fastened a piece of wood to coax the oscillating cutter. I removed some good wood on one side so it matched the other side.
I also sanded the entire door and frame at this point. The bottom threshold piece was pretty beat up and I thought I’d have to replace it, but it was a nice hardwood and sanding it did the trick.
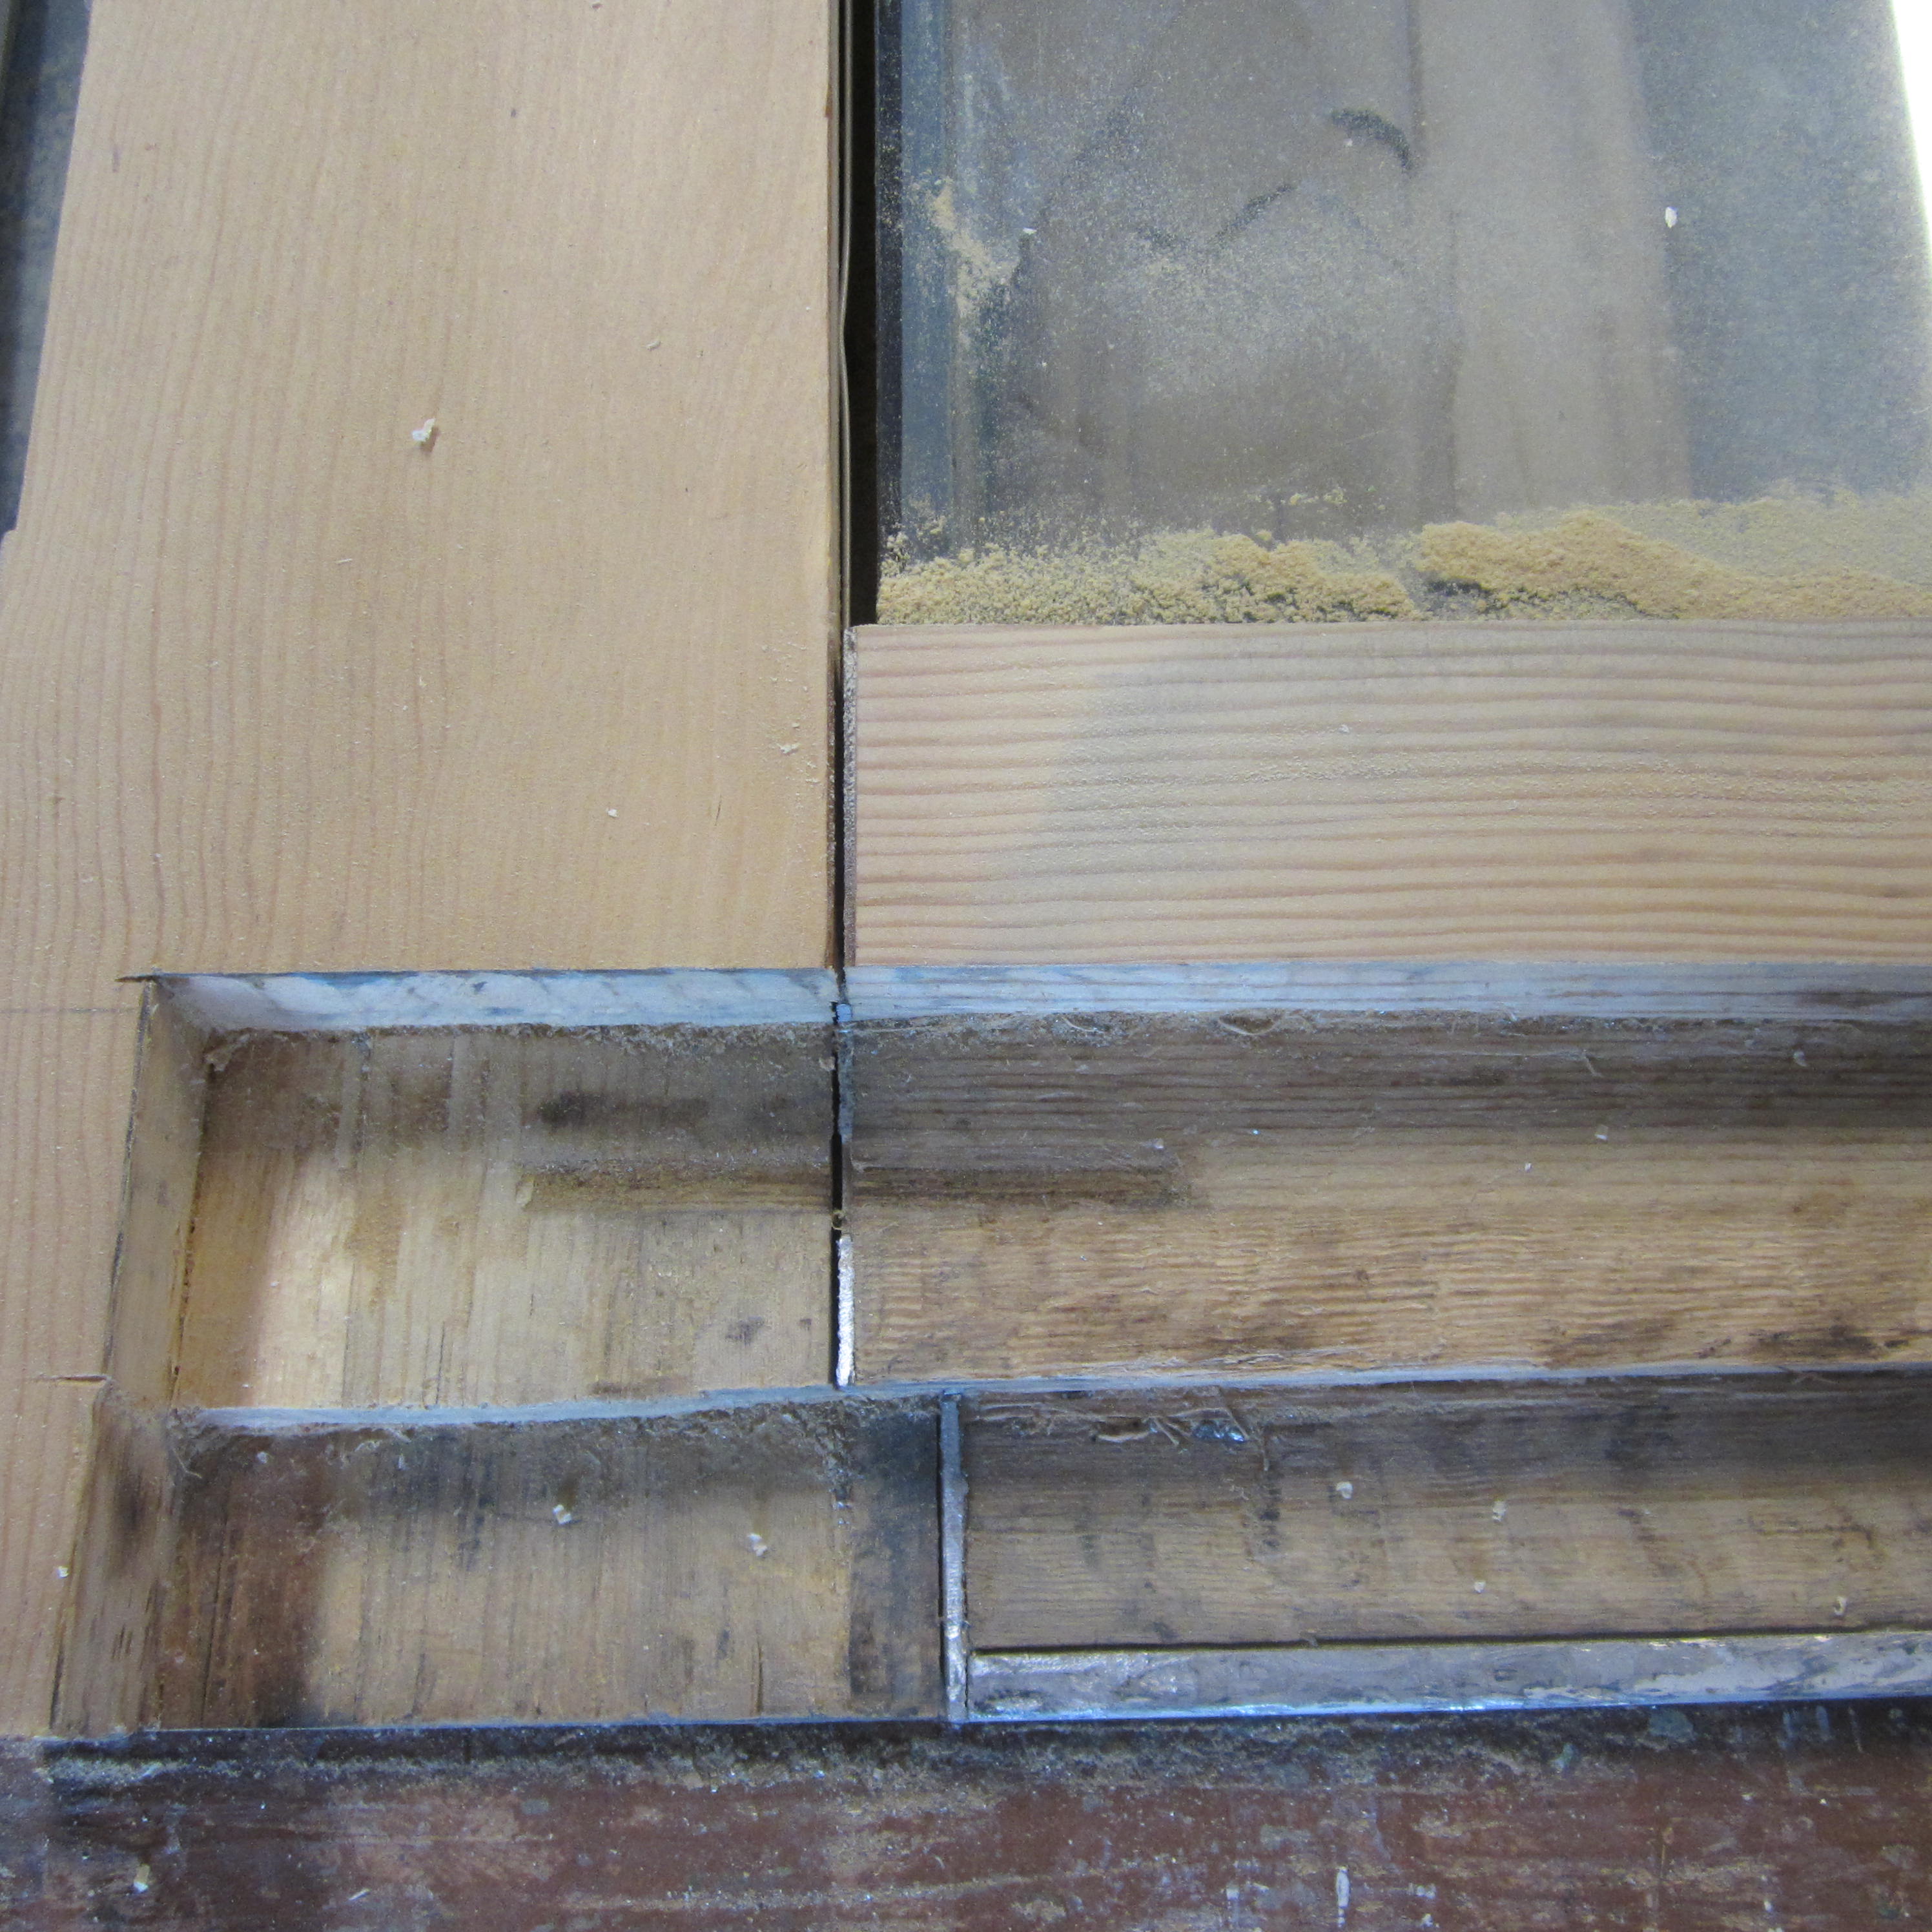
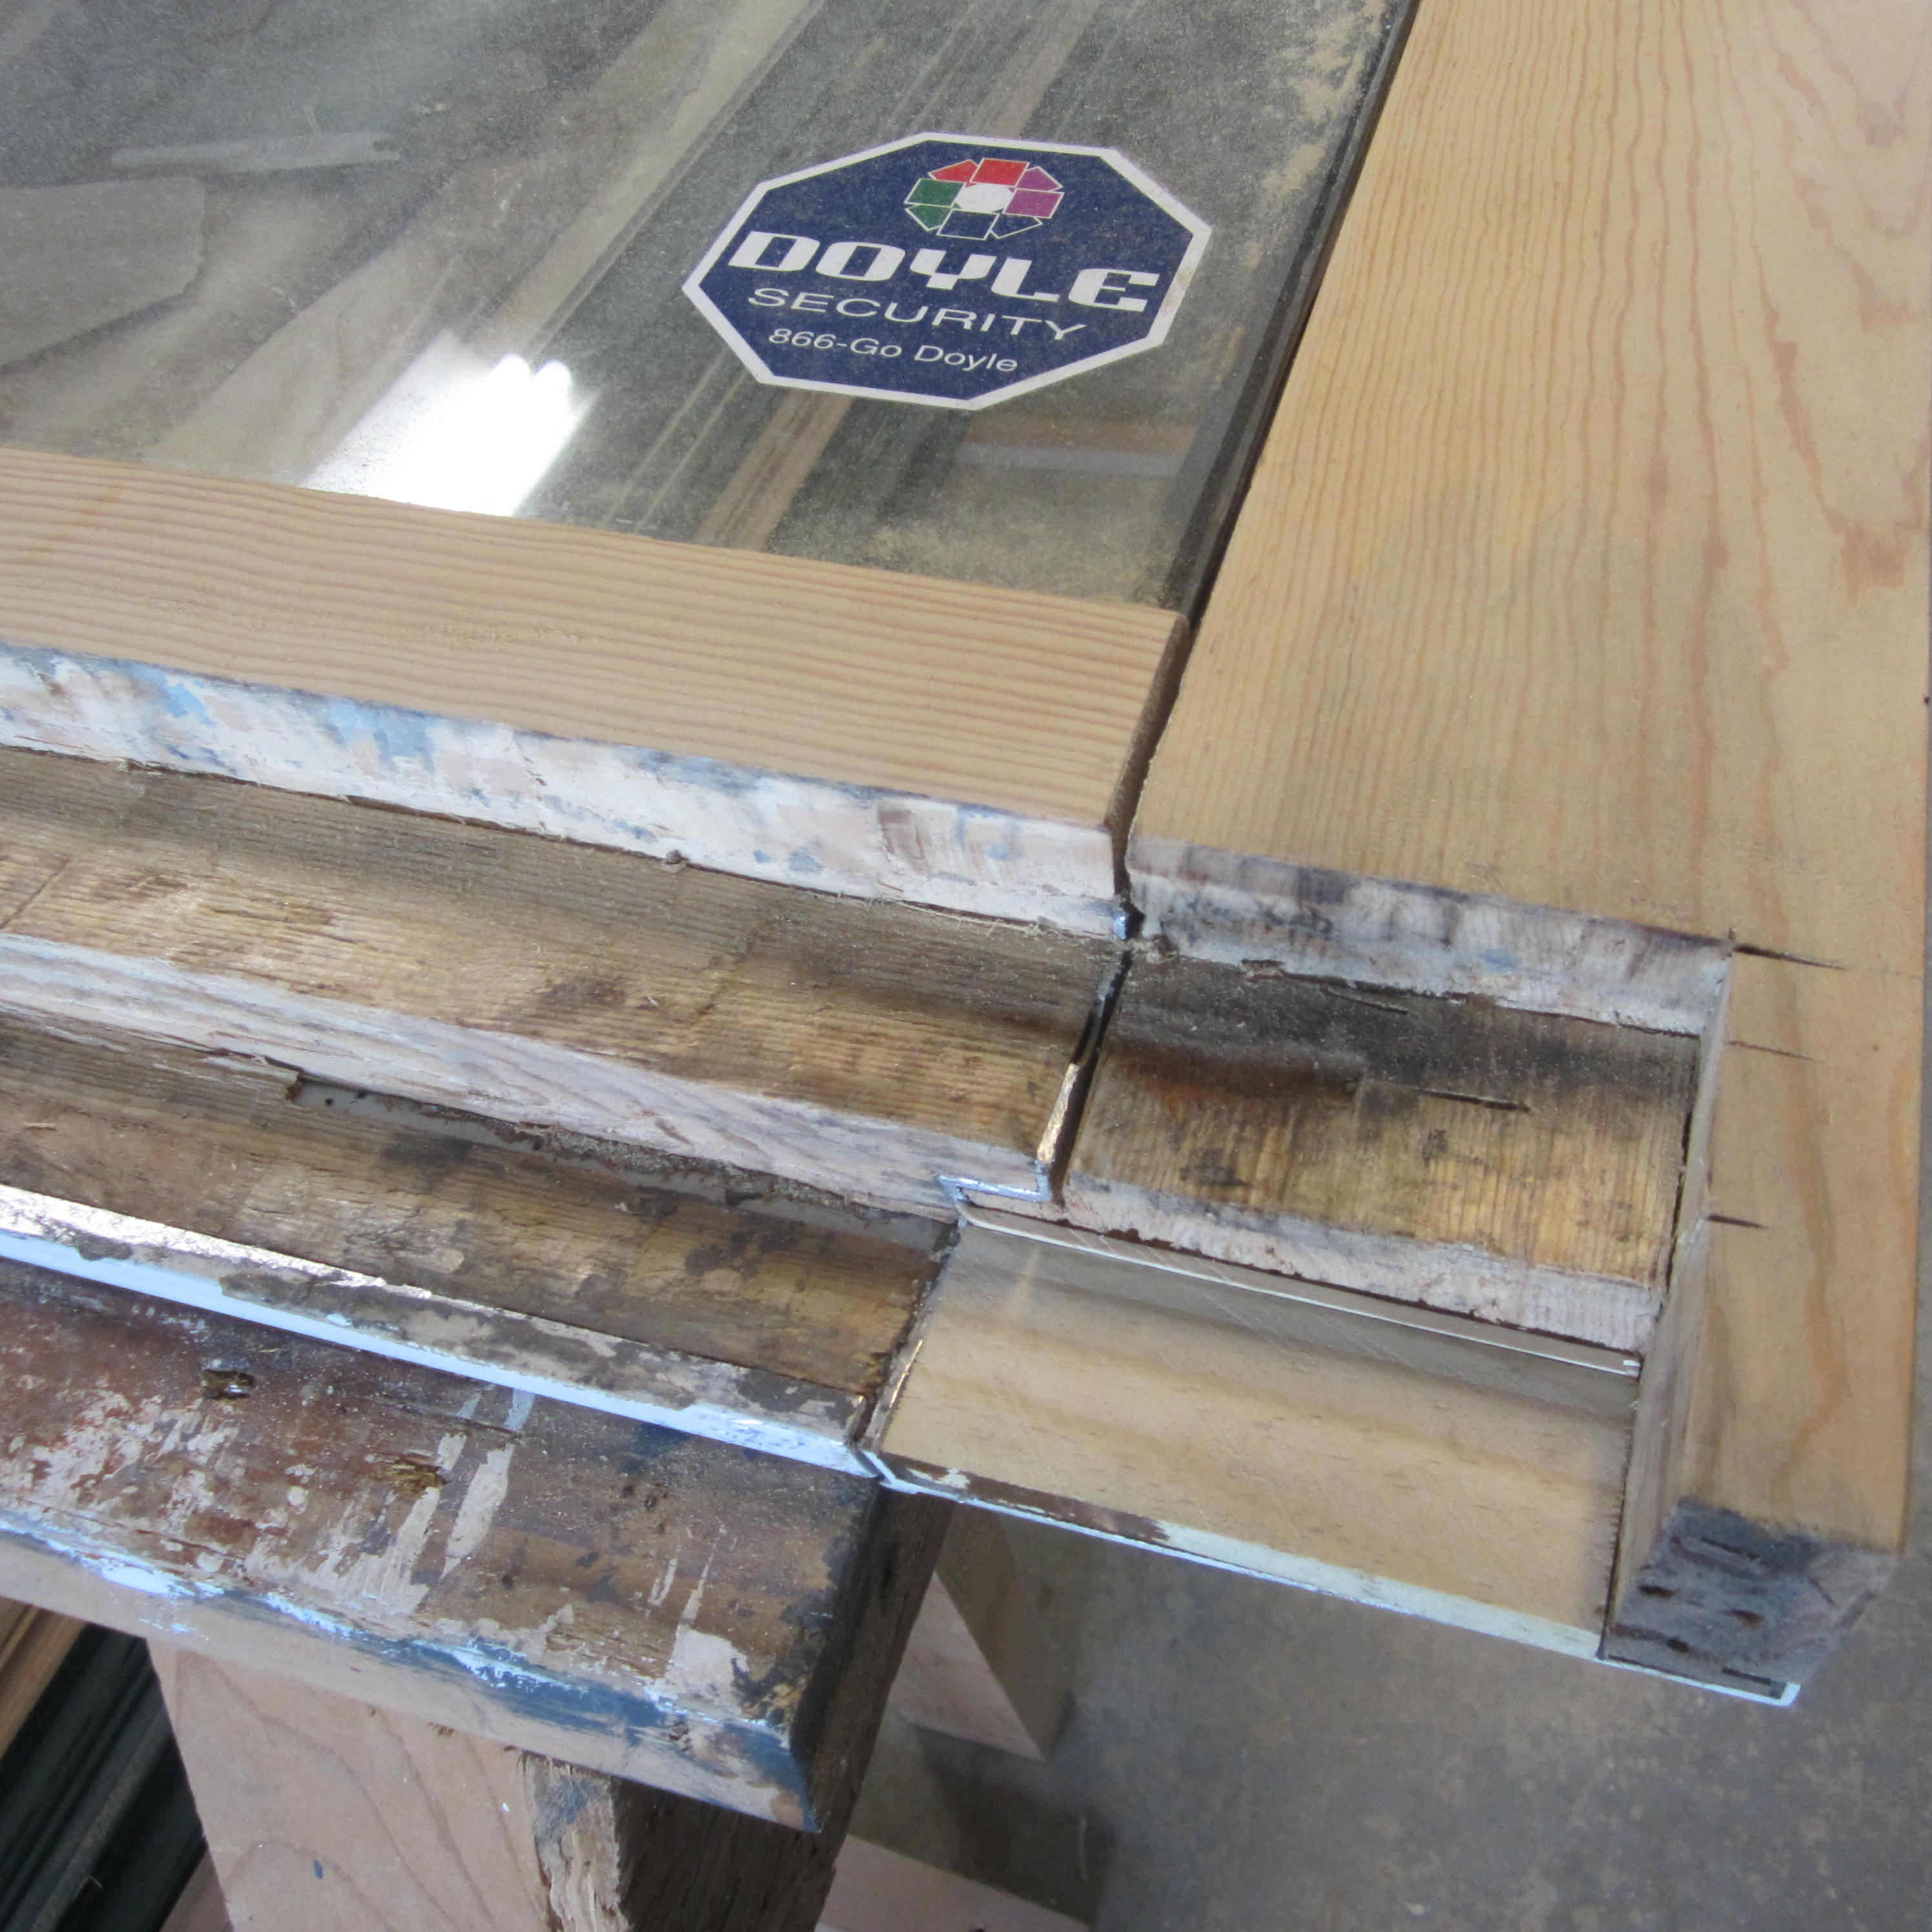
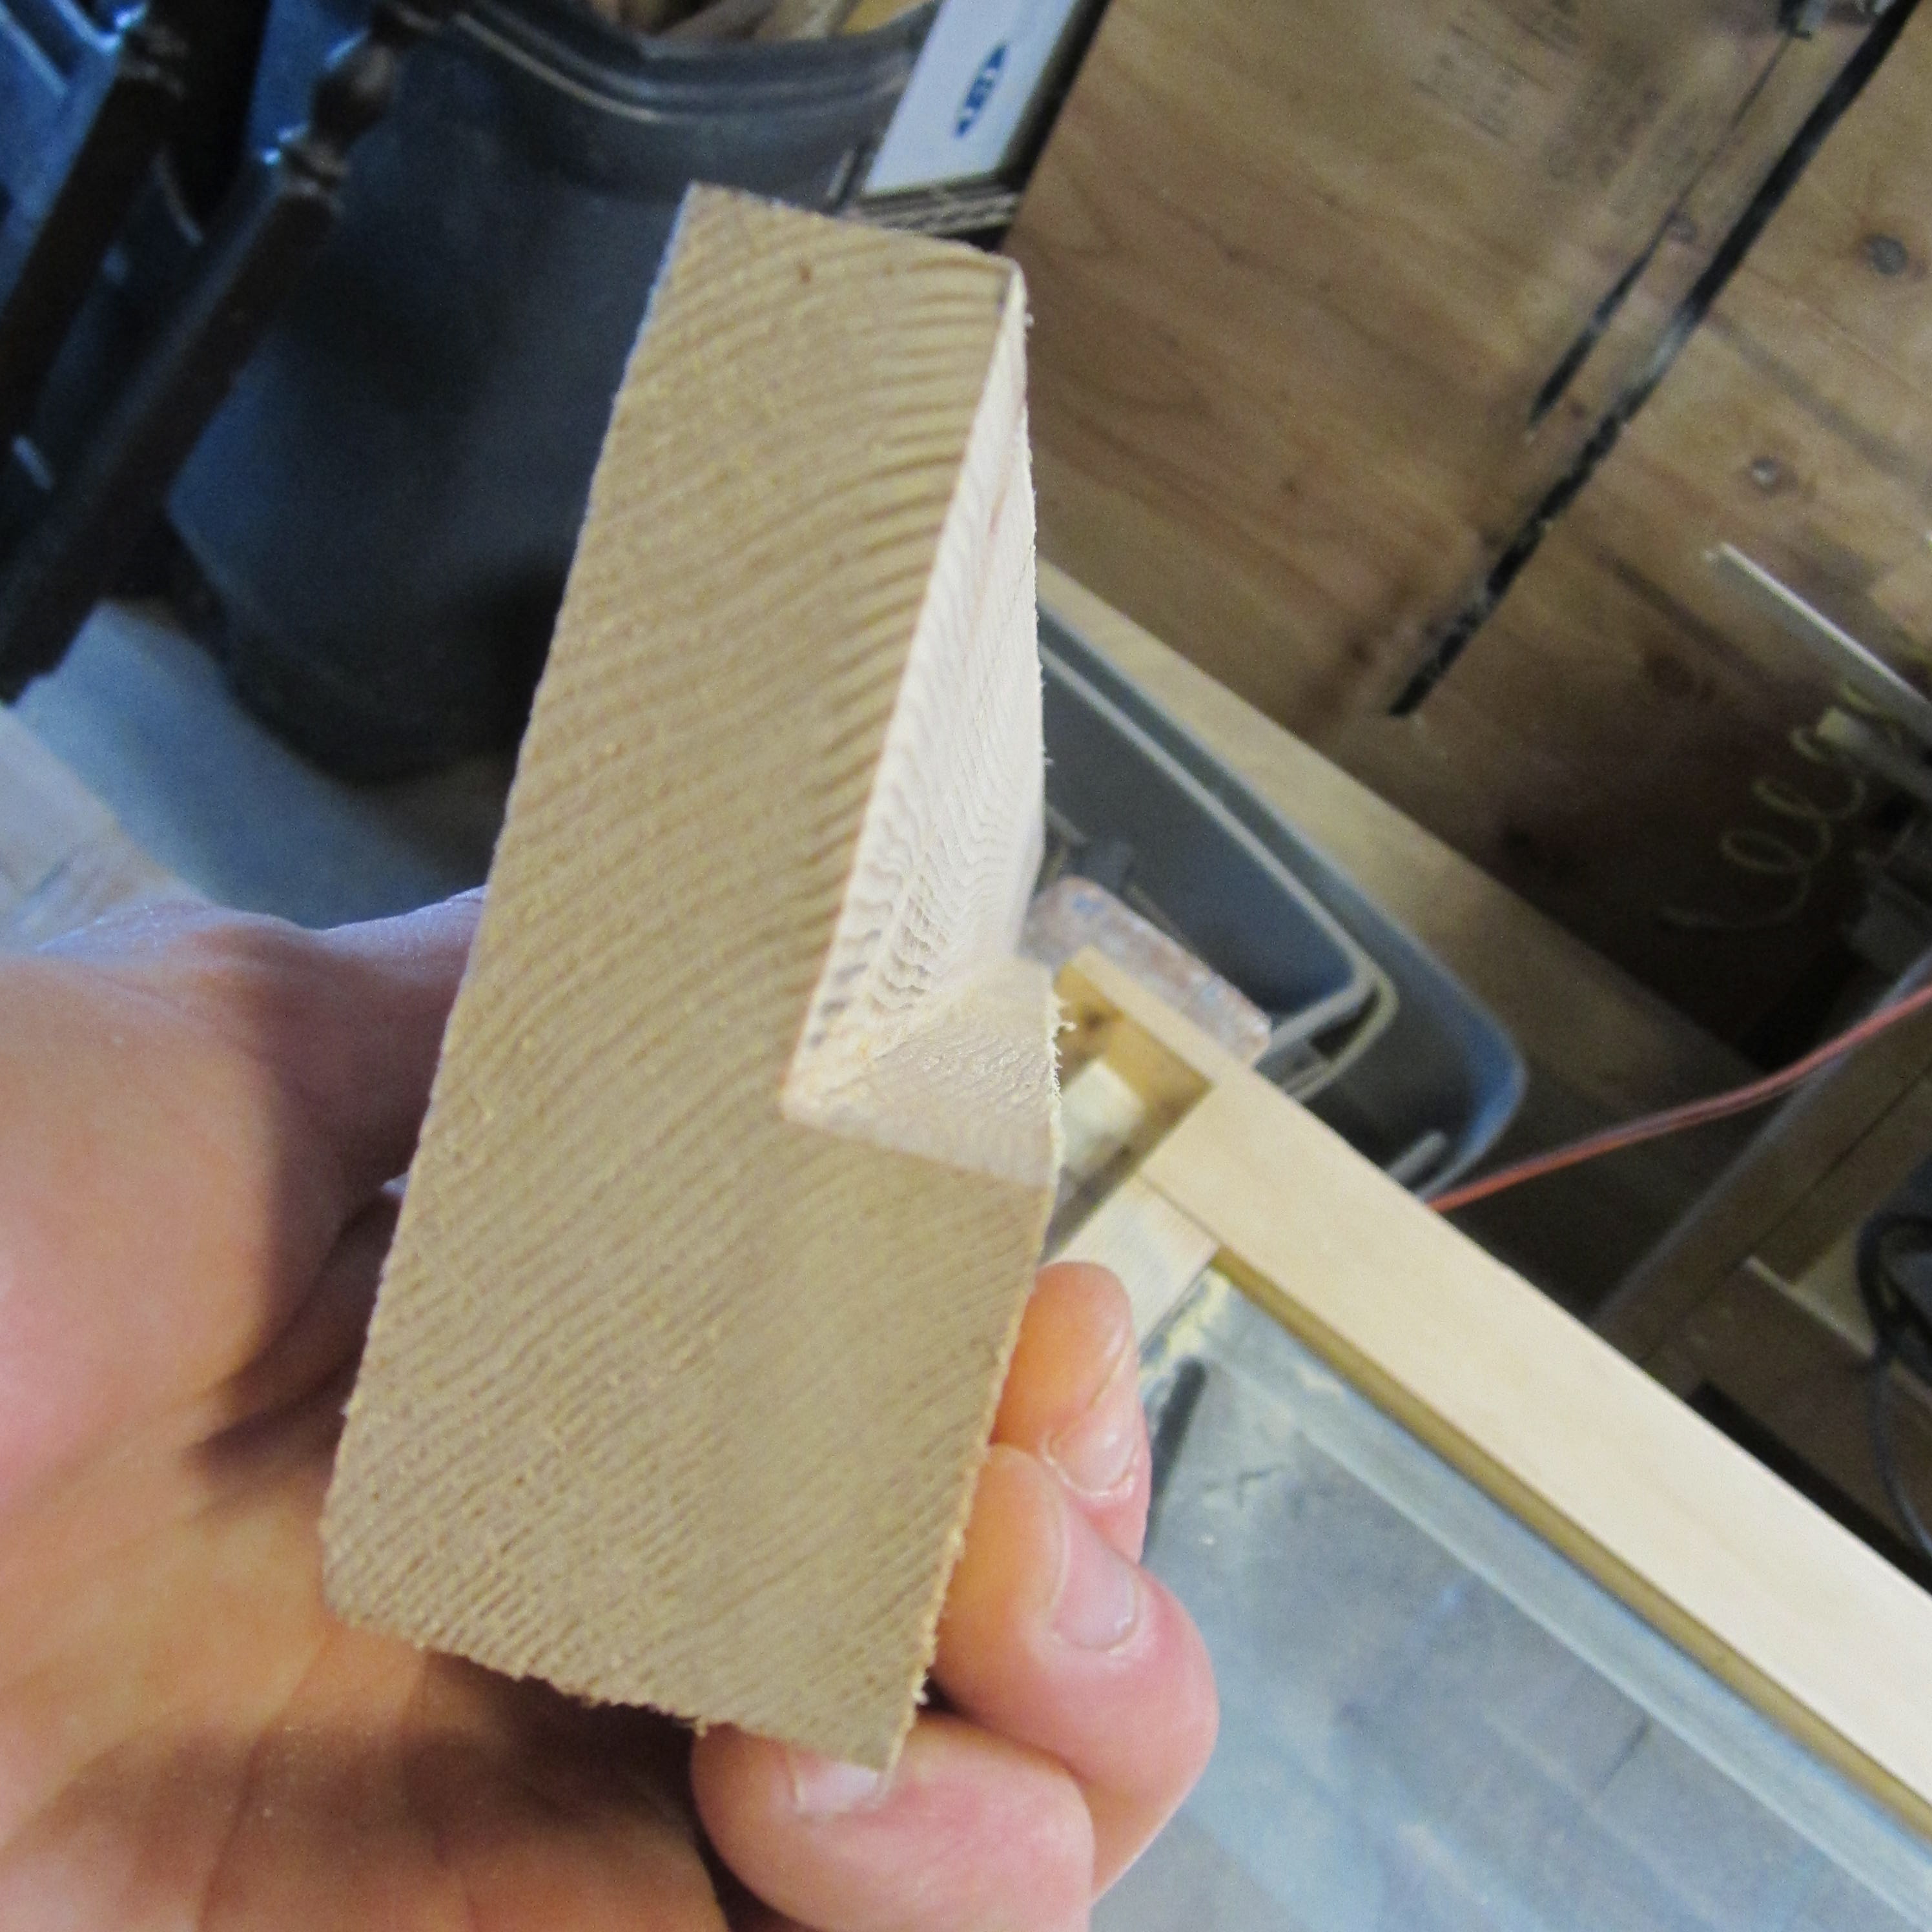
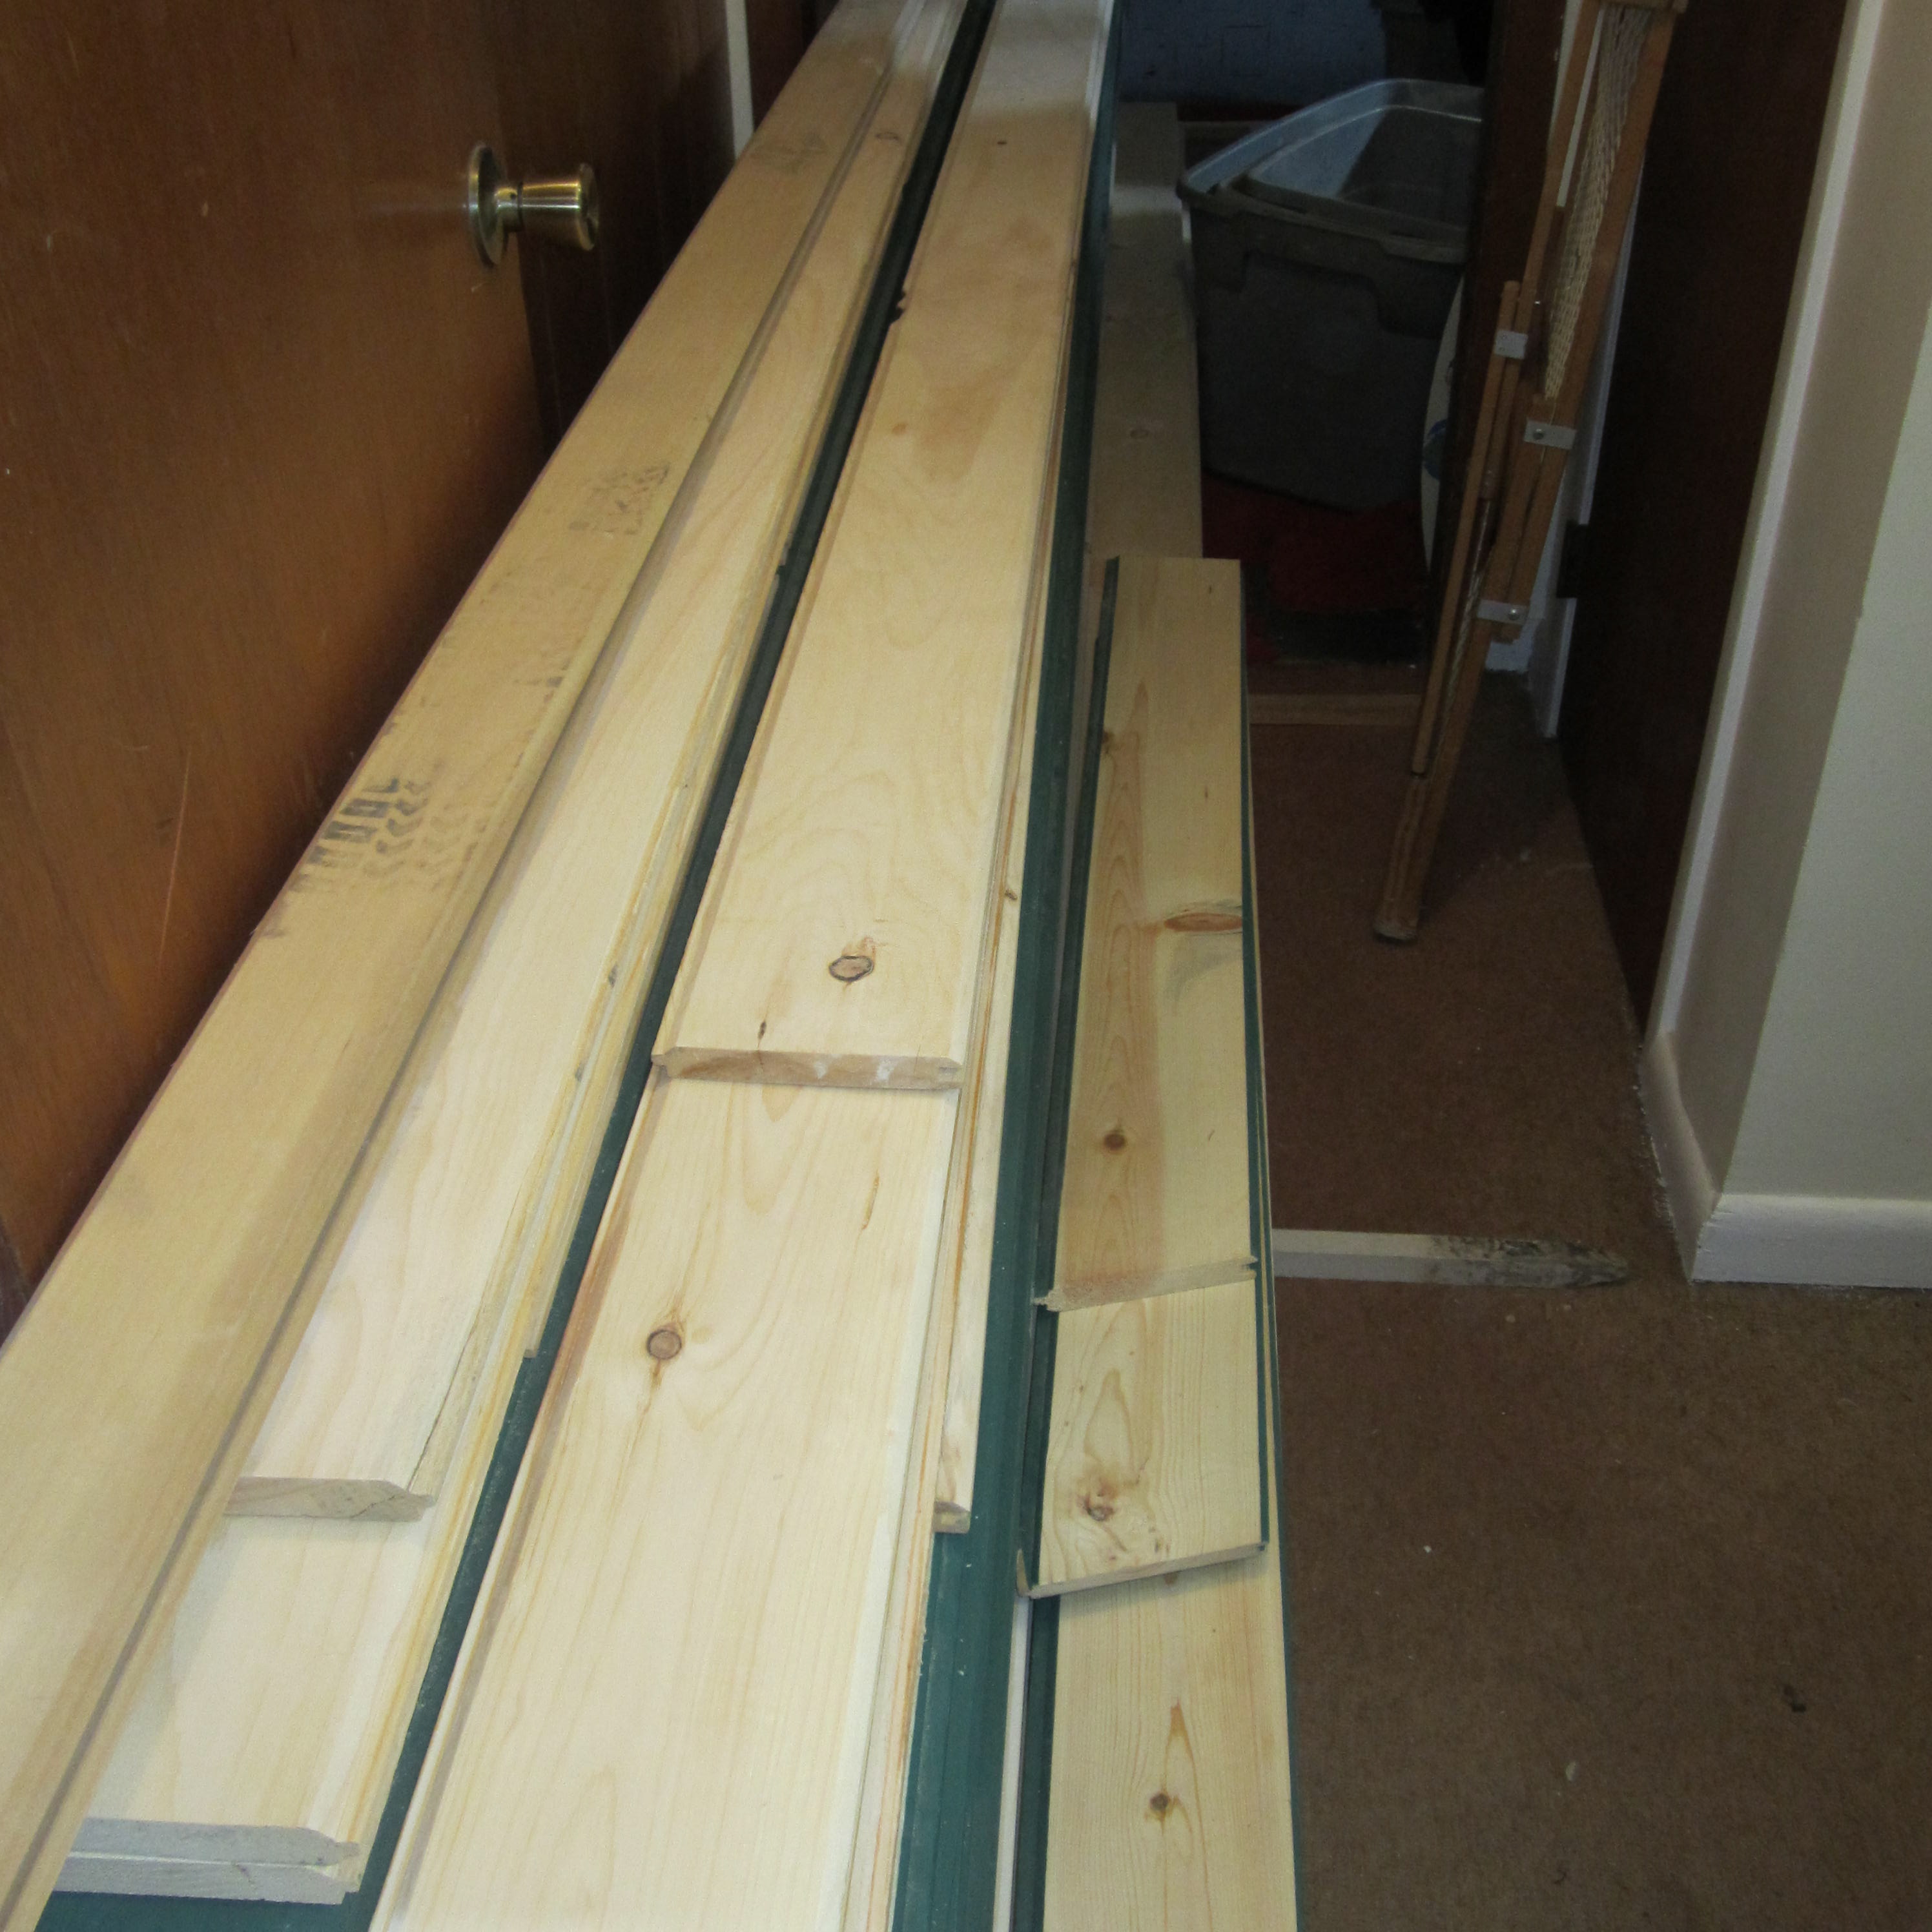
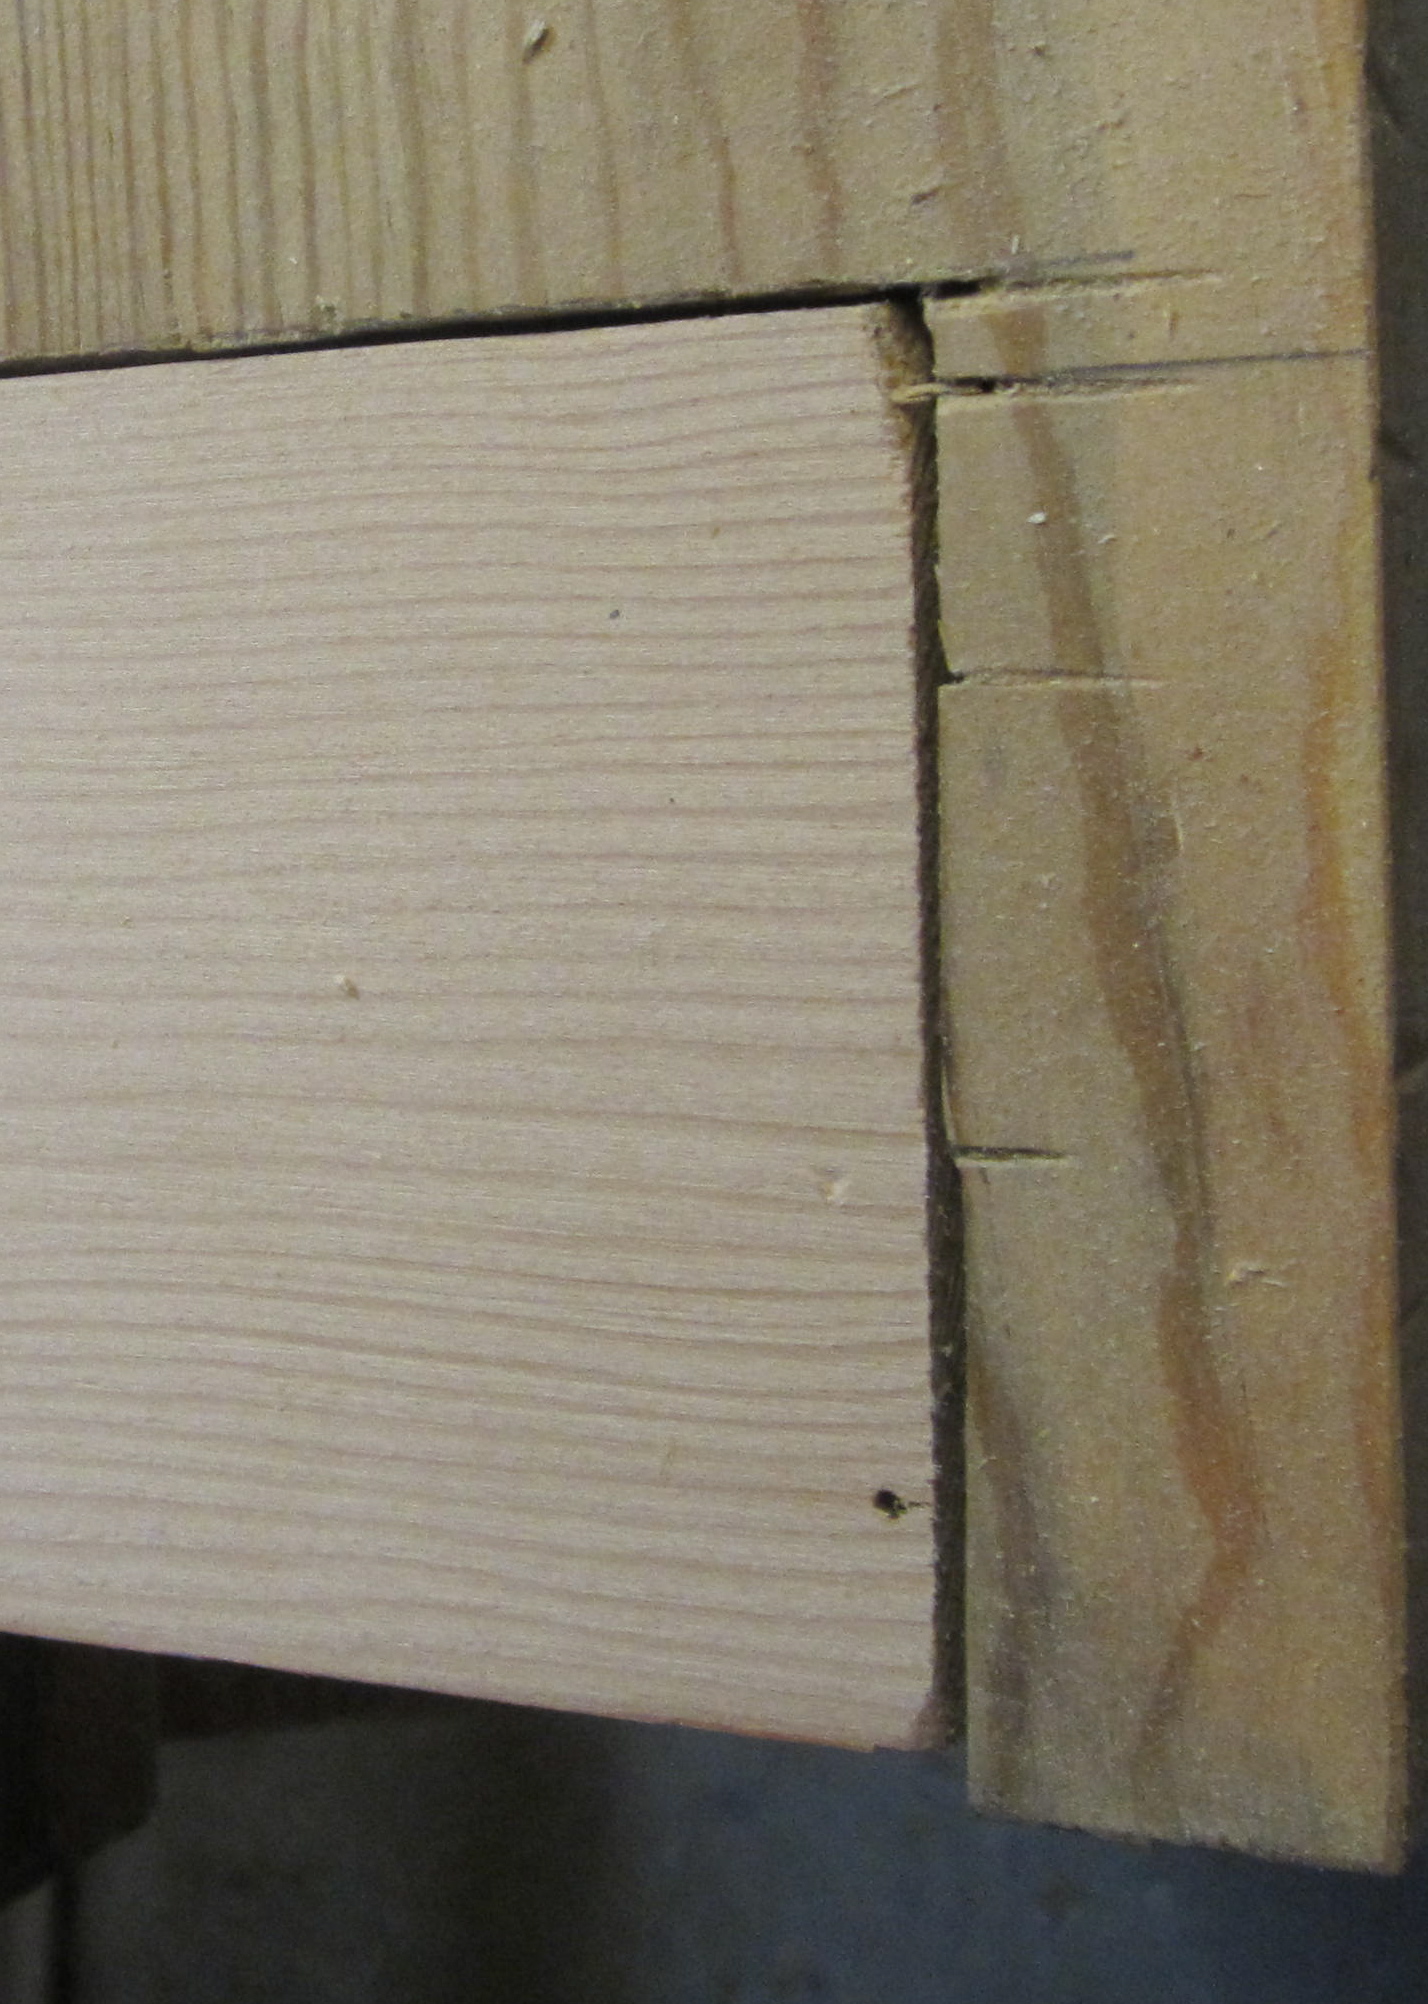
Once everything was sanded with my oscillating sander, I started to cut the replacement wood piece. I made this piece into an “L” shape; my plan was to have a two tier level replacement piece where I could have plane biscuits on each level for extra strength. This didn’t work out; the planer was too big to reach the bottom level on the door, so I didn’t get my overkill worth of strength.
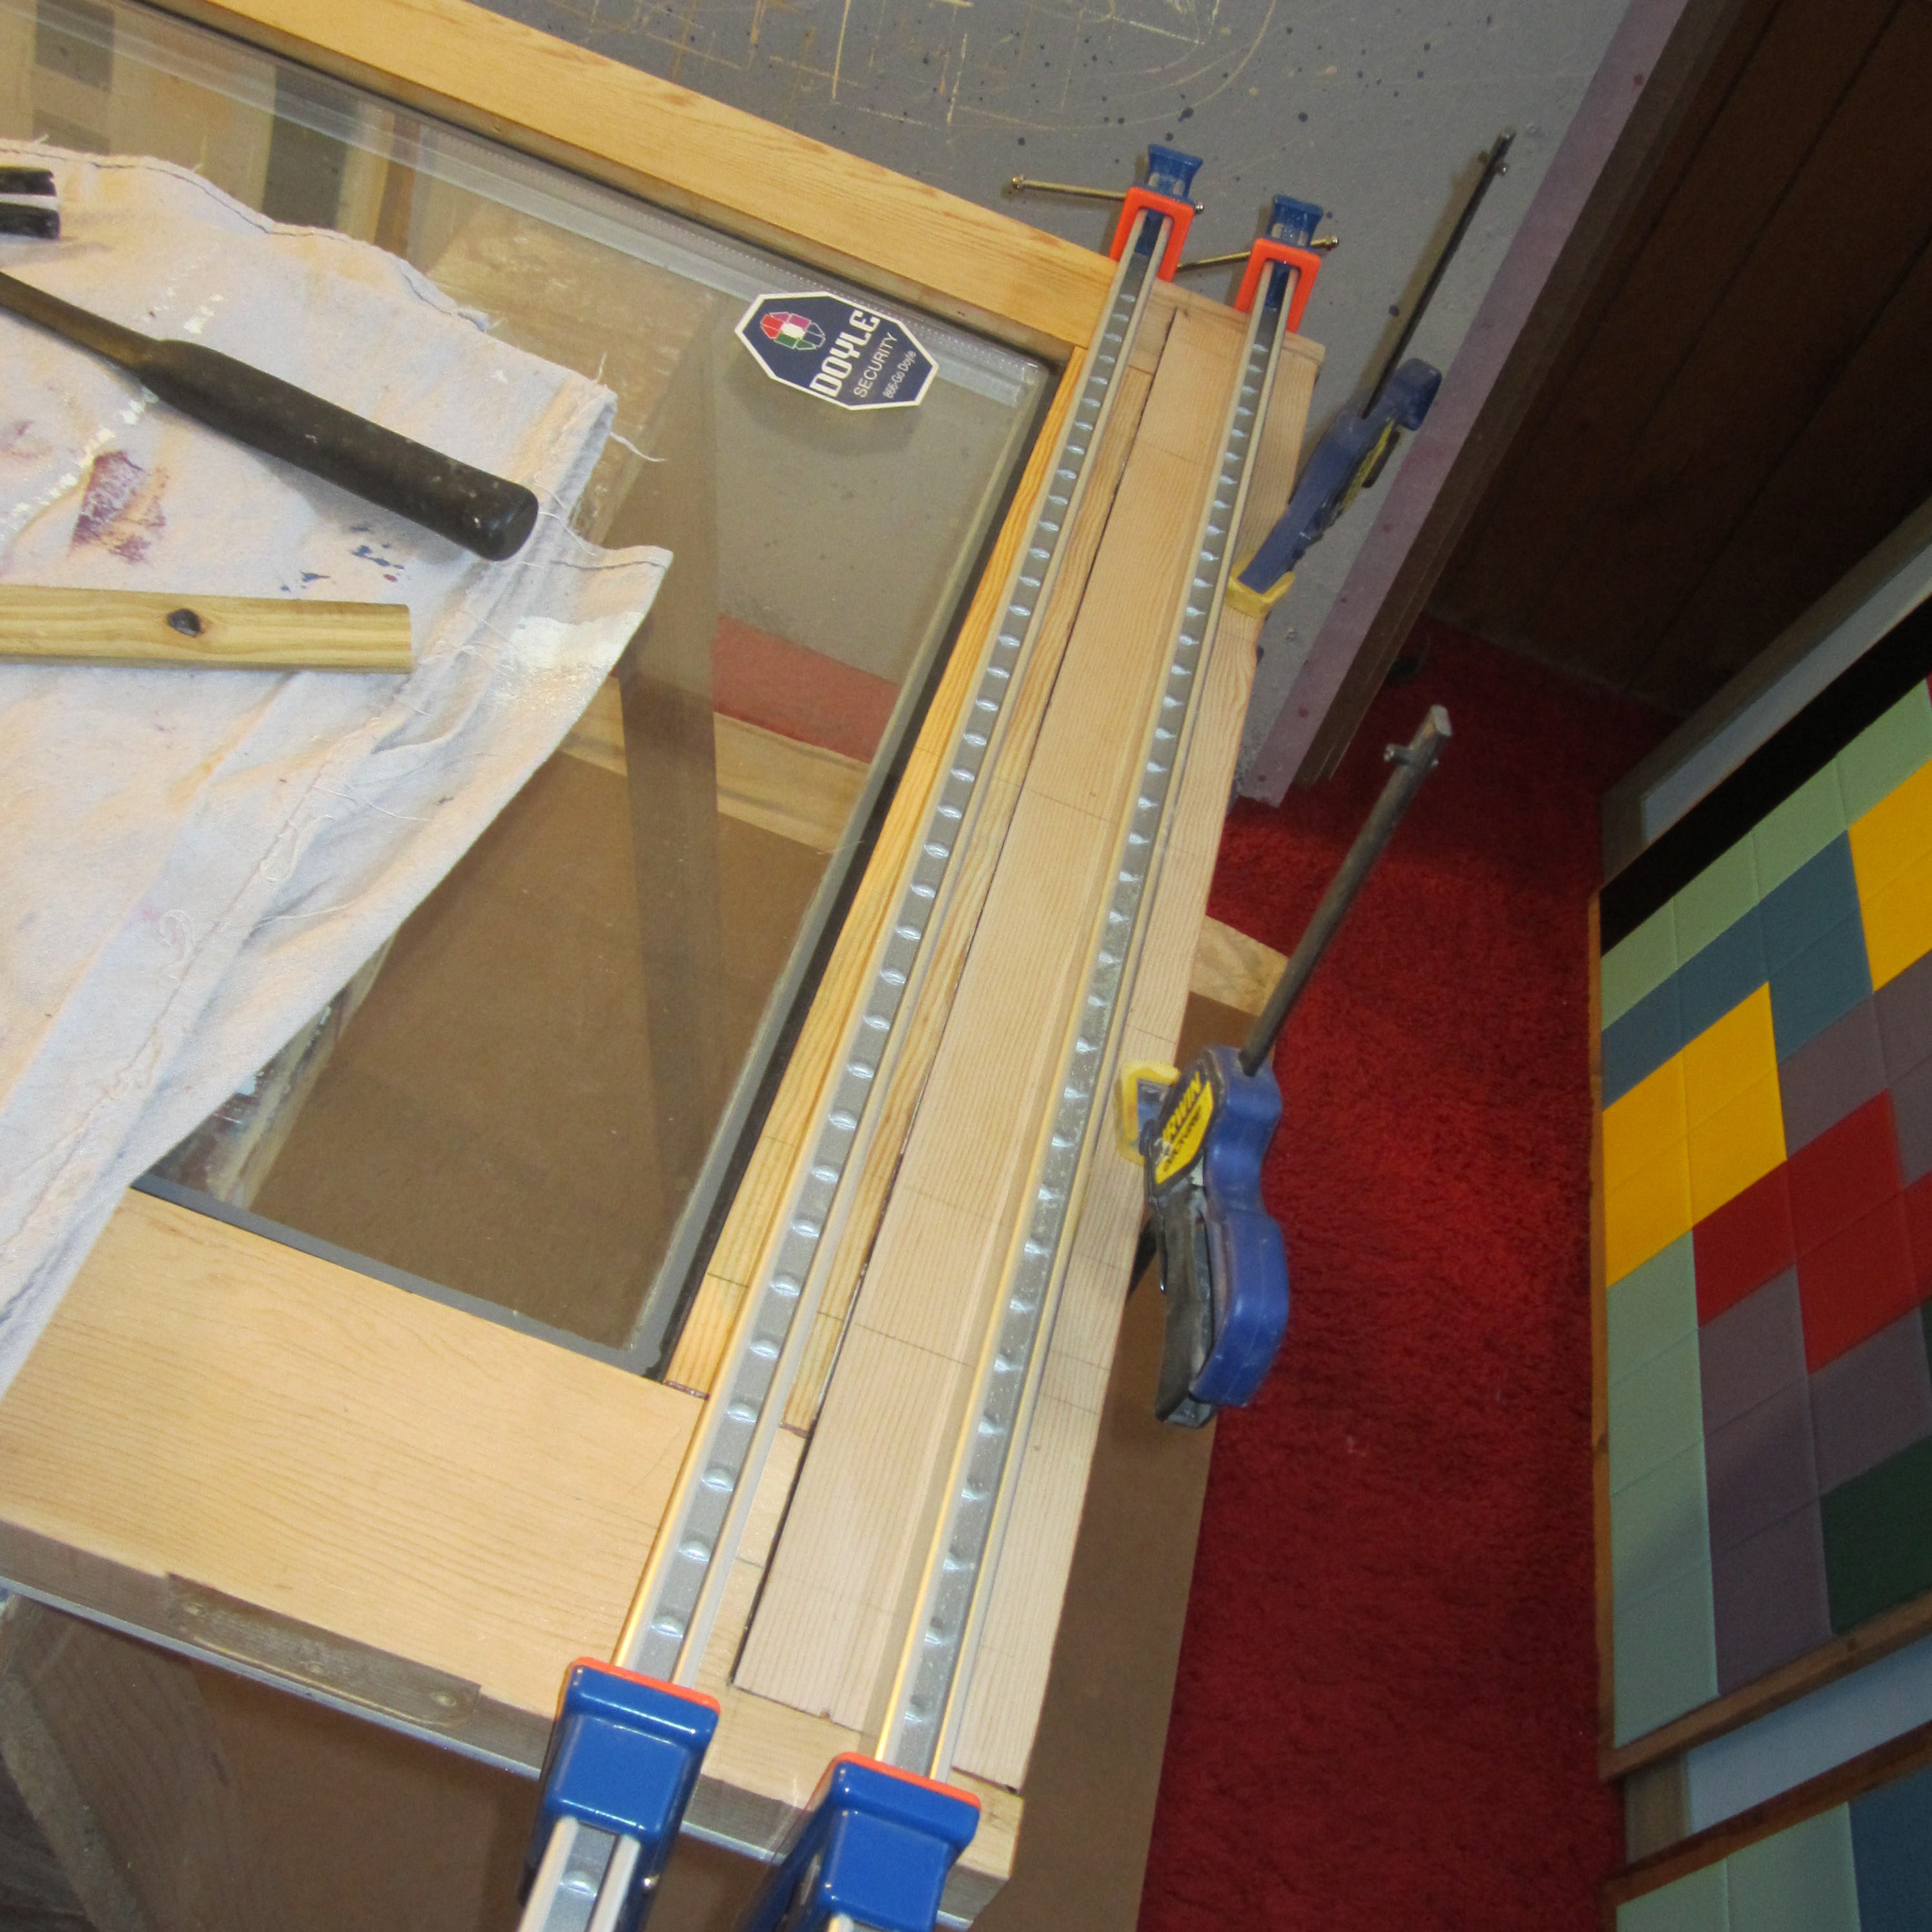
After dry fitting the piece, it was ready for a go. I moved the door inside the house to achieve proper temperatures for the wood glue. Step 1: Wood glue massacre. Step 2: Torture clamps!
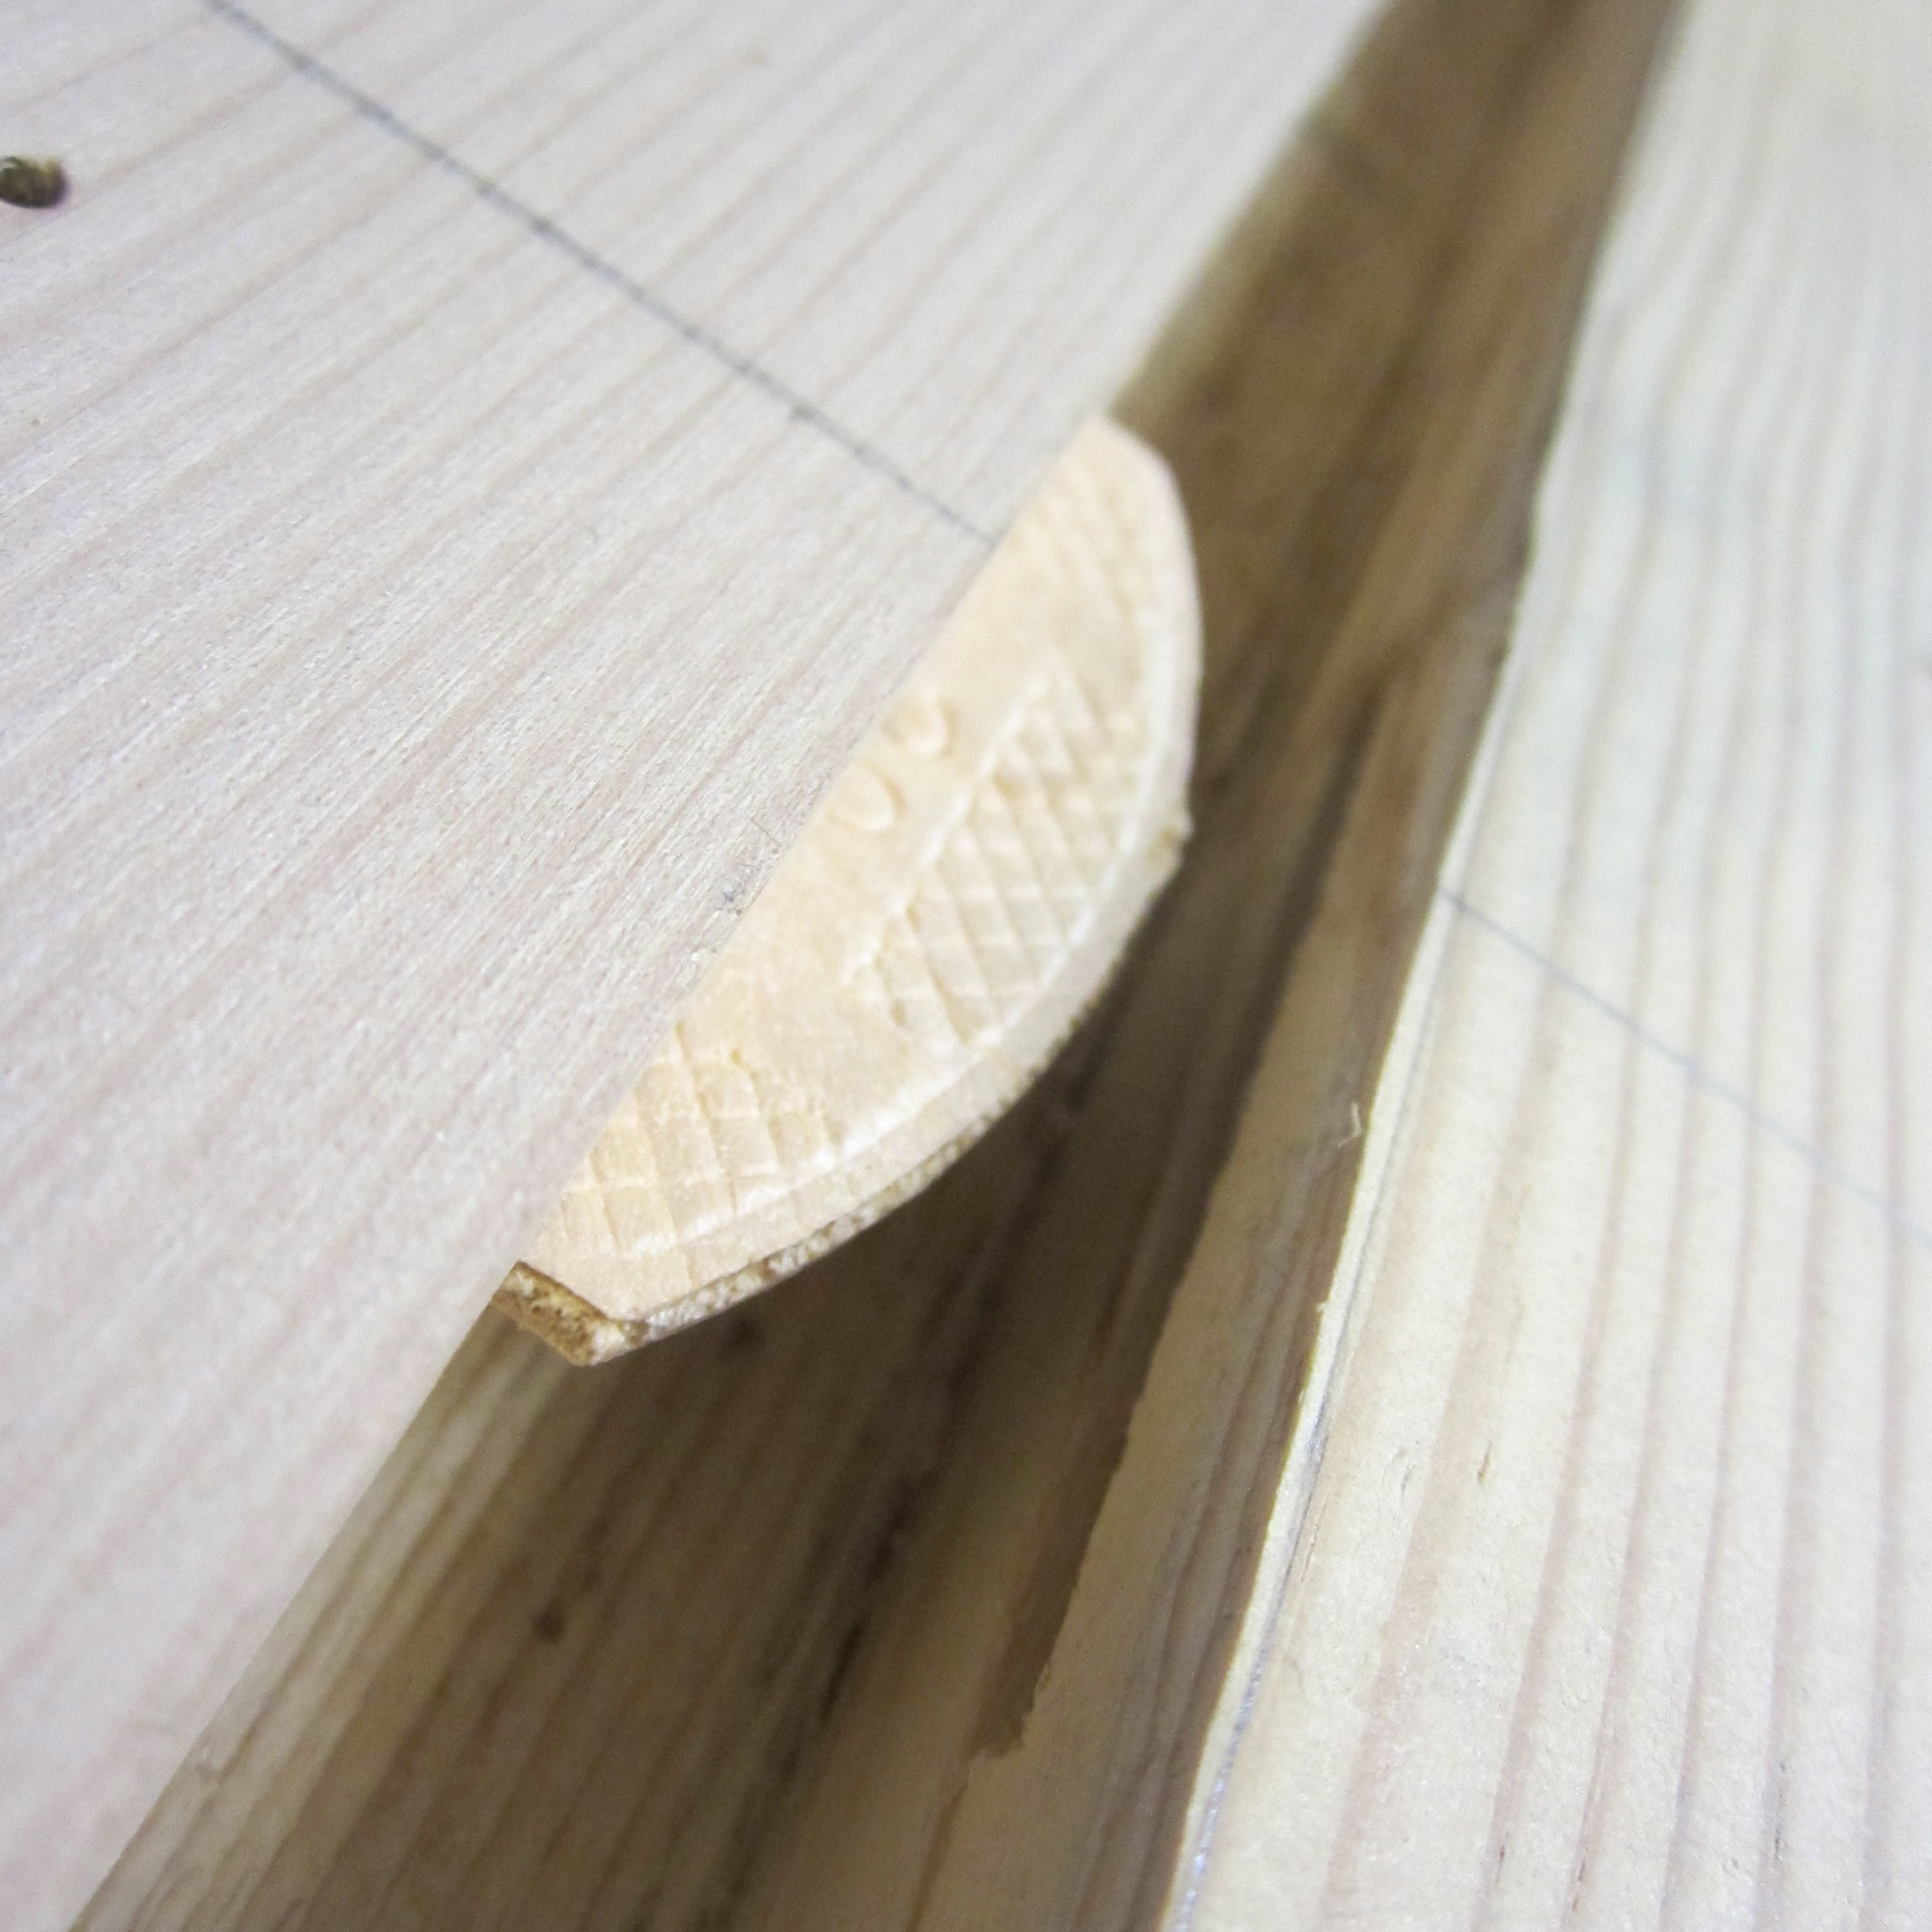
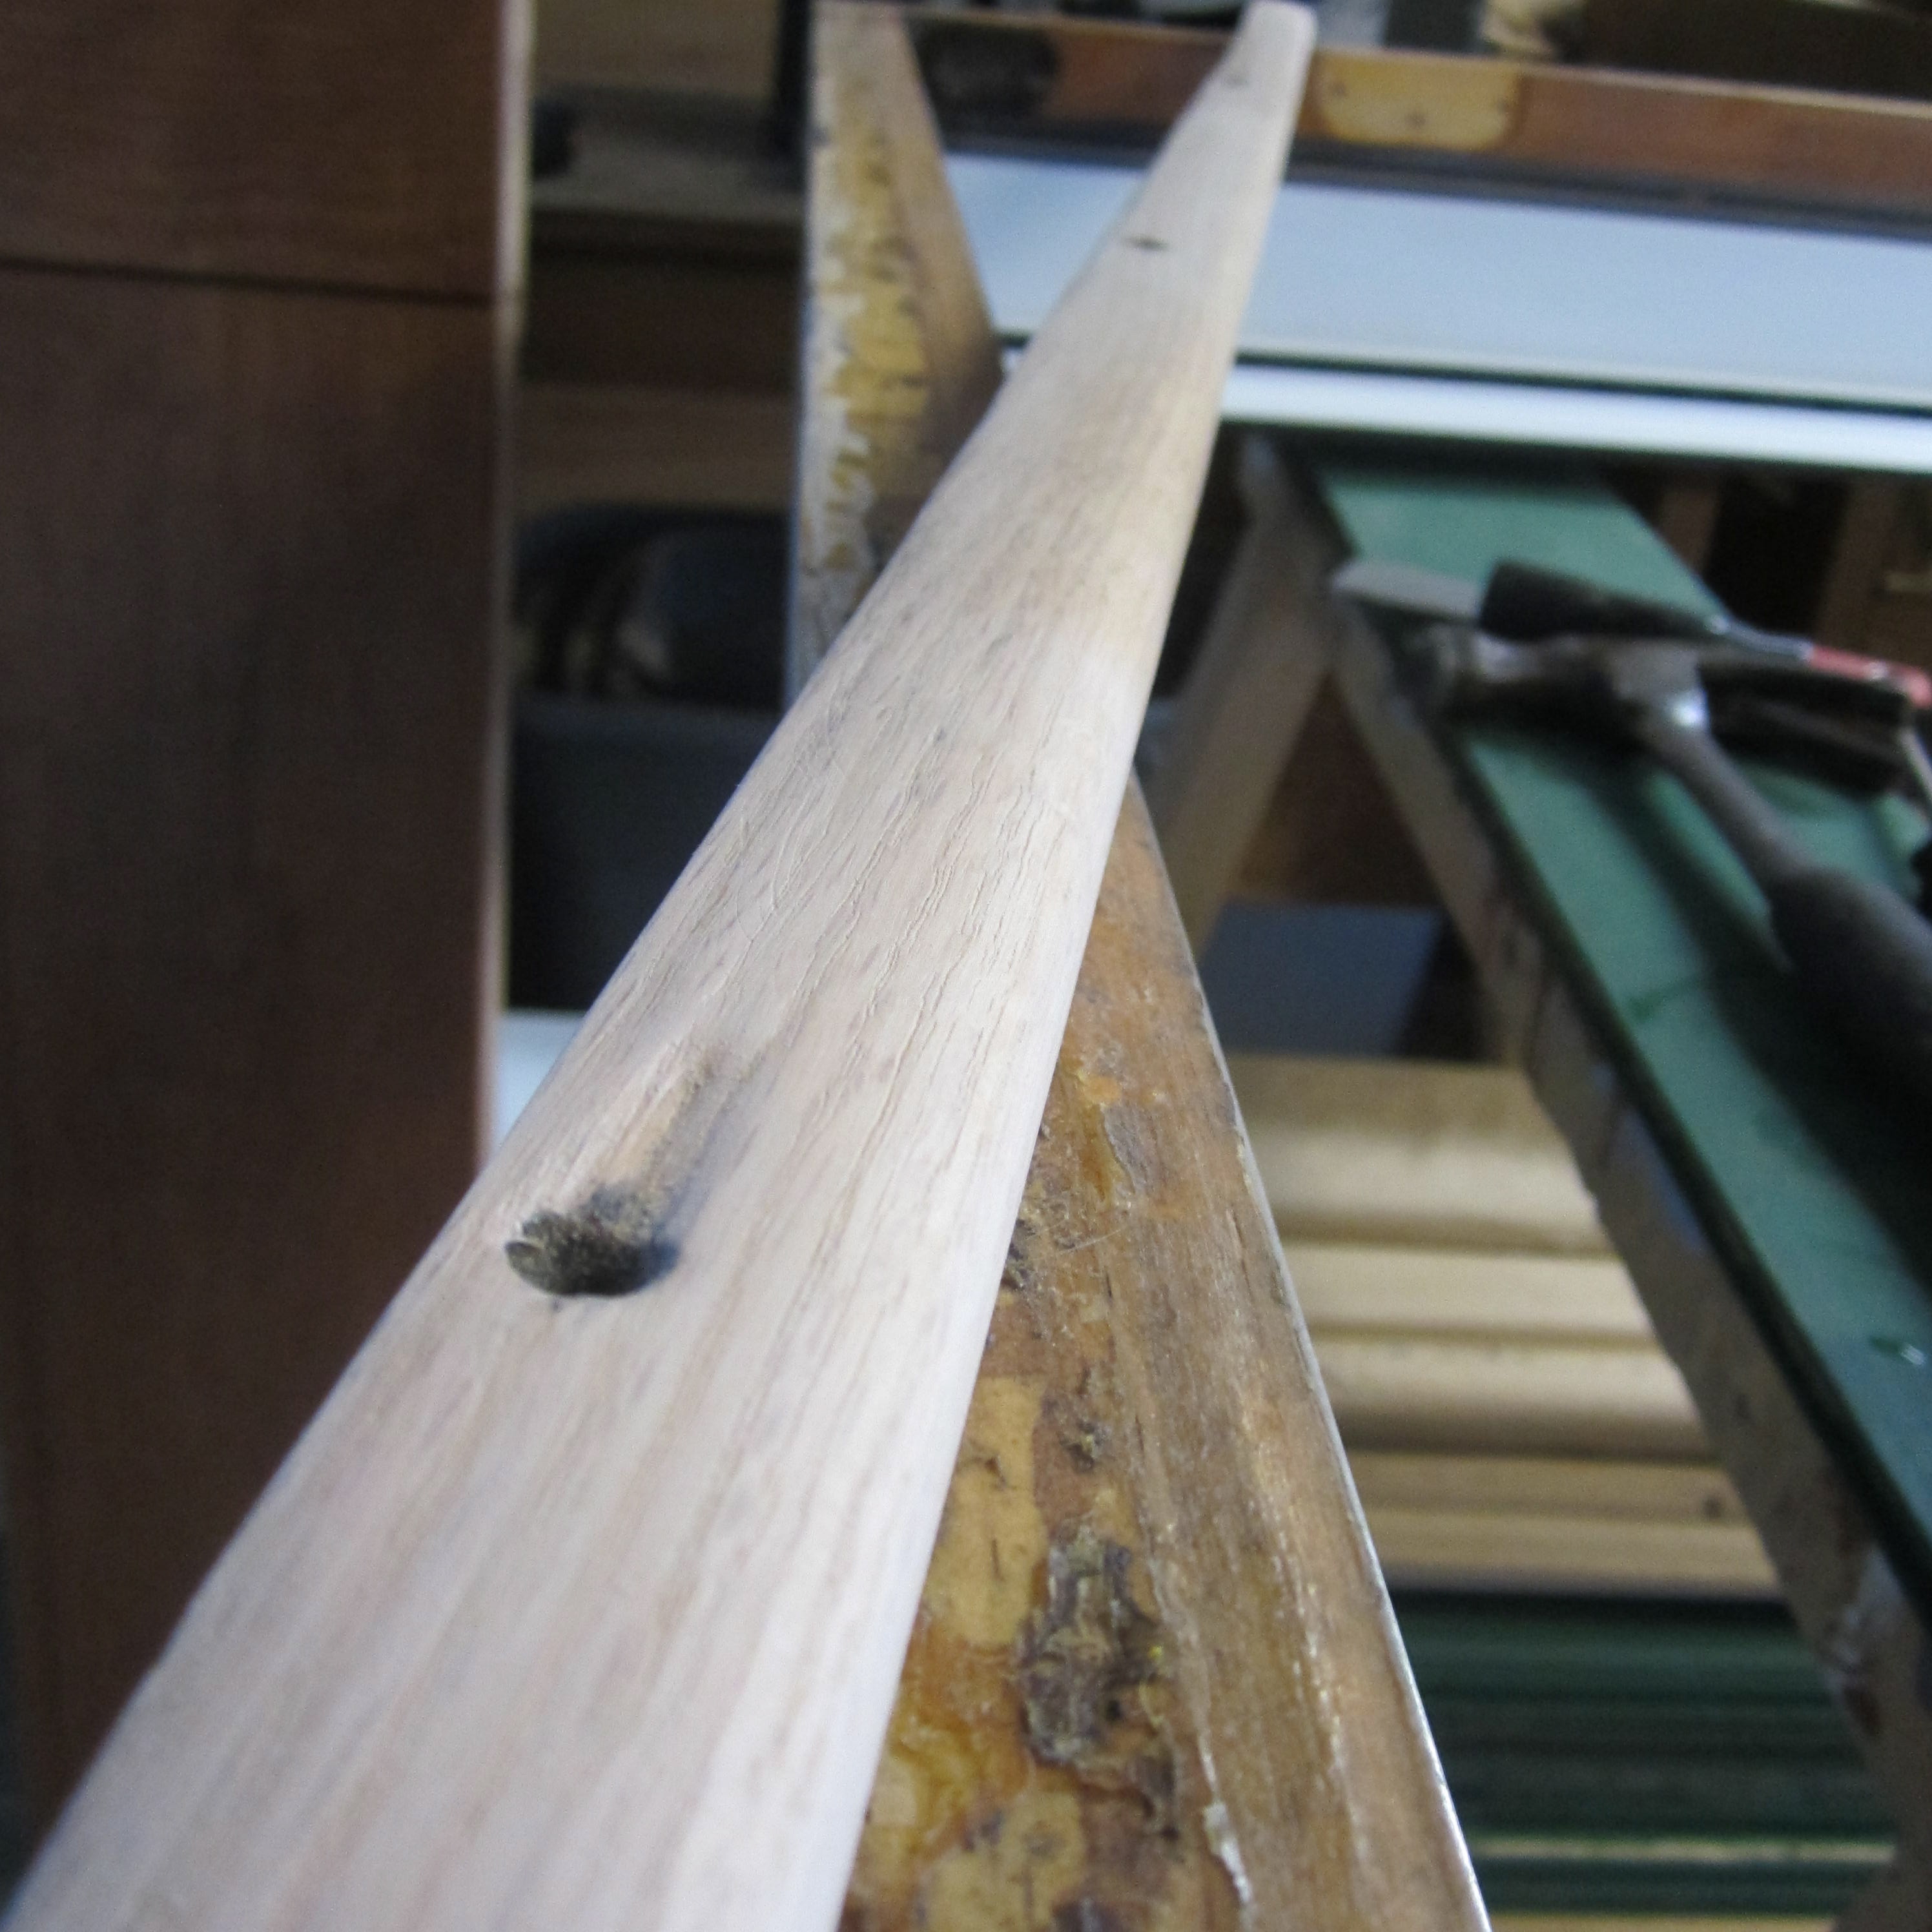
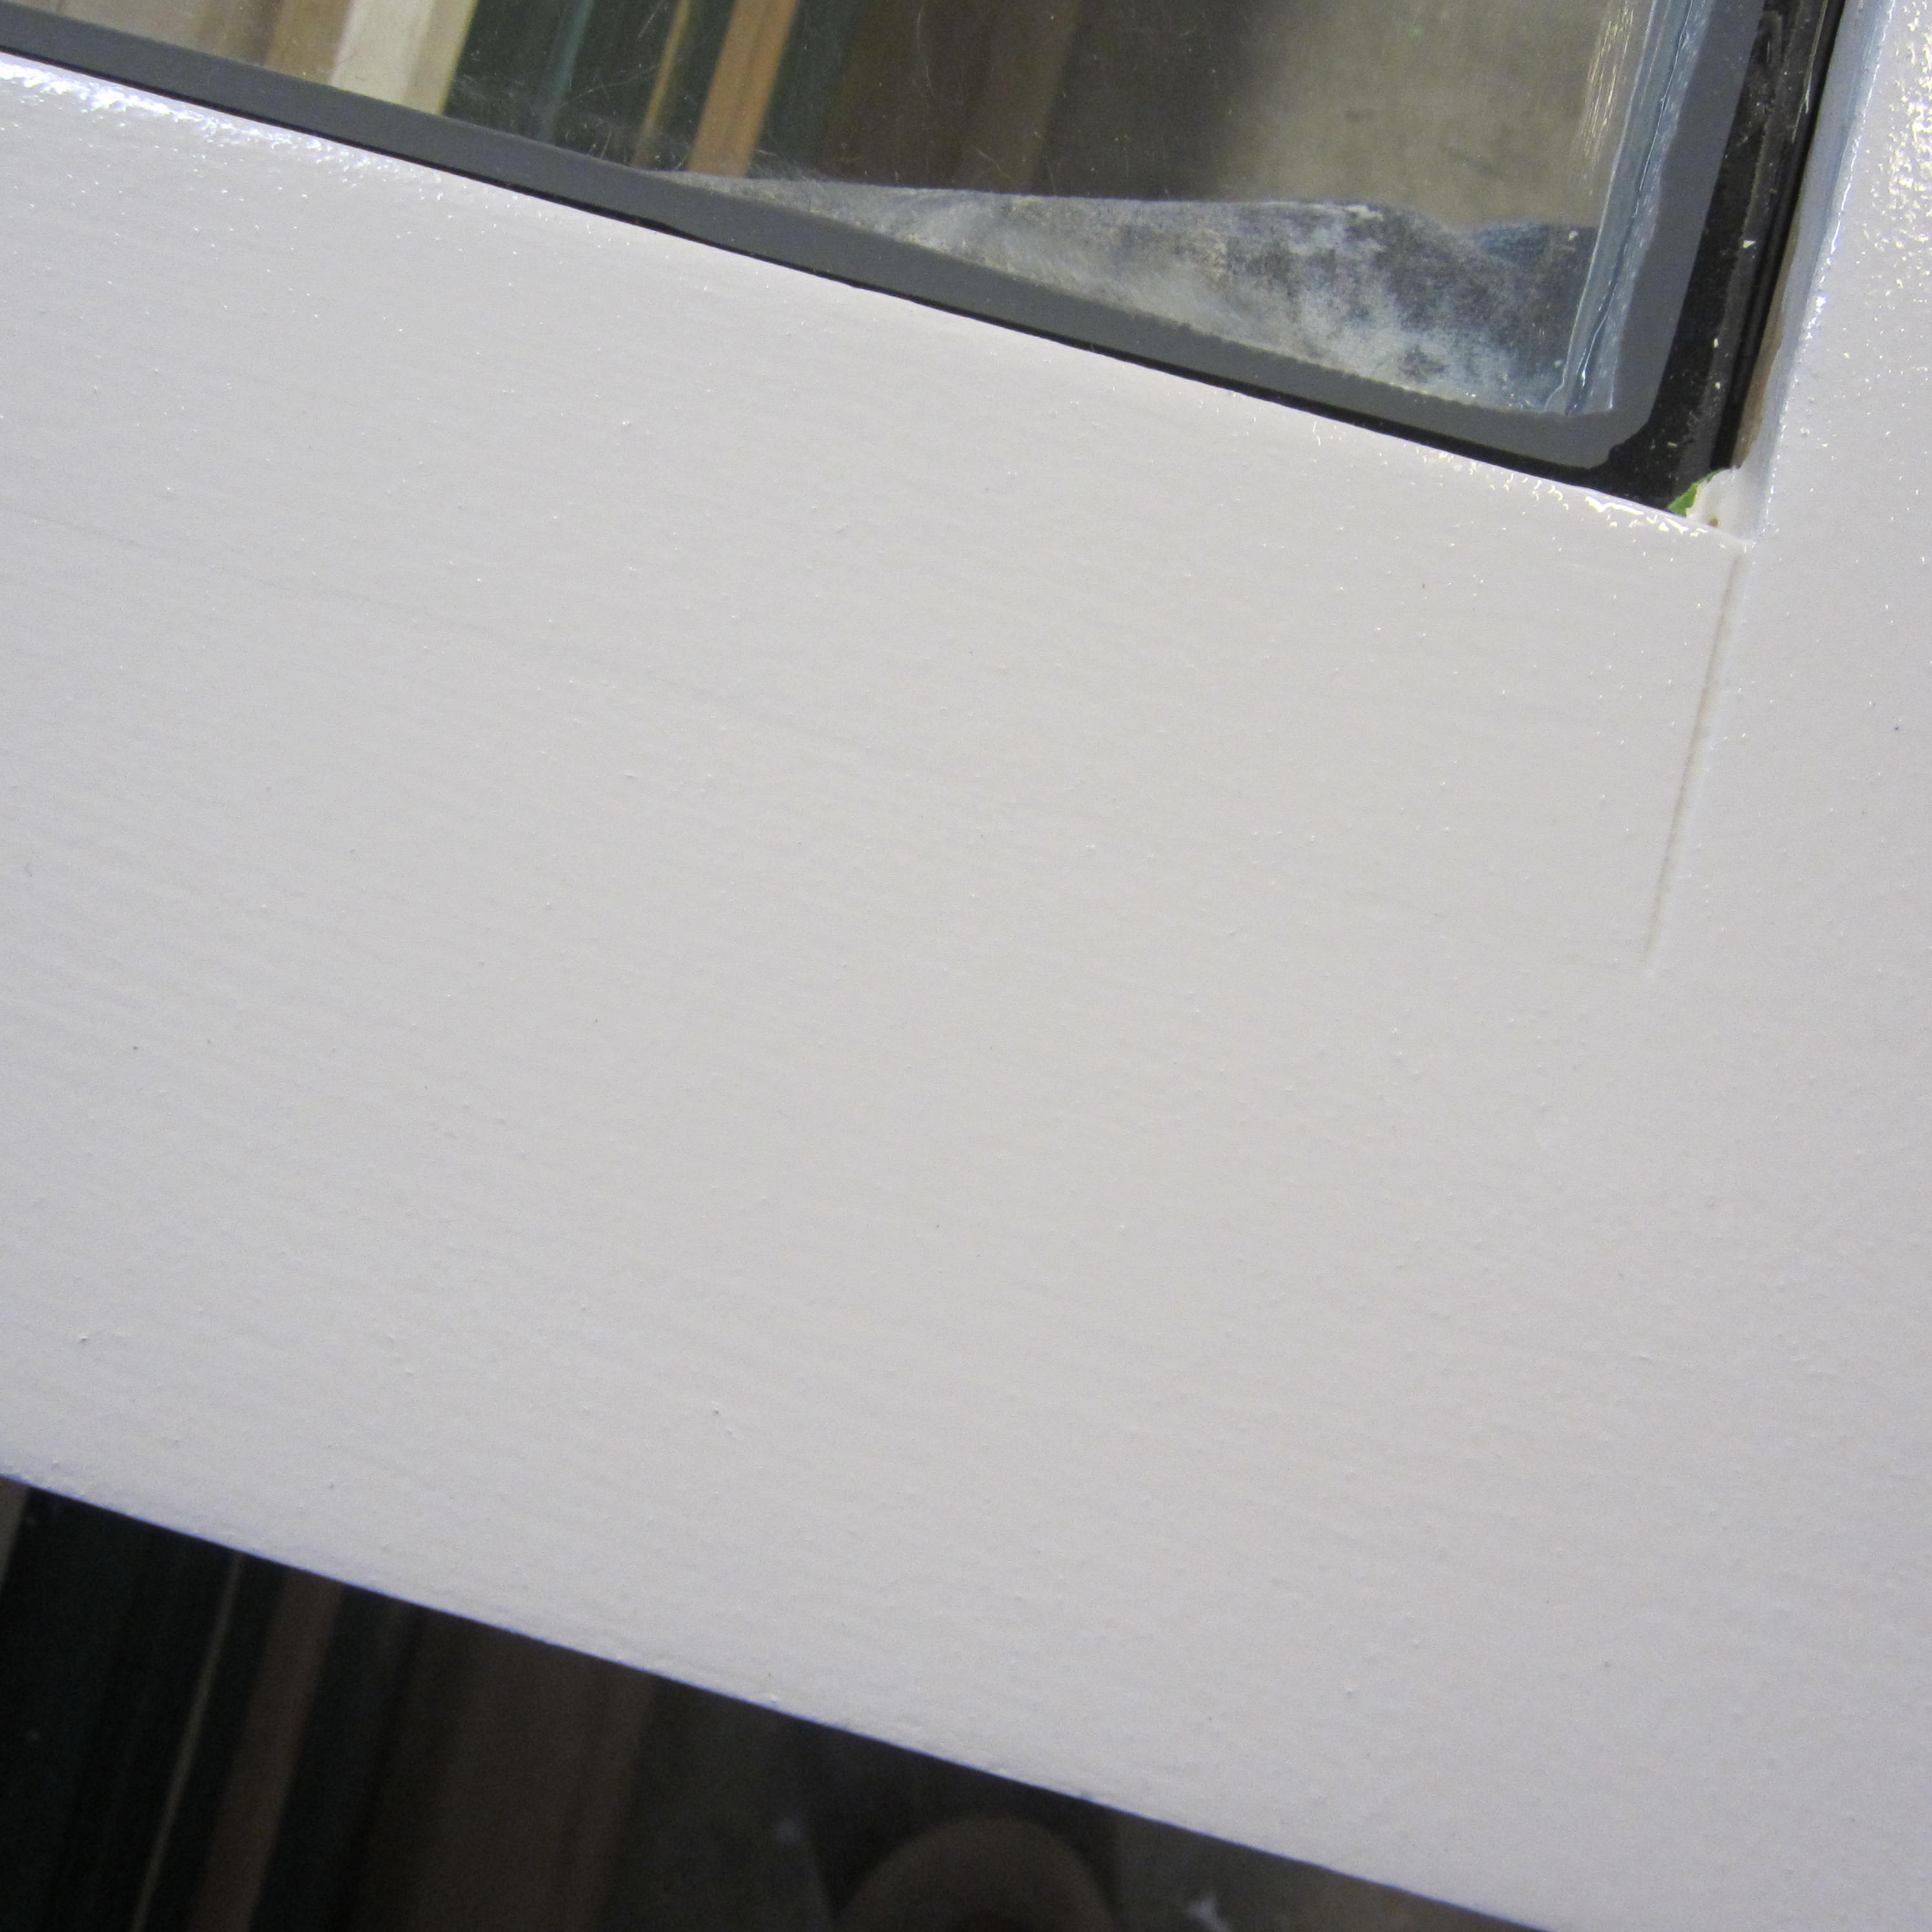
There were several imperfections during this entire process. While I was cutting the rotting piece out, I scratched the sides of the wood.
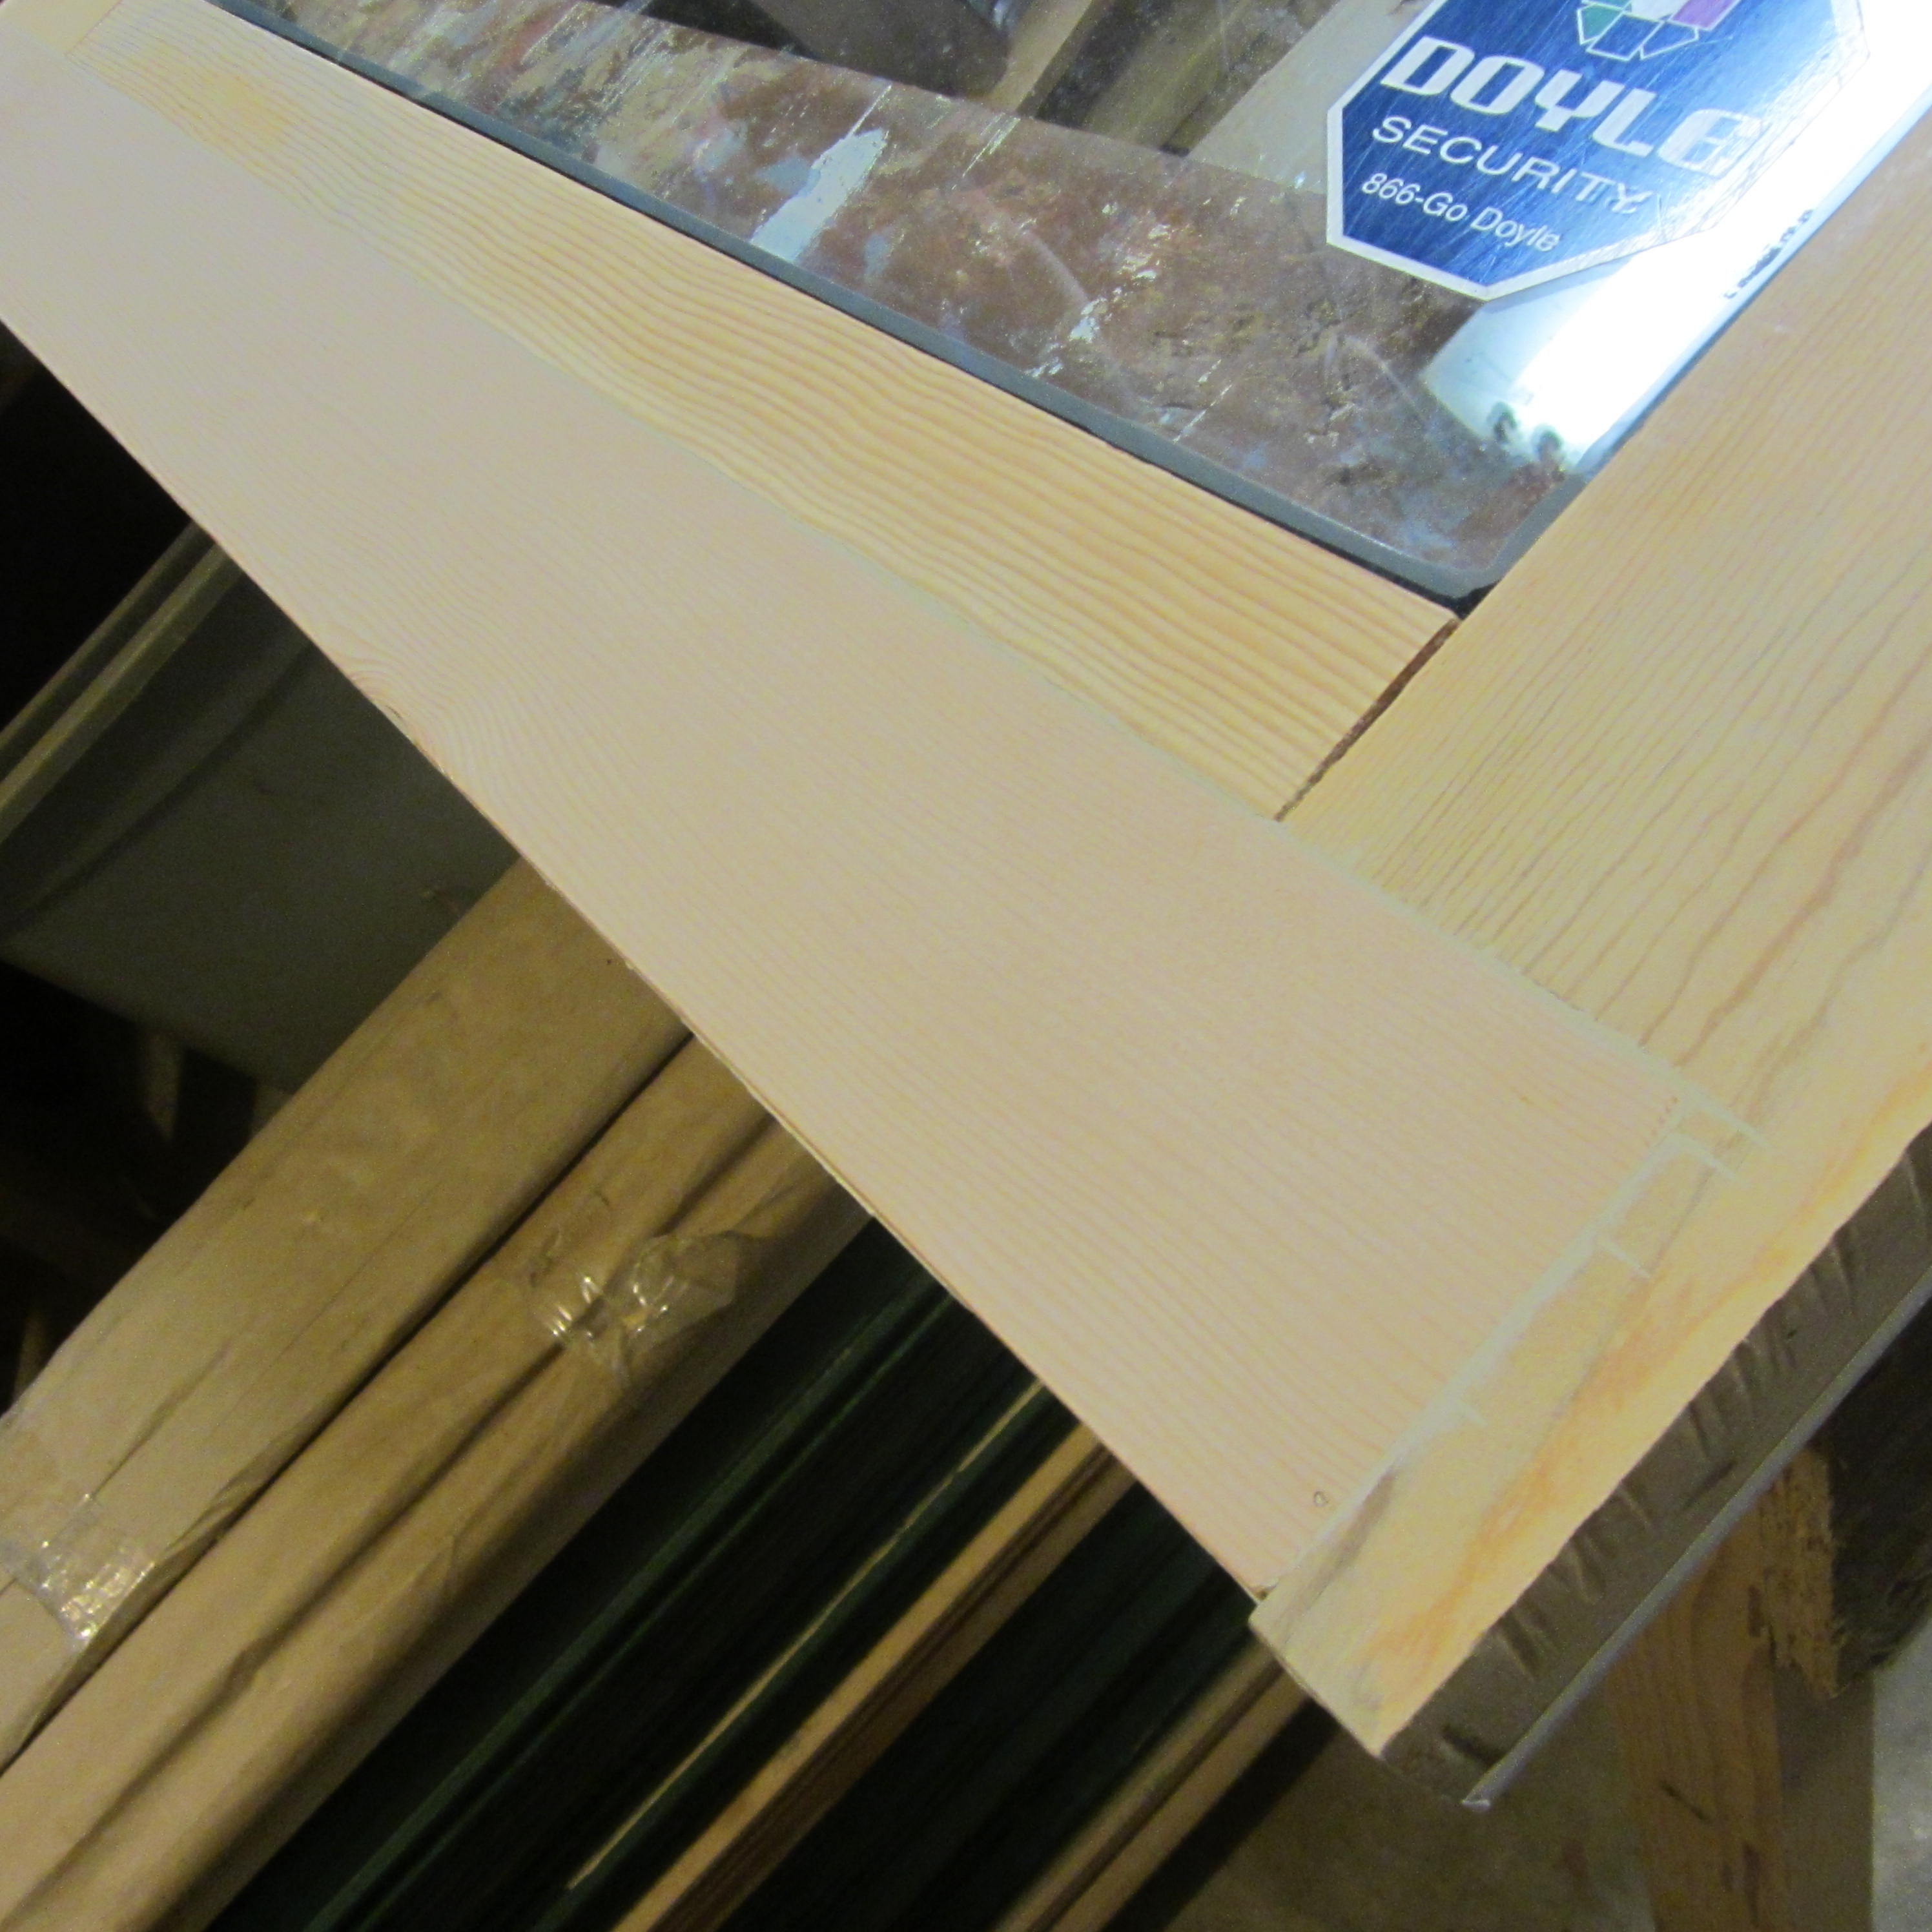
The cut replacement wood piece was a solid fit, but it left a small gap (mainly because I didn’t cut accurately and it was difficult to do it perfectly–I think I was using an old blade). I really wanted to keep the wood visible, but I failed to match the two types of wood and I didn’t even try to match the putty infill, so even with these going against me, I did a trial stain test anyway. Surprise, surprise, it looked like crap, so I had no choice but to paint it; thankfully, it looked great painted. I actually used an exterior paint on the bottom of the door to really help prevent moisture penetrating the wood again. The paint has two layers, and then I added two layers of polyurethane to seal it and prevent marking up the paint.
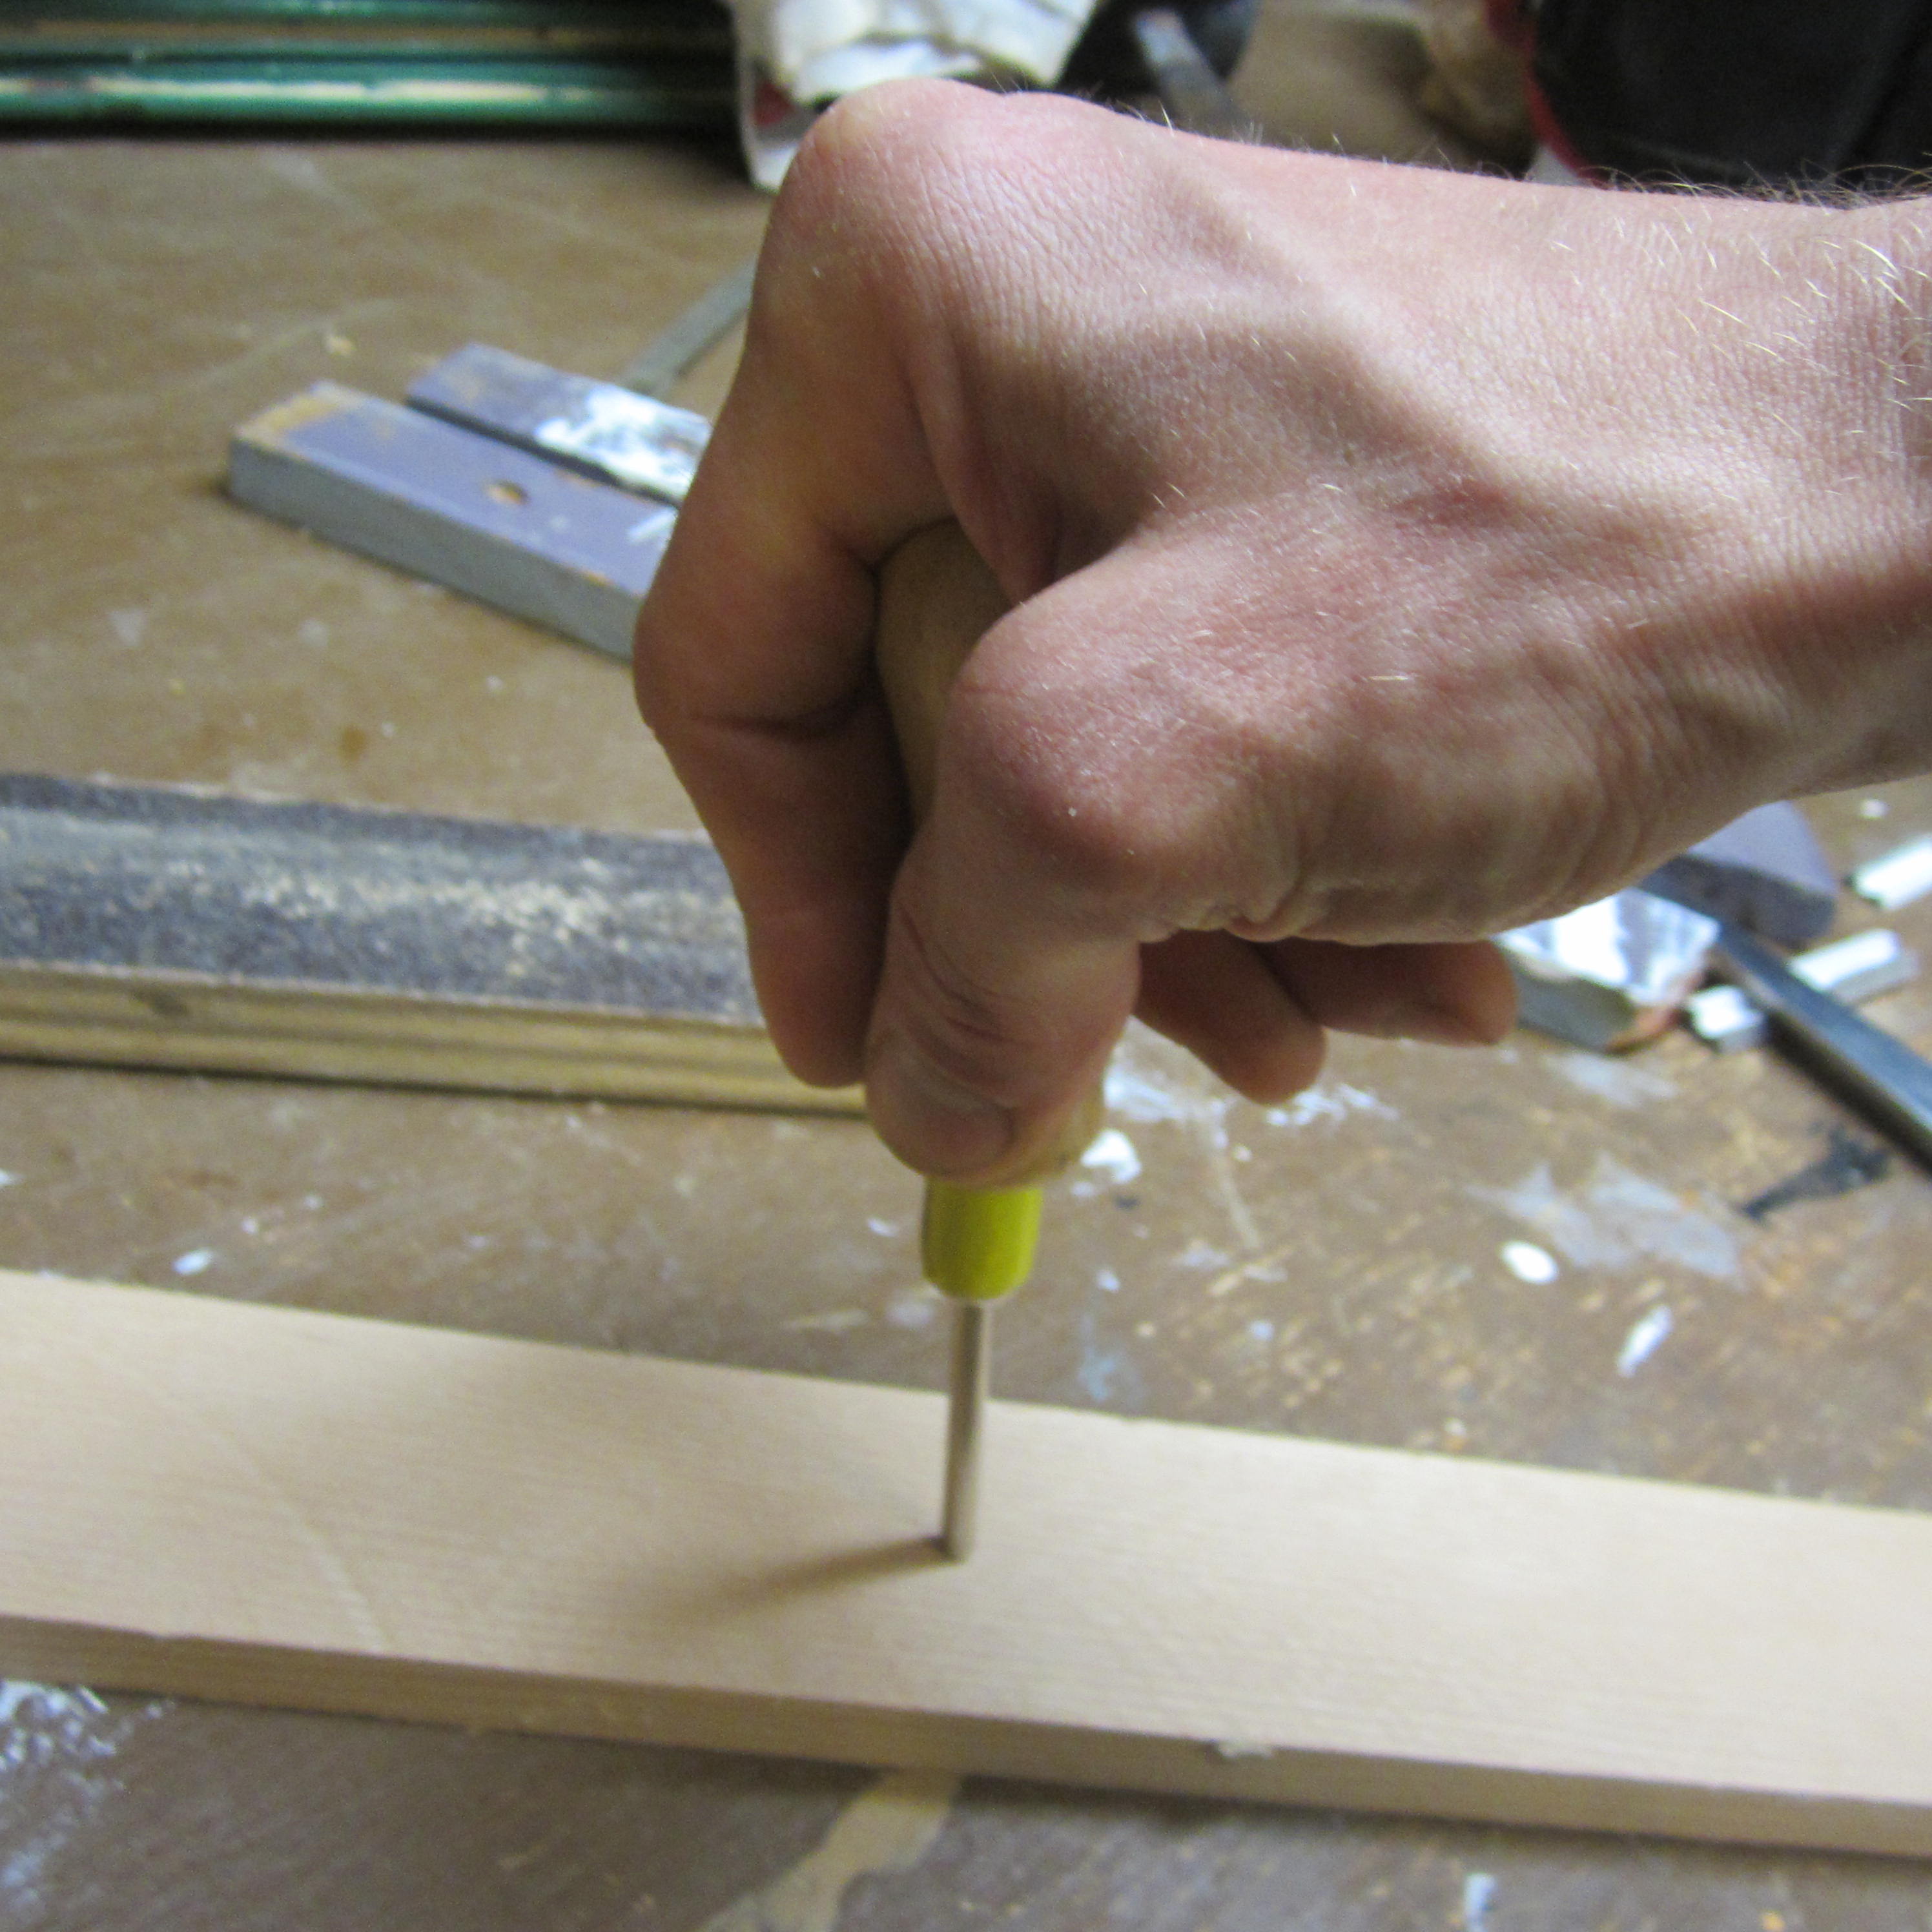
To reattach the trim pieces, which I also sanded and painted, I planned on borrowing dad’s small finishing nailer and compressor. He asked why I would haul all of that over for just a couple of quick nails and sent me home with a Brad driver. This little baby worked like a charm.
Overall, I’m happy with the result even though there was a lot of adjustments made along the way. The door is tempered glass which will be good for a moving house, and it looks nice and new again; a little bummed I had to hide the wood grain with paint–I hate painting wood. I bought bottom door weatherstripping, and I still have to attach it, but this door is pretty much waiting for its home!
The reins are ours,
Chris

