Tiny House Heating Design: The Winter = Heating Design Time
Thermostat Power Struggles
Fantasizing about your heating system comes naturally in a Syracuse winter. Living in an awful steel framed modular split ranch, we are constantly reminded of poor insulation and heating needless square footage. This scenario sets us up nicely to argue over that little waist high 2 in. x 2 in. white box on the wall, the thermostat. How do couples reconcile comfort and erroneous fuel consumption? An efficient building envelope and heating system are an excellent start.
Common Winter Quotes: Chris
- “How many layers do you have on?”
- “You’re in bed! You don’t need to heat the whole house!”
- “You don’t even have long johns on. I wear a pair everyday!”
- “Did you just turn up the thermostat? Honey, it’s fine in here.”
Common Winter Quotes: Michelle
- “It’s freezing in here. My feet and nose are cold.”
- “Are you cold?”
- BEEP. BEEP. BEEP. “It’s only 62 degrees in here!”
The Northeast Heating Option Winner
For the Northeast, the resiliency and self-reliance of an efficient wood stove is unmatched. Like Ben Falk, I attest that everyone should have a wood cook stove in their house. If efficient, it’s a single system that provides your house with heating, hot water, and a cooking range.
When considering a unit, looking at the whole picture is important. Will the unit last multiple generations? Is the fuel source renewable? Does my system rely on forces I can’t control? What are my costs and bills? How much energy does it cost to create these systems (embodied energy)? Are my system’s components recyclable? Does it fit into a tiny house? Here is a quick general breakdown of three systems for heating, hot water, and cooking:
| Wood Cook Stove | Typical House | Super Efficient Solar |
| $3000-4000 | $8,000 | $20,000 + PV panel cost |
| Renewables | Fossil Fuel | Renewables |
| A little labor | Convenient | Convenient |
| Wood Cost or Self Harvest | Electric & Gas Bills | No Bills |
| Indoor Air Quality Safety Required | Indoor Air Quality Safety Required | Excellent Indoor Air Quality |
| 100-Year Plus *depends | 20 Year Out-Dated System | 30-40 Year System |
| Very Low Embodied Energy | Middle-High Embodied Energy | Very High Embodied Energy |
When looking at options, you can’t beat the simplicity, durability, user-friendliness, and cost of a wood cook stove. Knowing that a wood cook stove is our most resilient choice, what’s the next step? Finding a tiny one!
Love at First Singe
What better place to look for an efficient wood stove than the finalists from the Wood Stove Decathlon by The Alliance for Green Heat. Although a lot of awesome international and national options, The Kimberly Wood Stove by the American Roger Lehet won my heart. His stove is two feet tall and 10 inches wide, engineered to last, looks sleek, and super efficient with a cooking top. This puppy can get an eight hour burn out of a pressed log, and you can heat your house with twigs during the day. Twigs or a half cord of wood is our estimated heating cost–amazing. Roger is currently developing a hot water heating attachment for it, too.
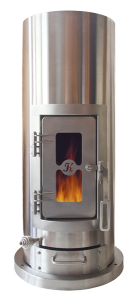
The Price of Love
Love always has a price, right? The Kimberly retails at $3800; however, the payback and future savings is immediate using pellet stove exhaust pipe and the lower cost of heating your house for decades. Passion and quality trumped our startup budget; I needed to have this stove!
“Shits and Giggles” Turn into Action
For shits and giggles, Chris types in “Kimberly Stove” on Ebay. Low and behold–there one is! A young couple is shying away from their RV life for their anticipated newborn, so they’re selling their just purchased stove. With zero liquid income, Michelle and Chris use some credit and start to post Chris’ car on craigslist for sale. Trading fossil fuel hoarders for fossil fuel purgers are the best trades. After a fierce auction battle (not really), we purchased the Kimberly for $2700. Fantastic. Now we have a trailer and wood stove–I think our order of operations is skewed.
Runner Up: The Little Cod
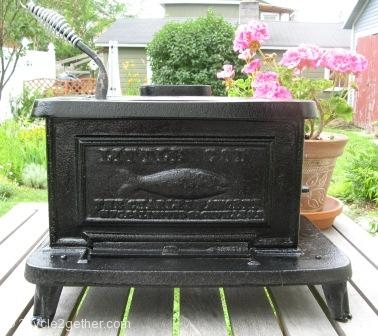
A lot of tiny house dwellers like our new tiny house friend and advisor Rowan and 2cycle2ether’s Kai invested in one of these puppies. Kai has a nice write up on his stove choice–here. It’s efficient, small, and very affordable. These are currently priced around $1050. $1600 for an enameled one.
Honorable Mentions + Electric Options/Backup
Electric is an extremely inefficient way to create heat; however, there are some new technologies that are less irrational when it comes to the idea. Also, tiny houses have the benefit of heating a small space, so it’s less crazy.
The reins are ours,
Chris
Resources:
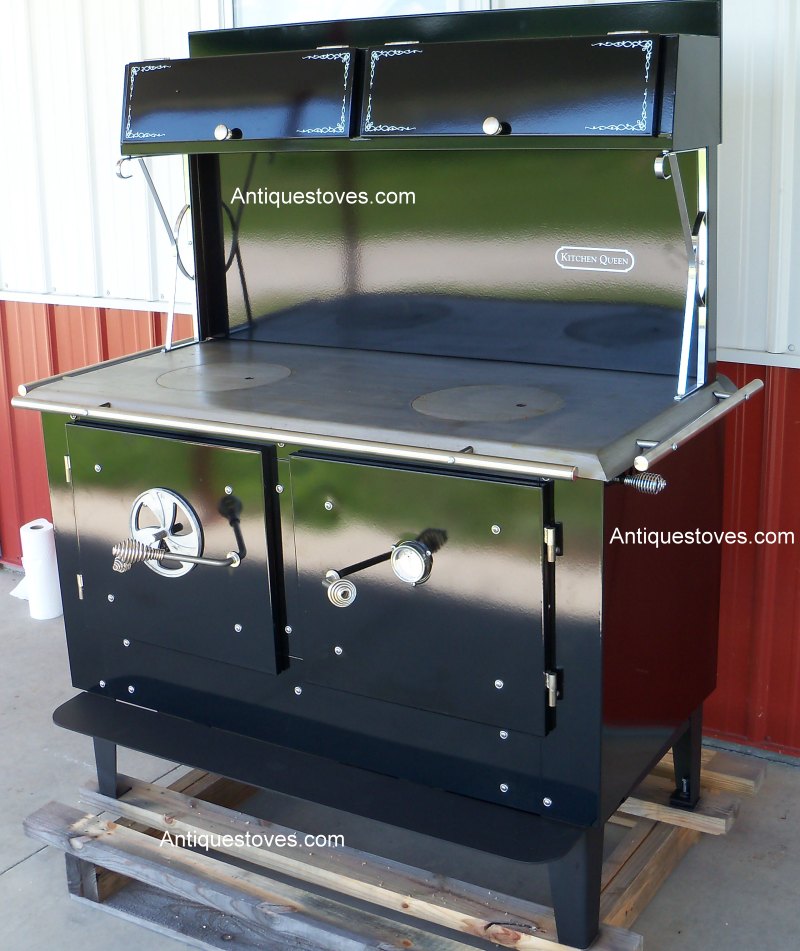
- Antique Cook Stove: The Kitchen Queen
- Alliance for Green Heat: Wood Stove Decathalon
- Unforgettable Fire, LLC: The Kimberly Stove
- Marine Stove: The Little Cod or Sardine Models
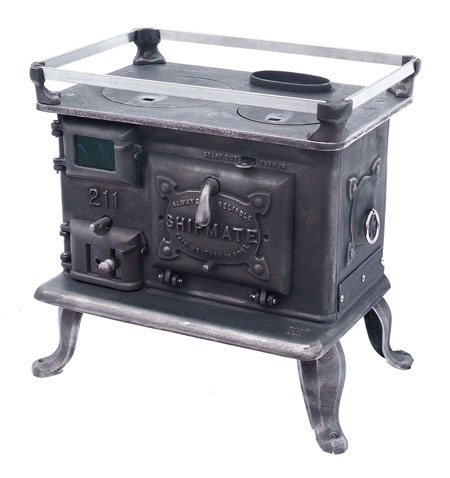
- Shipmate Stoves: Model 211
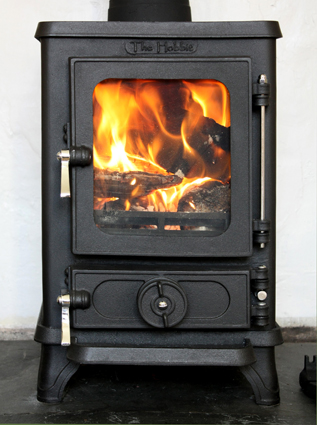
- Salamander Stoves: The Hobbit
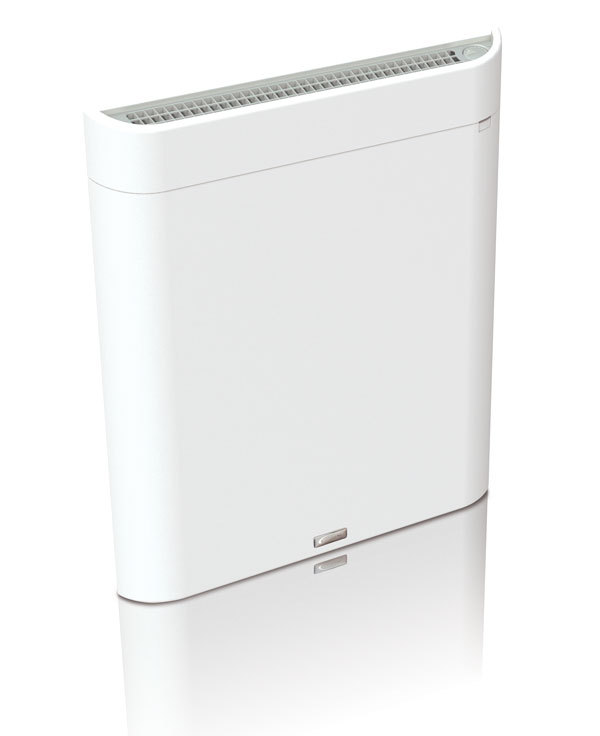
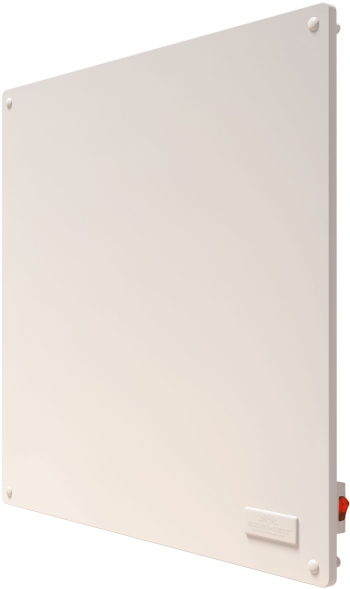
- Envi Electric Heater
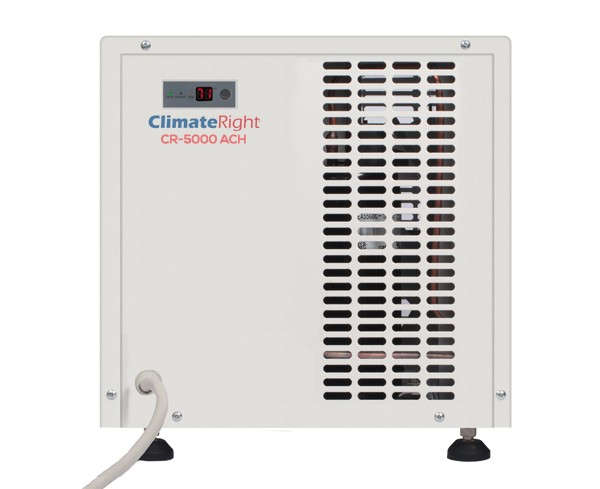
- Climate Right Electric and A/C Option
