Tiny House Trailer Restoration
Metal Fan
Bringing our trailer back to life was my first experience battling metal. Turns out battling and playing metal are two very different skill sets. Overall, it was a pretty exhilarating and tiring venture.
The Process
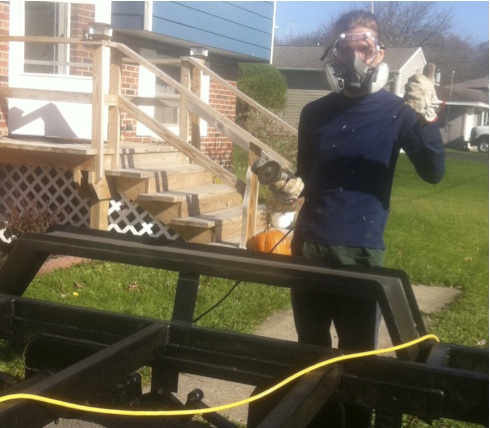
Cascading spark-fireworks fly while Chris gets nailed with breaking shuriken-like metal cut-off discs. Not painless.
Materials List:
- 10 Metal Cut-Off discs
- 5 Metal Grinding Discs
- 1 Gallon of Metal Paint, Brushes & Rollers
Tools:
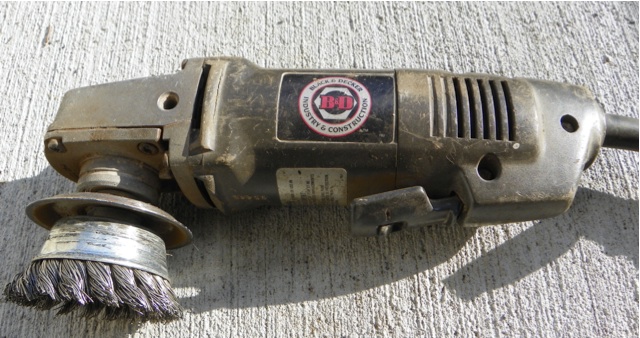
- Angle Grinder
- Steel Cup Brush
- Safety Glasses, Heavy Gloves, Mask, Latex Gloves for Painting
Game Plan:
- Use steel brush cup to grind off all surface rust
- Cut off and grind unnecessary components
- Use a rust converter/primer
- Paint 2-3 layers of strong oil paint to seal
Got your Grain of Salt? Read on.
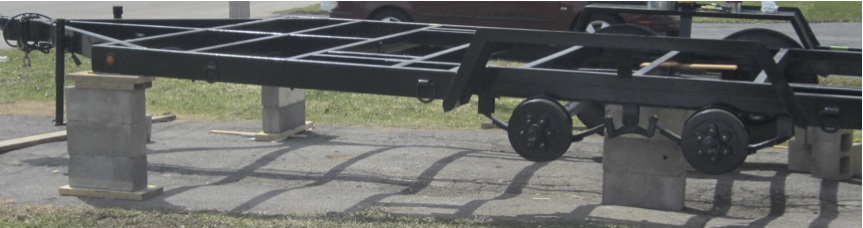
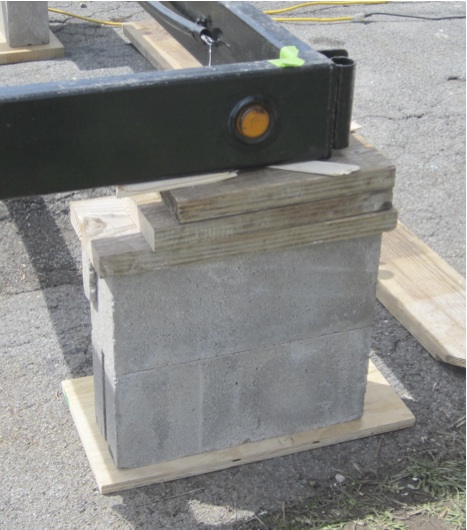
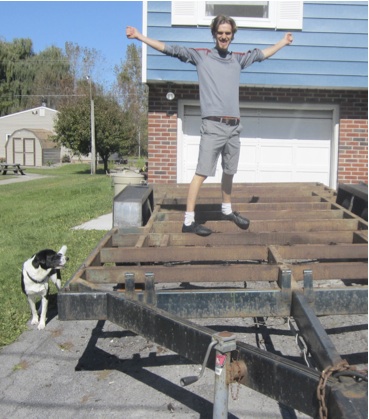
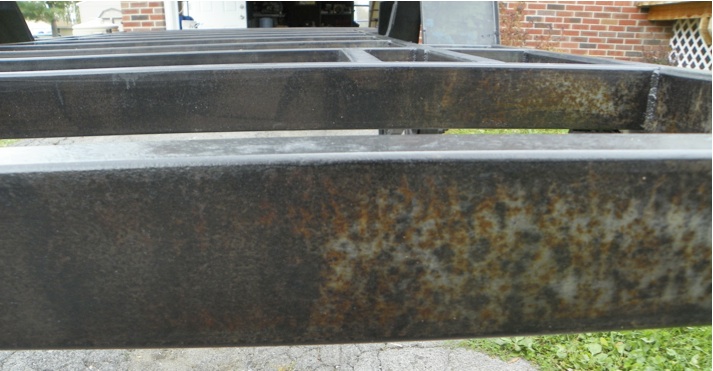
Remember, this was done by a guy who has no idea what he’s really doing—be encouraged and afraid. Disclaimer aside, the wood was past its prime and starting to detach already; luckily taking it off was simple with a drill and crowbar.
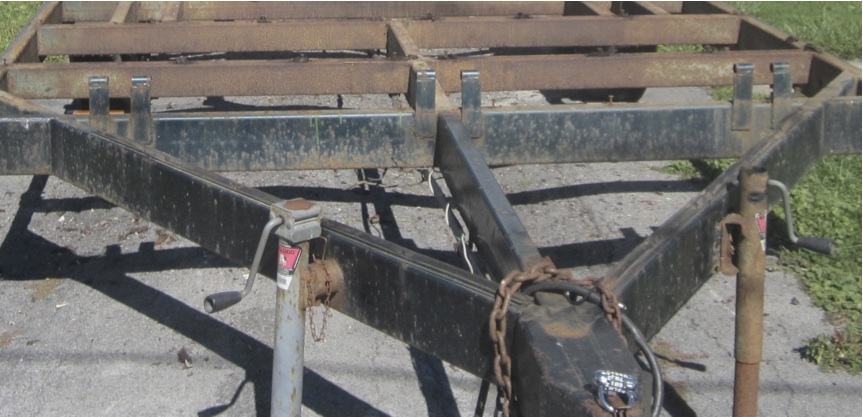
In an ideal world, I’d rent and use a sand blaster to get off all the surface rust. After some quick research, I got some quotes for around 300-500 dollars, so we decided against it. That left me with the ol’ time consuming way: 4 ½” angle grinder with a steel cup. Why is it always the ol’ time consuming way with me? I wore heavy gloves and mask for the dust—I always err on the side of caution with safety. It’s a good thing because those steel threads detached, stabbing me during this step.
After steel brush grinding a third of it, I got fed up and called the guy who sold me the Rust Converter, and I asked him if this step was really necessary. He said yes. I got back to work—rattling my skeletal frame like a baby toy.
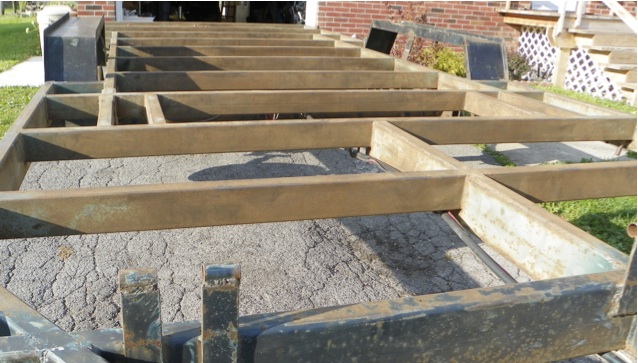
The next step was chemistry…so you wouldn’t understand. I kid. Maybe you would; I wouldn’t. I looked for a somewhat eco-option, so even though POR15 Rust Preventative and paint was recommended on online, I went with Rust Converter from The Rust Store. “Rust Converter, a water-based primer, contains two active ingredients: Tannic acid and an organic polymer.” It isn’t harmless, but it looks a lot less processed and toxic. I applied two coats as recommended. I got a gallon and used about 3/5ths of it. Looked a lot better with it! *You may want to use Bull Frog Rust Remover or Rust Release Supergel before the rust converter, but I thought my grinding work was enough prep.
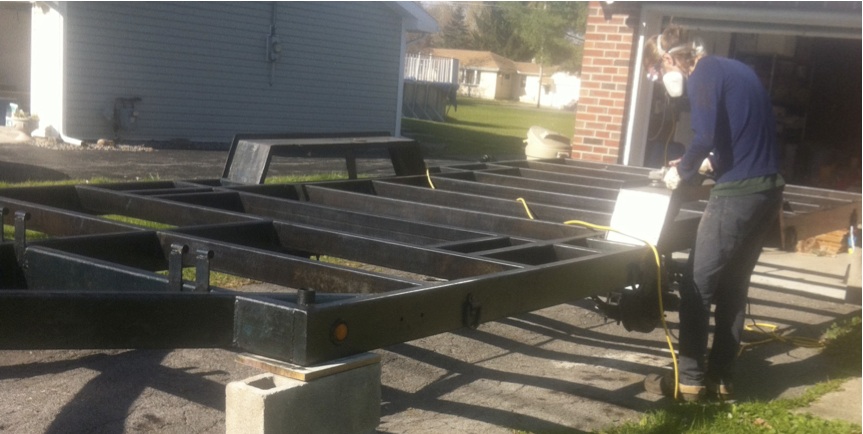
Before painting the trailer, it was time to do some cutting, the scary spark stuff. Using metal cut-off discs and grinders, I cut off the lip on the inside wheel well, mending plates in the front, and metal hangers in the back near the rear lights. I also grinded down and cut the screws that previously held the wooden bed down.
Confession: I don’t know why the blades warped and broke so quickly but they did; I must have been using the wrong adapter with the angle grinder (*Confirmed with Pa). The discs would snap and shoot out and I got hit twice in the arm pretty miserably, haha. Something needed adjusting, and I didn’t figure it out totally. The ¼” steel was tough to cut through; so I did start to use the thicker blades and even the grinder disc once to get through the entire thing.
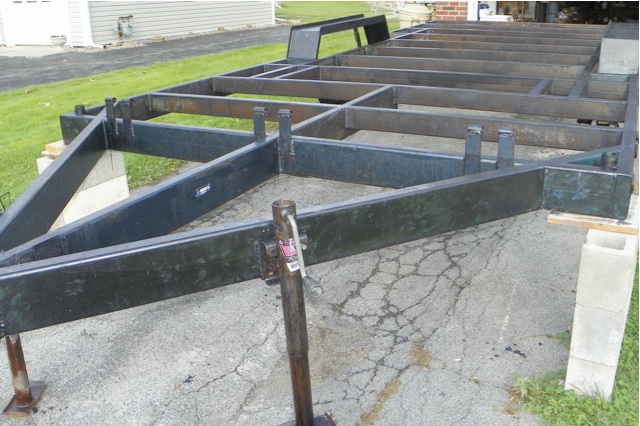
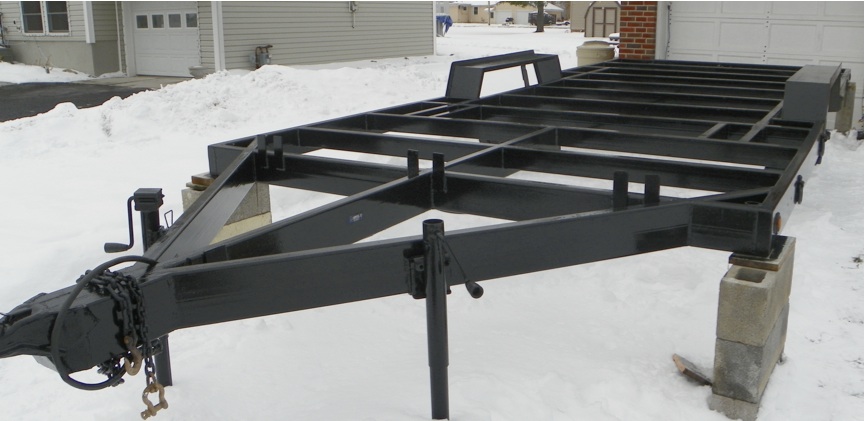
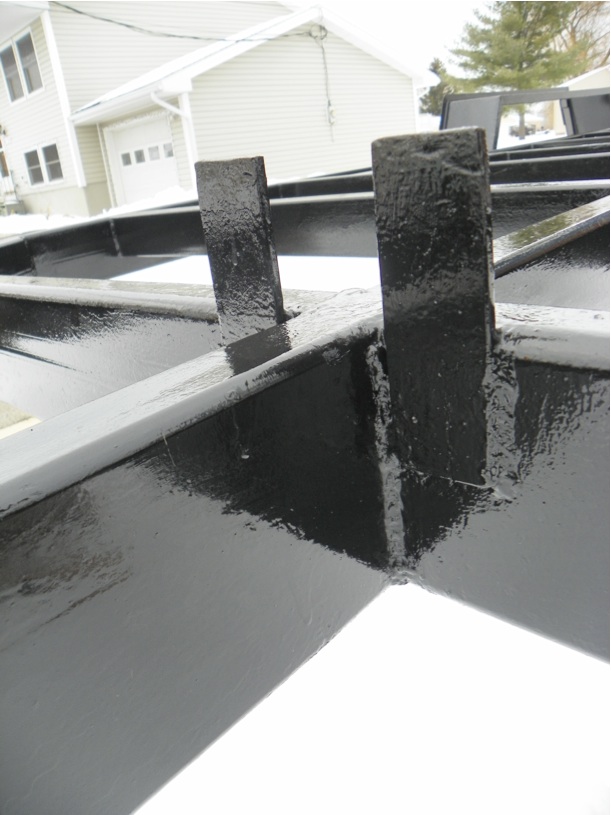
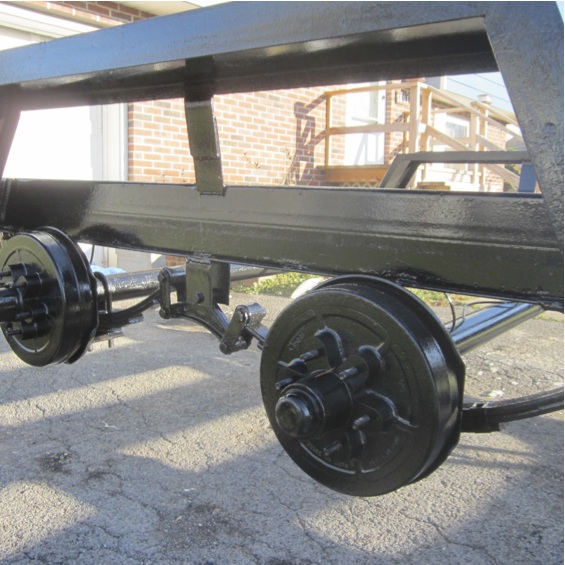
The D-rings were 2” below the top of the frame, so I left them on the trailer. I know a lot of people cut off all the unneeded trailer parts, but I think I can use these to secure things to my trailer (potential Solman Solar generator) or even use them to brace the trailer to the ground if I lived in a really windy area. Hope leaving them doesn’t end up biting me in the butt….like a metal cut-off disc…I also used silicone for some holes left over from the screws as well as threaded road to fill in two large holes. Some of the steel tube framing is hollow and open, so I don’t know if this is necessary for all trailers for the metal to adjust or if it’s going to lead to future rust issues. Feedback and thoughts would be appreciated! With everything cut, grinded, plugged, and primed, I went with the only metal paint I found in the area: rust-oleum. I read mixed reviews on it, but I had faith in the preparation job, so I hoped the positive reviews were right! Although not eco-friendly, the paint was very sticky and made the trailer look spanking new! I put two coats on. After the winter, I’m happy to report the paint is still holding and looking great. Satisfying result!
The reins are ours,
Chris
Reflections, Hindsight, and Alterations
- Before the framing lumber got delivered I had a little time so I put a quick third coat on this spring even though the paint was holding up well.
- Had to grind off the paint for the wheel’s threaded rods, so I could attach the wheels and nuts this spring—a little extra work.
- I wonder if I should have tried to grind off the rust with a grinding disc instead of a steel cup brush. It would have exposed more of the metal and taken more of the rust away. If people do that–I’d get the rust converter/primer on ASAP because it re-rusts quickly when exposed to the elements.
Resources
- The Rust Store: http://www.theruststore.com/