Tiny House Subfloor: Part 2: Mediocre Flashing Job
Shitty McShit Shit
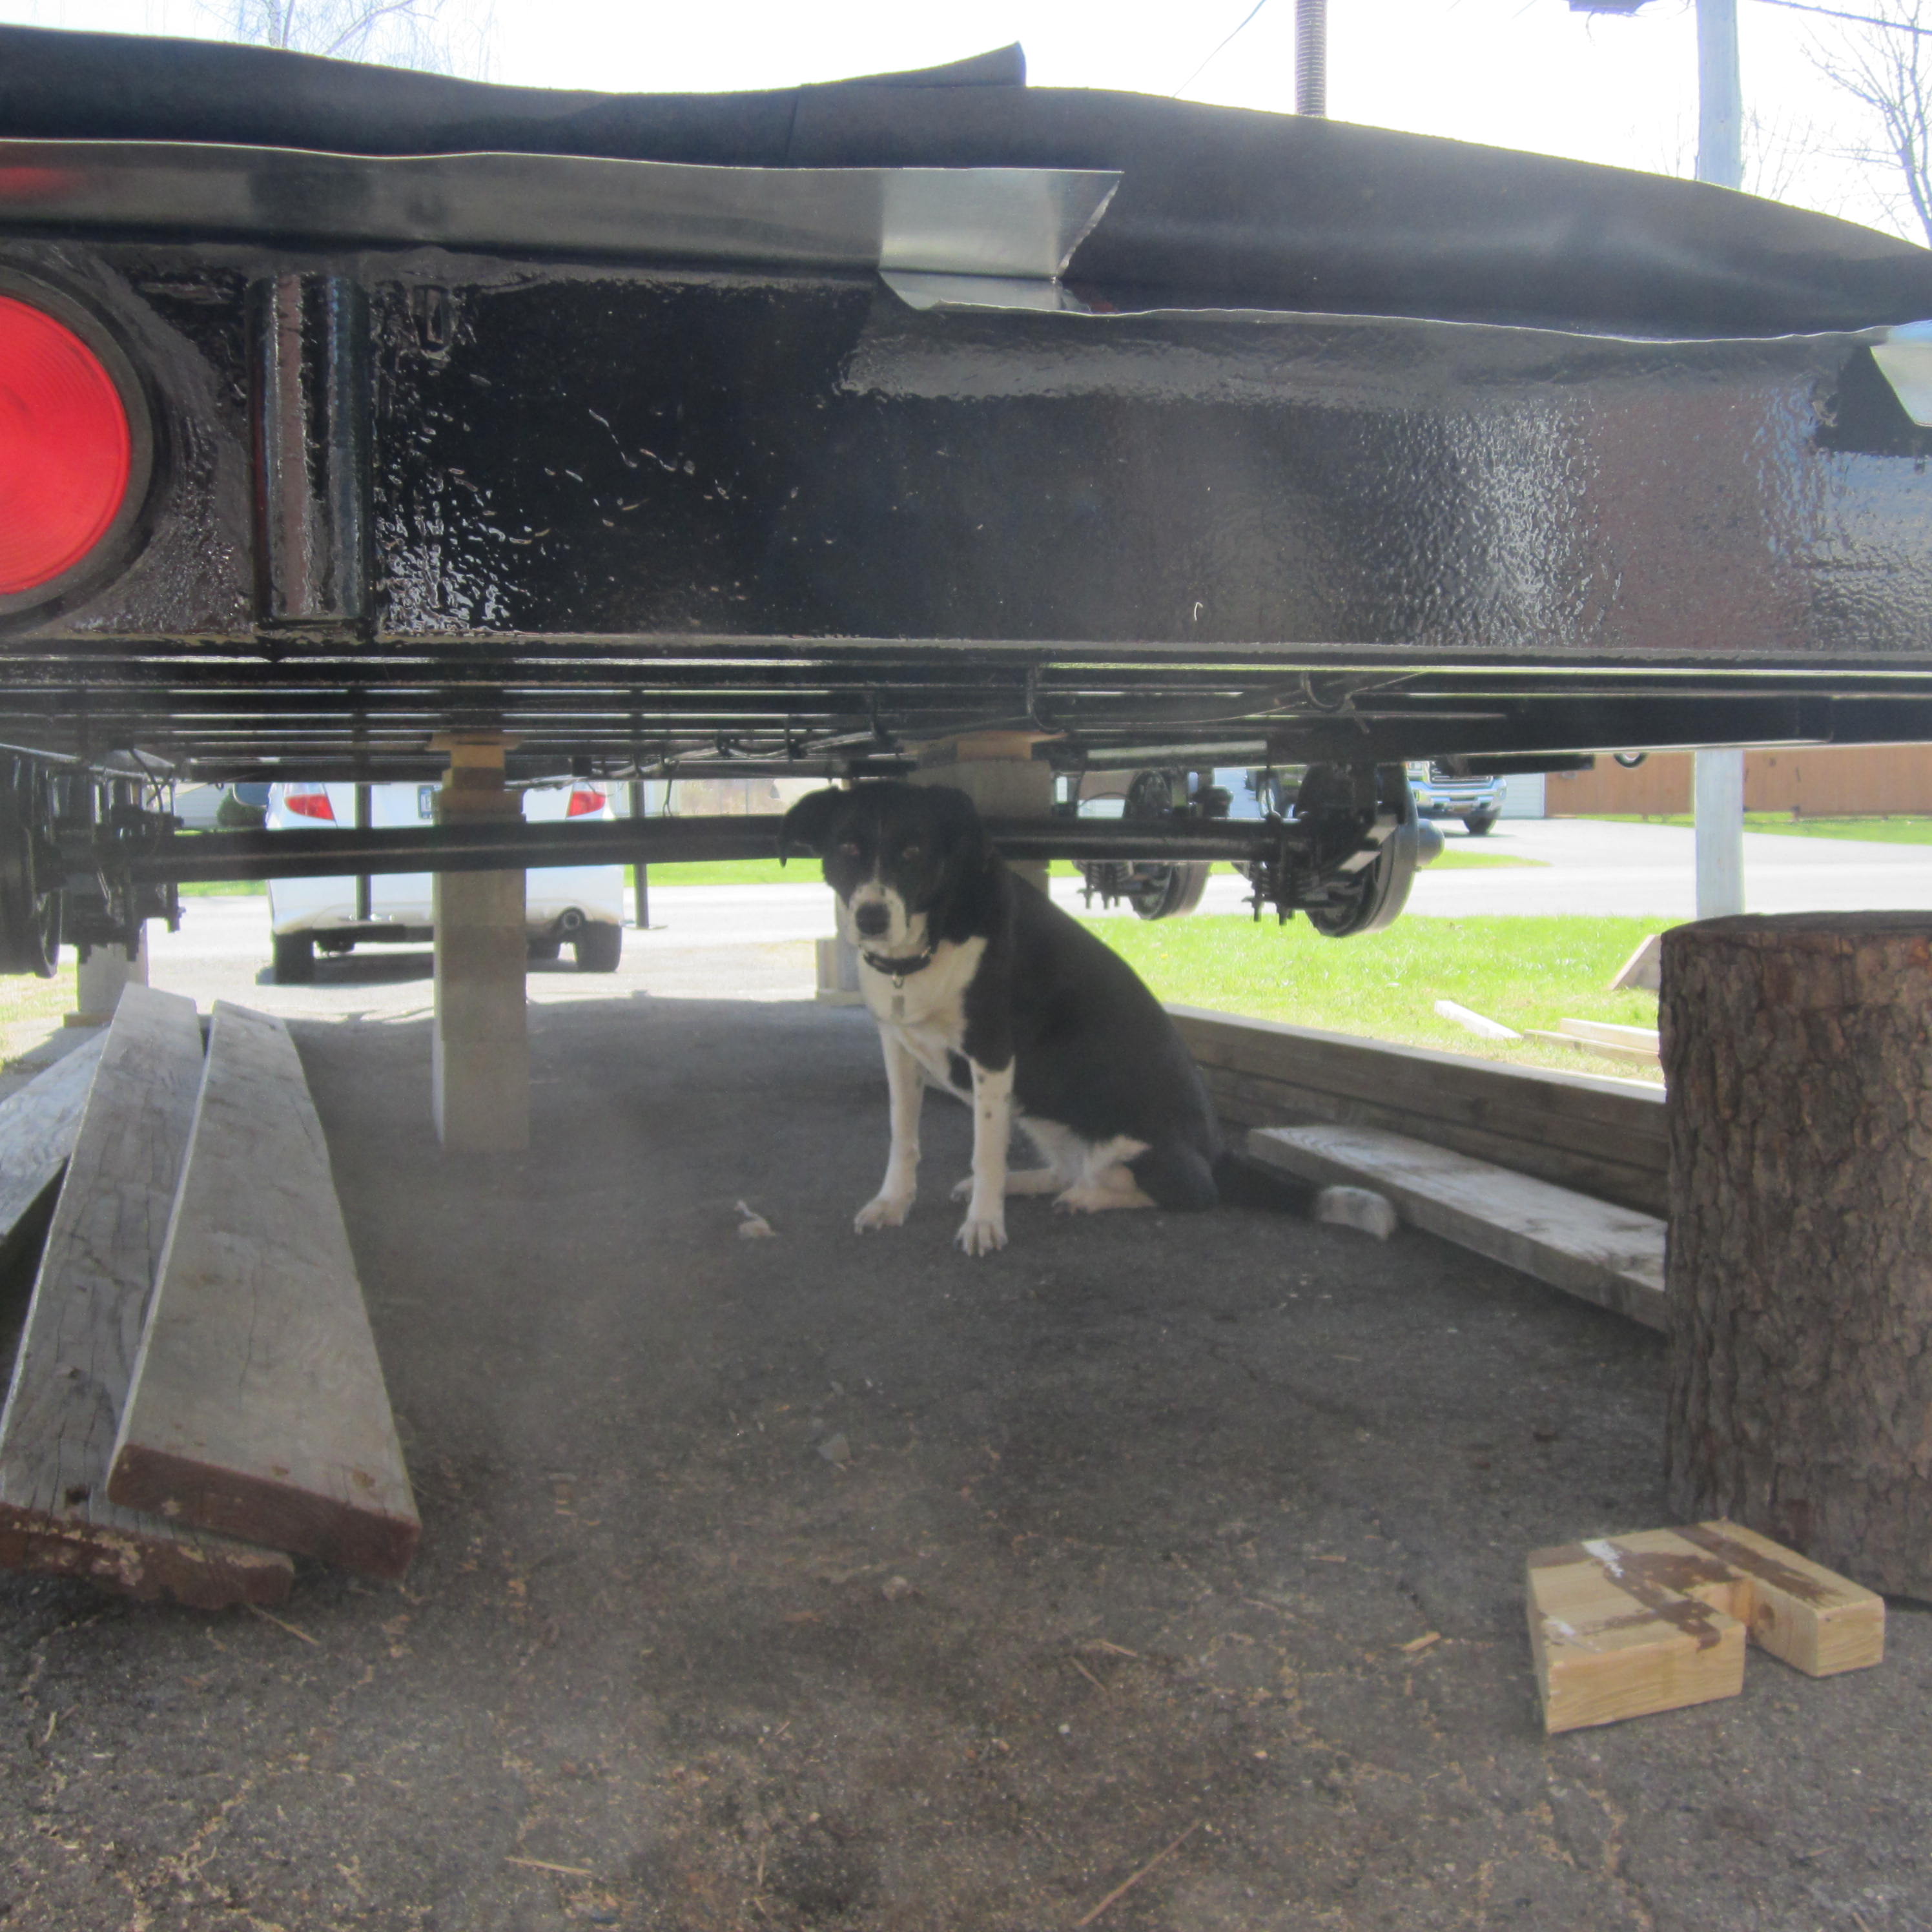
Shitty. That’s how I feel about my flashing job. It was the first thing I put on the trailer too! I was too excited and too determined, and I didn’t have Michelle to problem shoot with…so it didn’t turn out very well. Learn from my mistakes…let there be a positive side to this! When everything was said and done, it ended up not being as shitty; maybe even decent.
Materials:
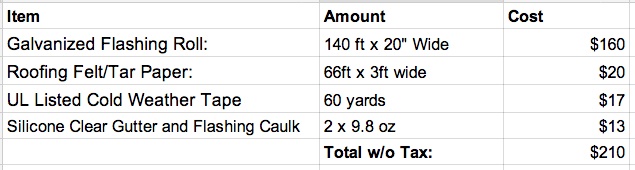
*Would recommend using butyl rubber flashing tape (the stuff for windows) instead of UL tape.
Tools:
- Wiss Multi-Purpose Snips
- Drill with 5/8 or 3/4 inch Drill Bit
What’s the Purpose?
Do you want mice and creatures eating your subfloor? Do you want an added layer of moisture protection when parked or driving down the road?What about an initial layer of protection from road debris? If the answers are yes, metal flashing is a great solution. Some tiny house builders have used just 3/4 inch exterior T&G plywood with strong marine exterior paint. We decided to utilize a combo: exterior plywood with metal flashing. Ryan Mitchell’s article is a great resource for this step, too.
Laying Down the Metal
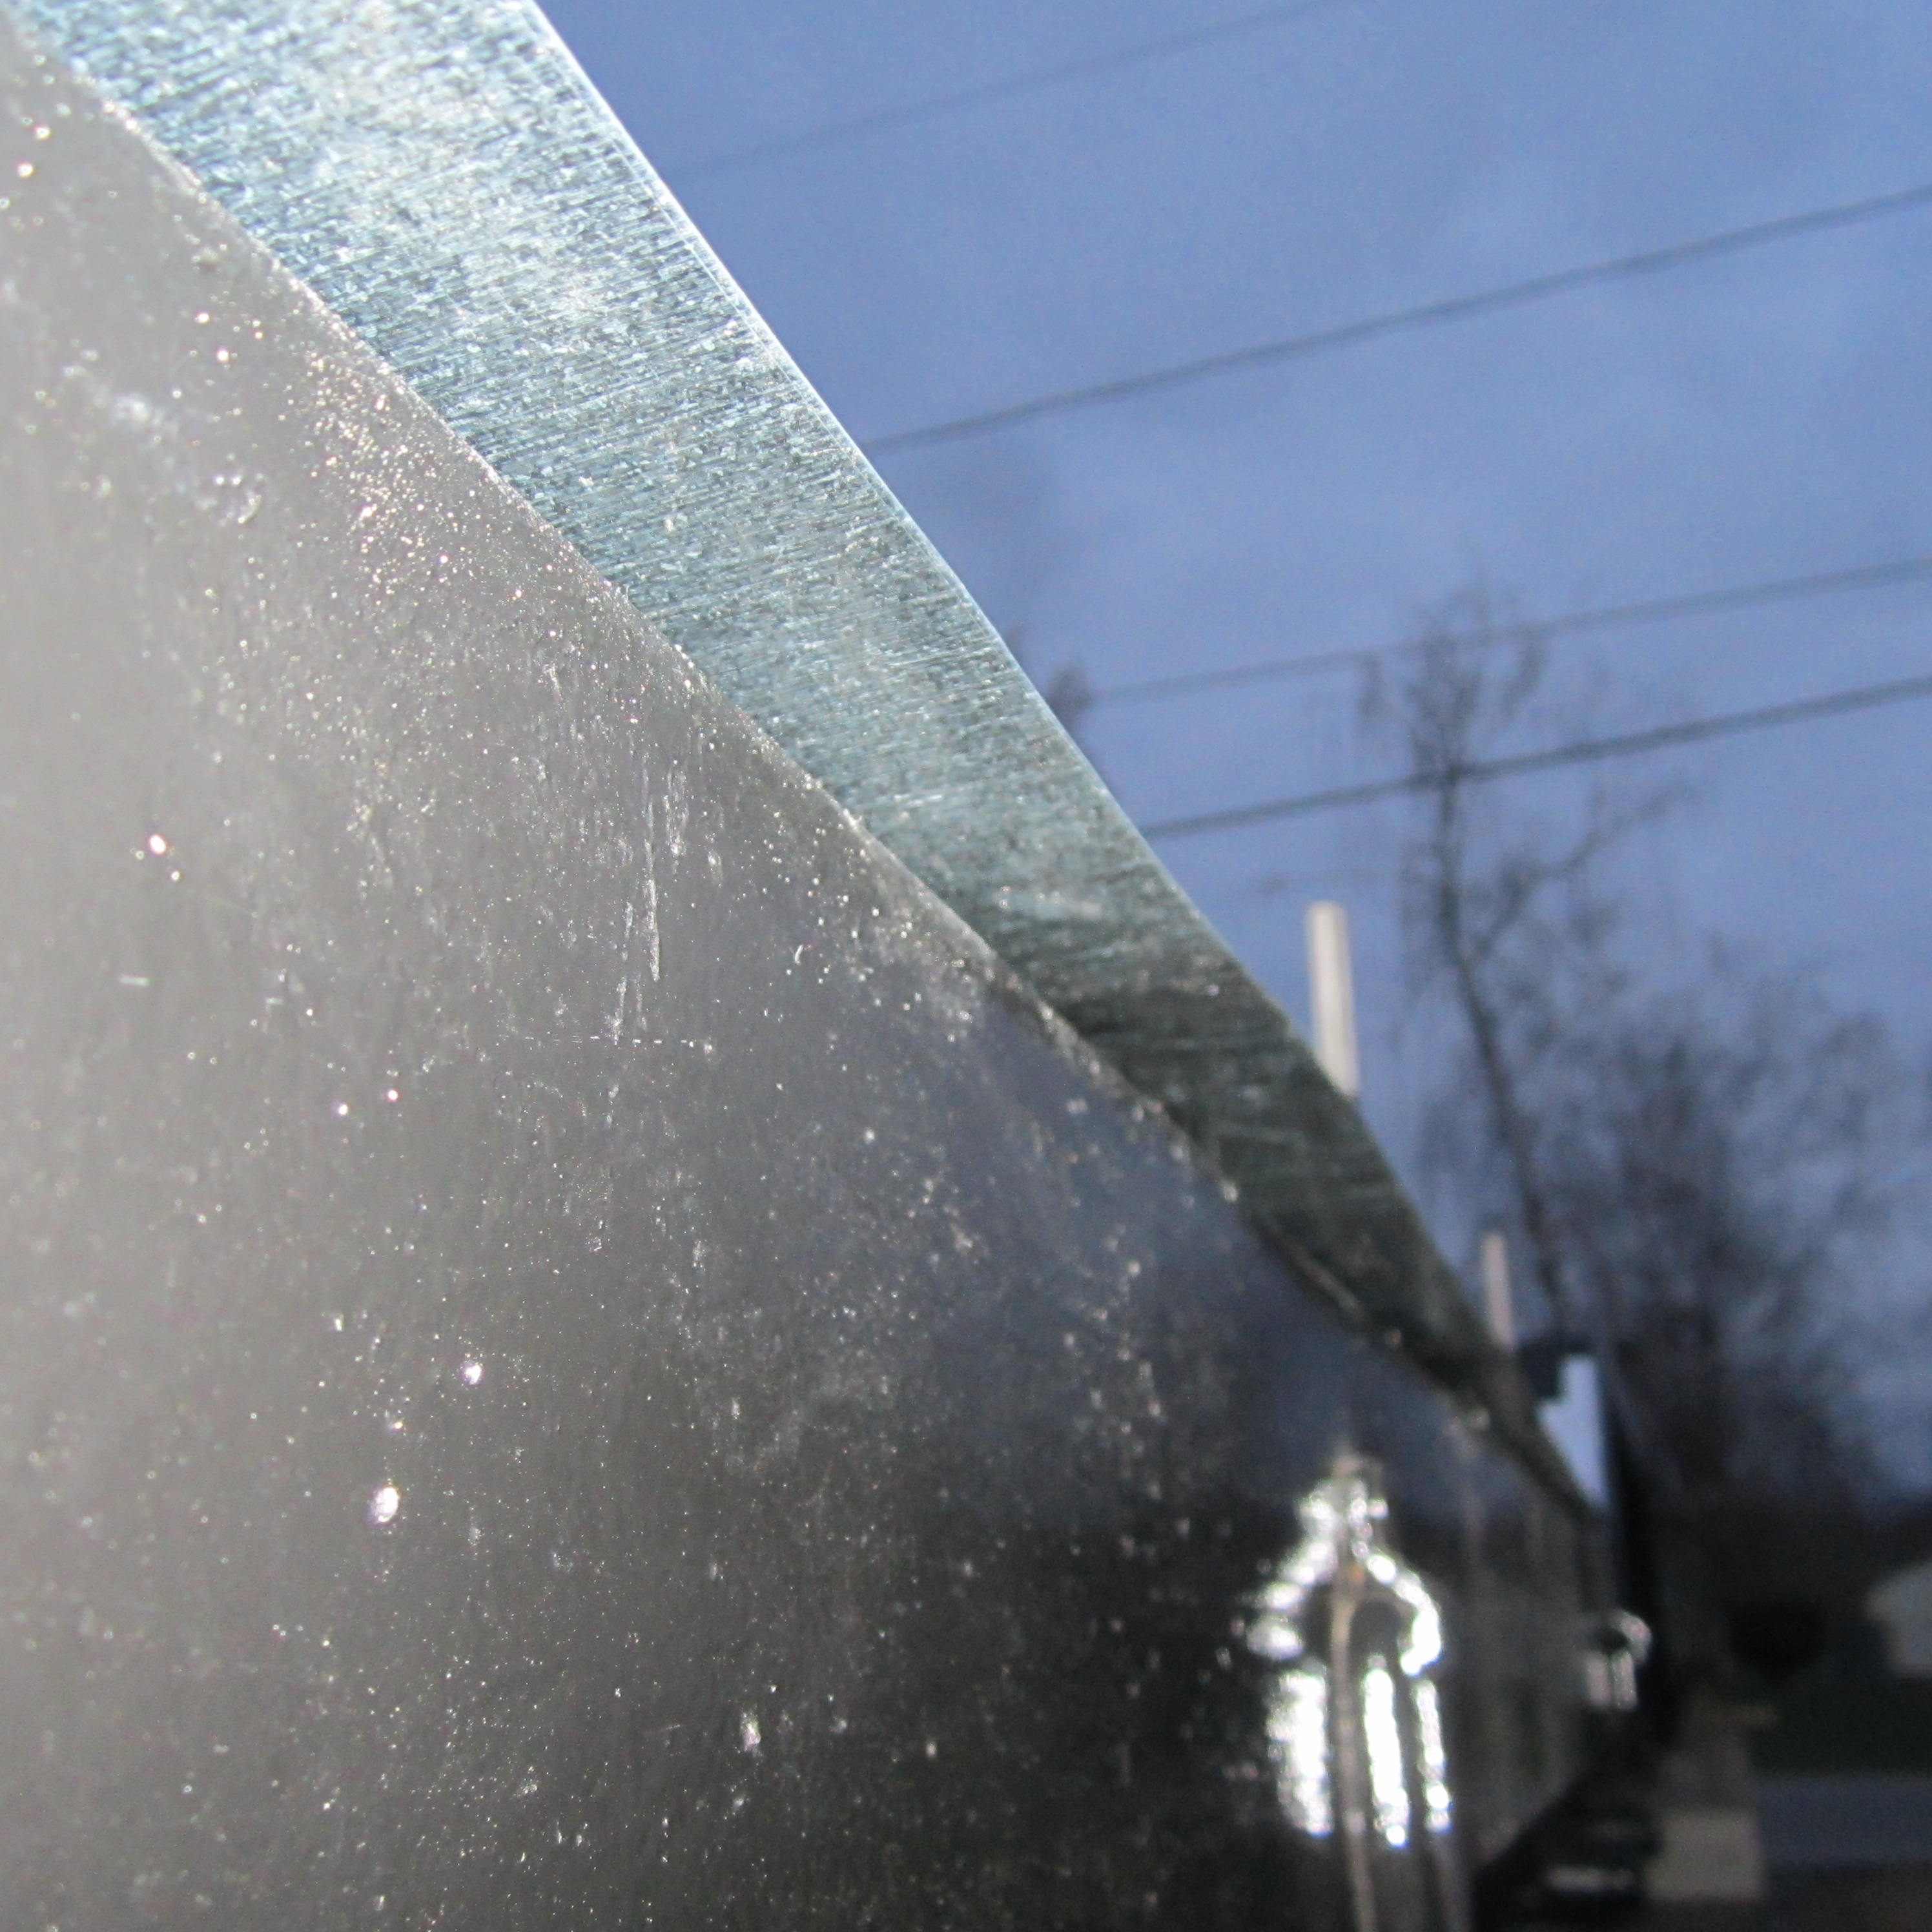
Before you begin, check out the “Reflections, Hindsight, and Alteration” section because I would have just boughten five 5 ft x 10 ft galvanized flat metal sheets for $100-120 dollars on craigslist, which would have been better protection, a lot less hassle, and cheaper, but I digress…I’ve seen a couple of approaches to applying the flashing. Some tiny house builders will have enough space to lay all the metal down on a large floor as if it was on the trailer. Then they’d tape the metal or fasten it to their plywood while it’s on the ground. How nice to have such a space! Or, others have their flatbed boards on their trailer. This allows them to fasten the metal flashing with staples or galvanized nails to the wood. How nice! For this no space, no boards, and anxious to build guy–it was laying the metal on across the top and hoping the 3/4 inch plywood would flatten it out.
Shit Show Special
I had to buy more metal flashing twice (final count is the one above). Marking the holes for the bolts and drilling into the metal wasn’t ideal, but it worked out.
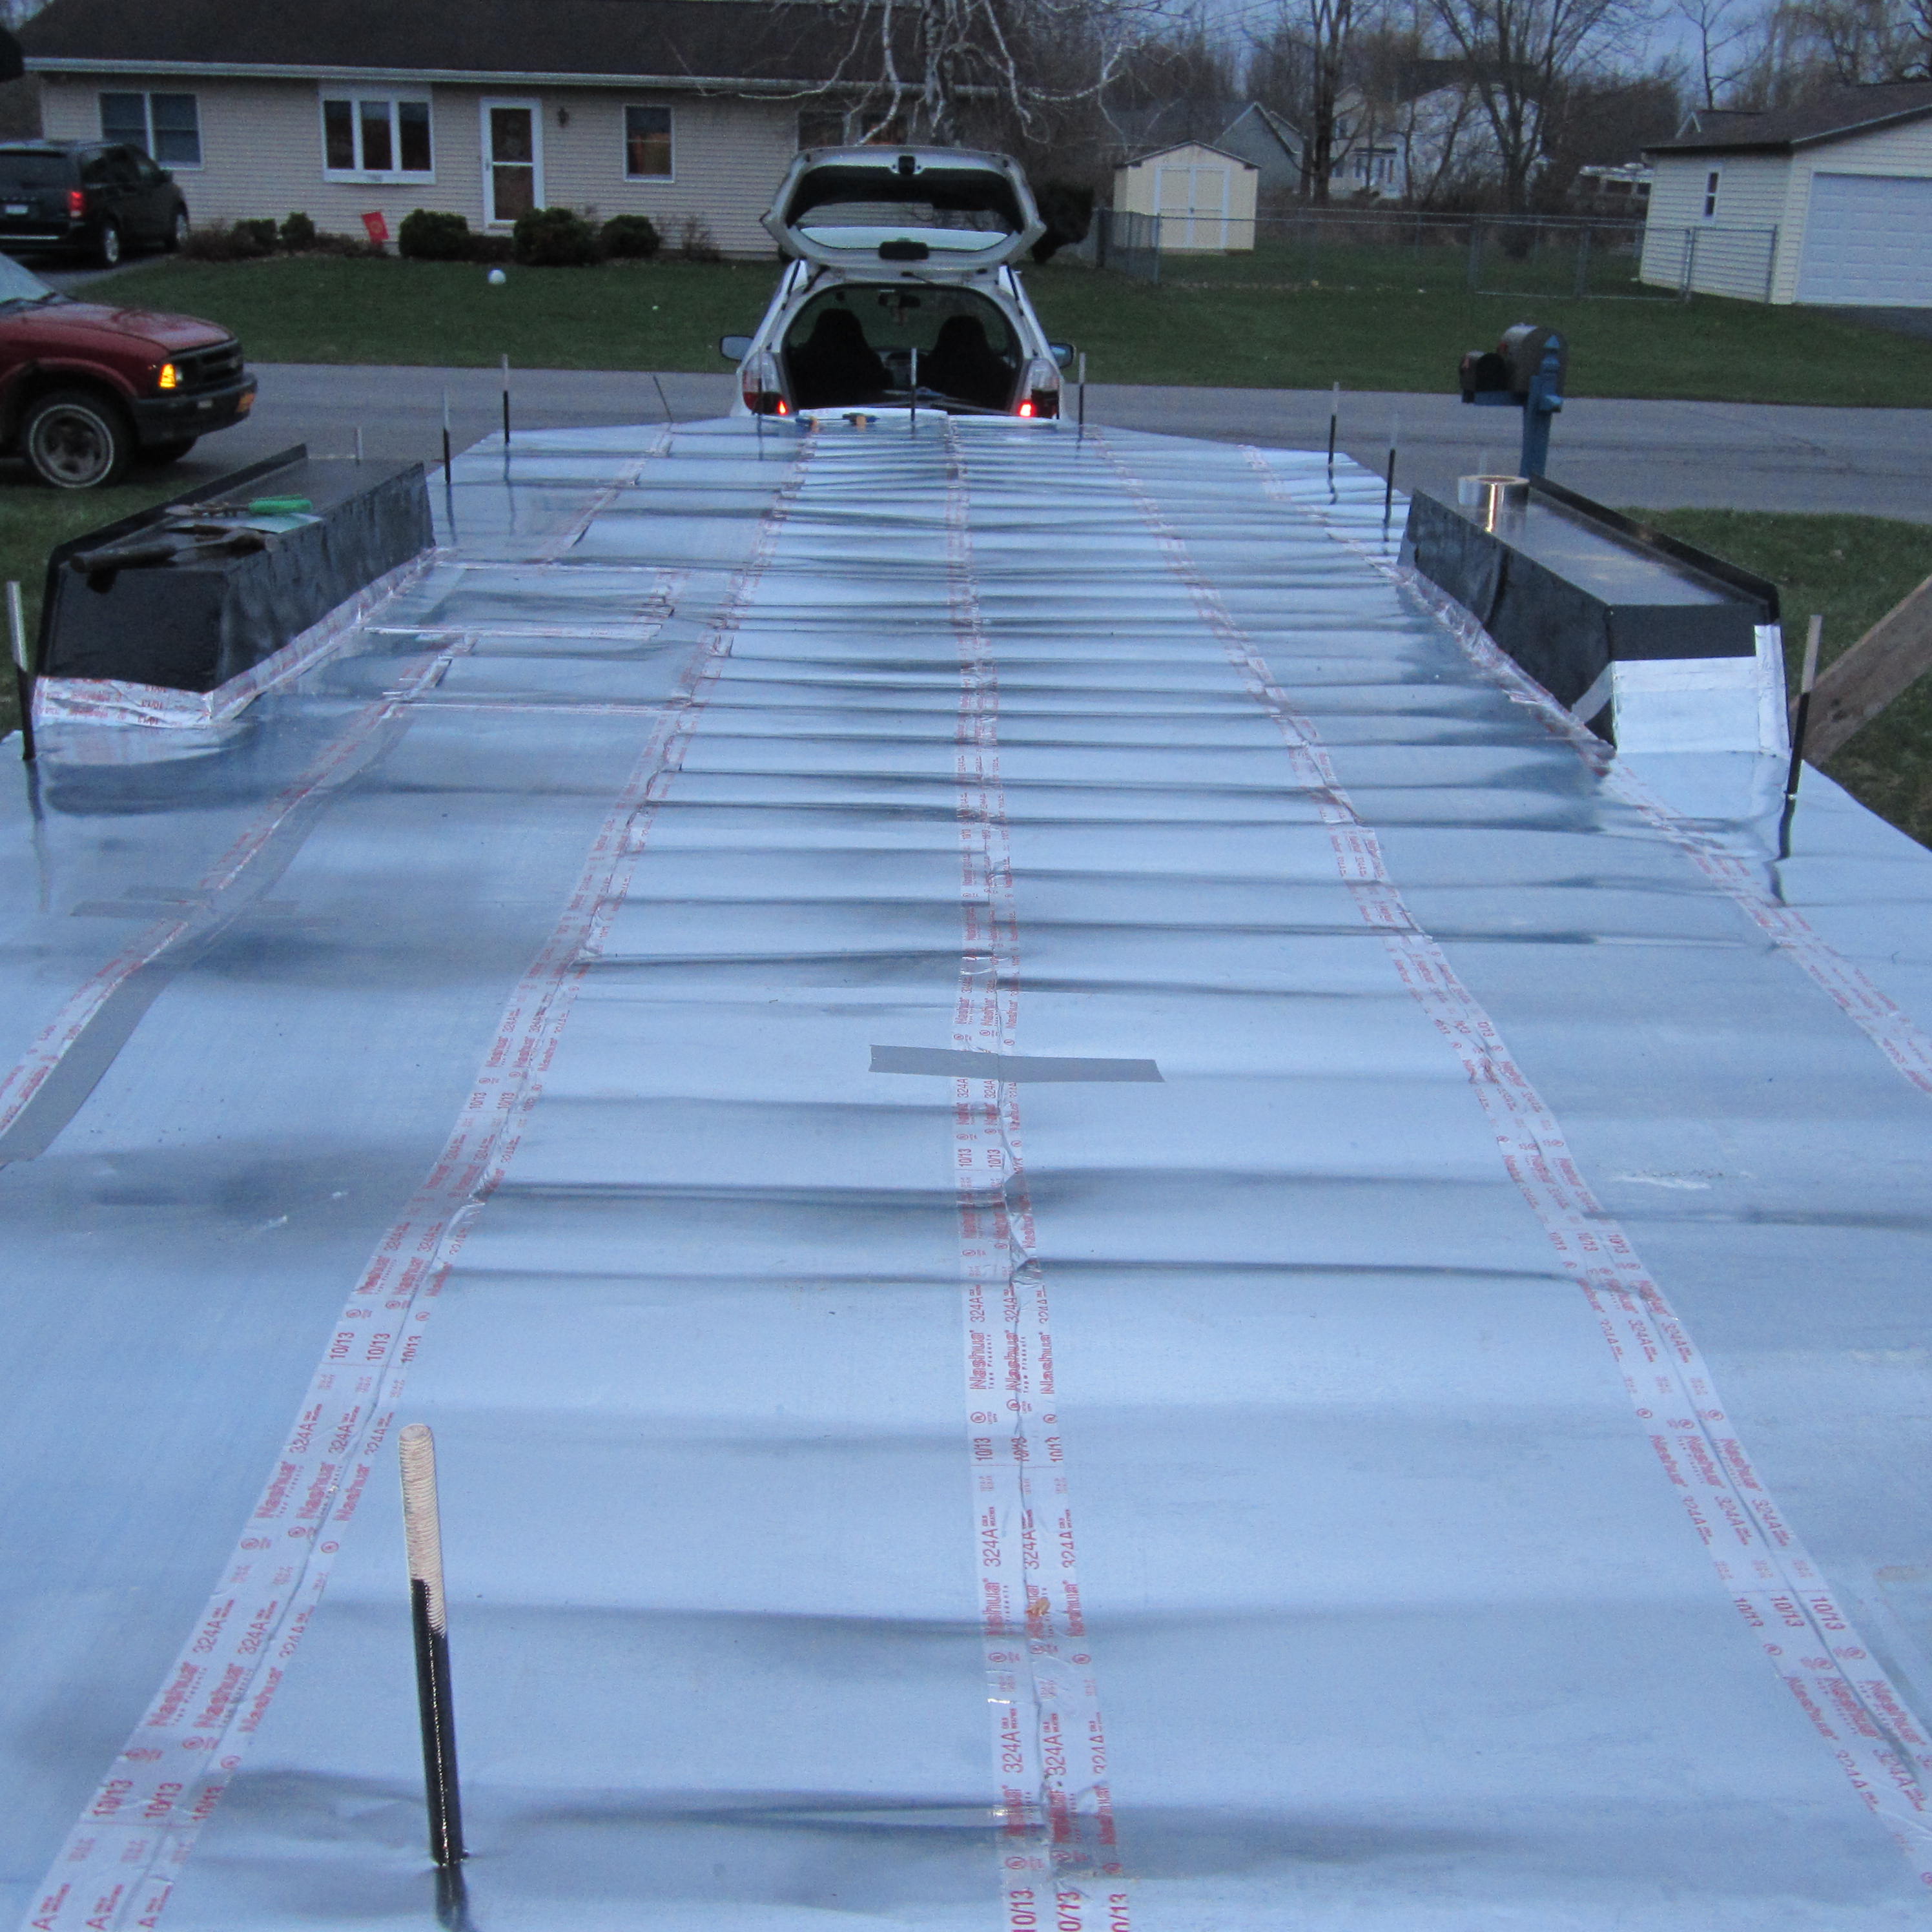
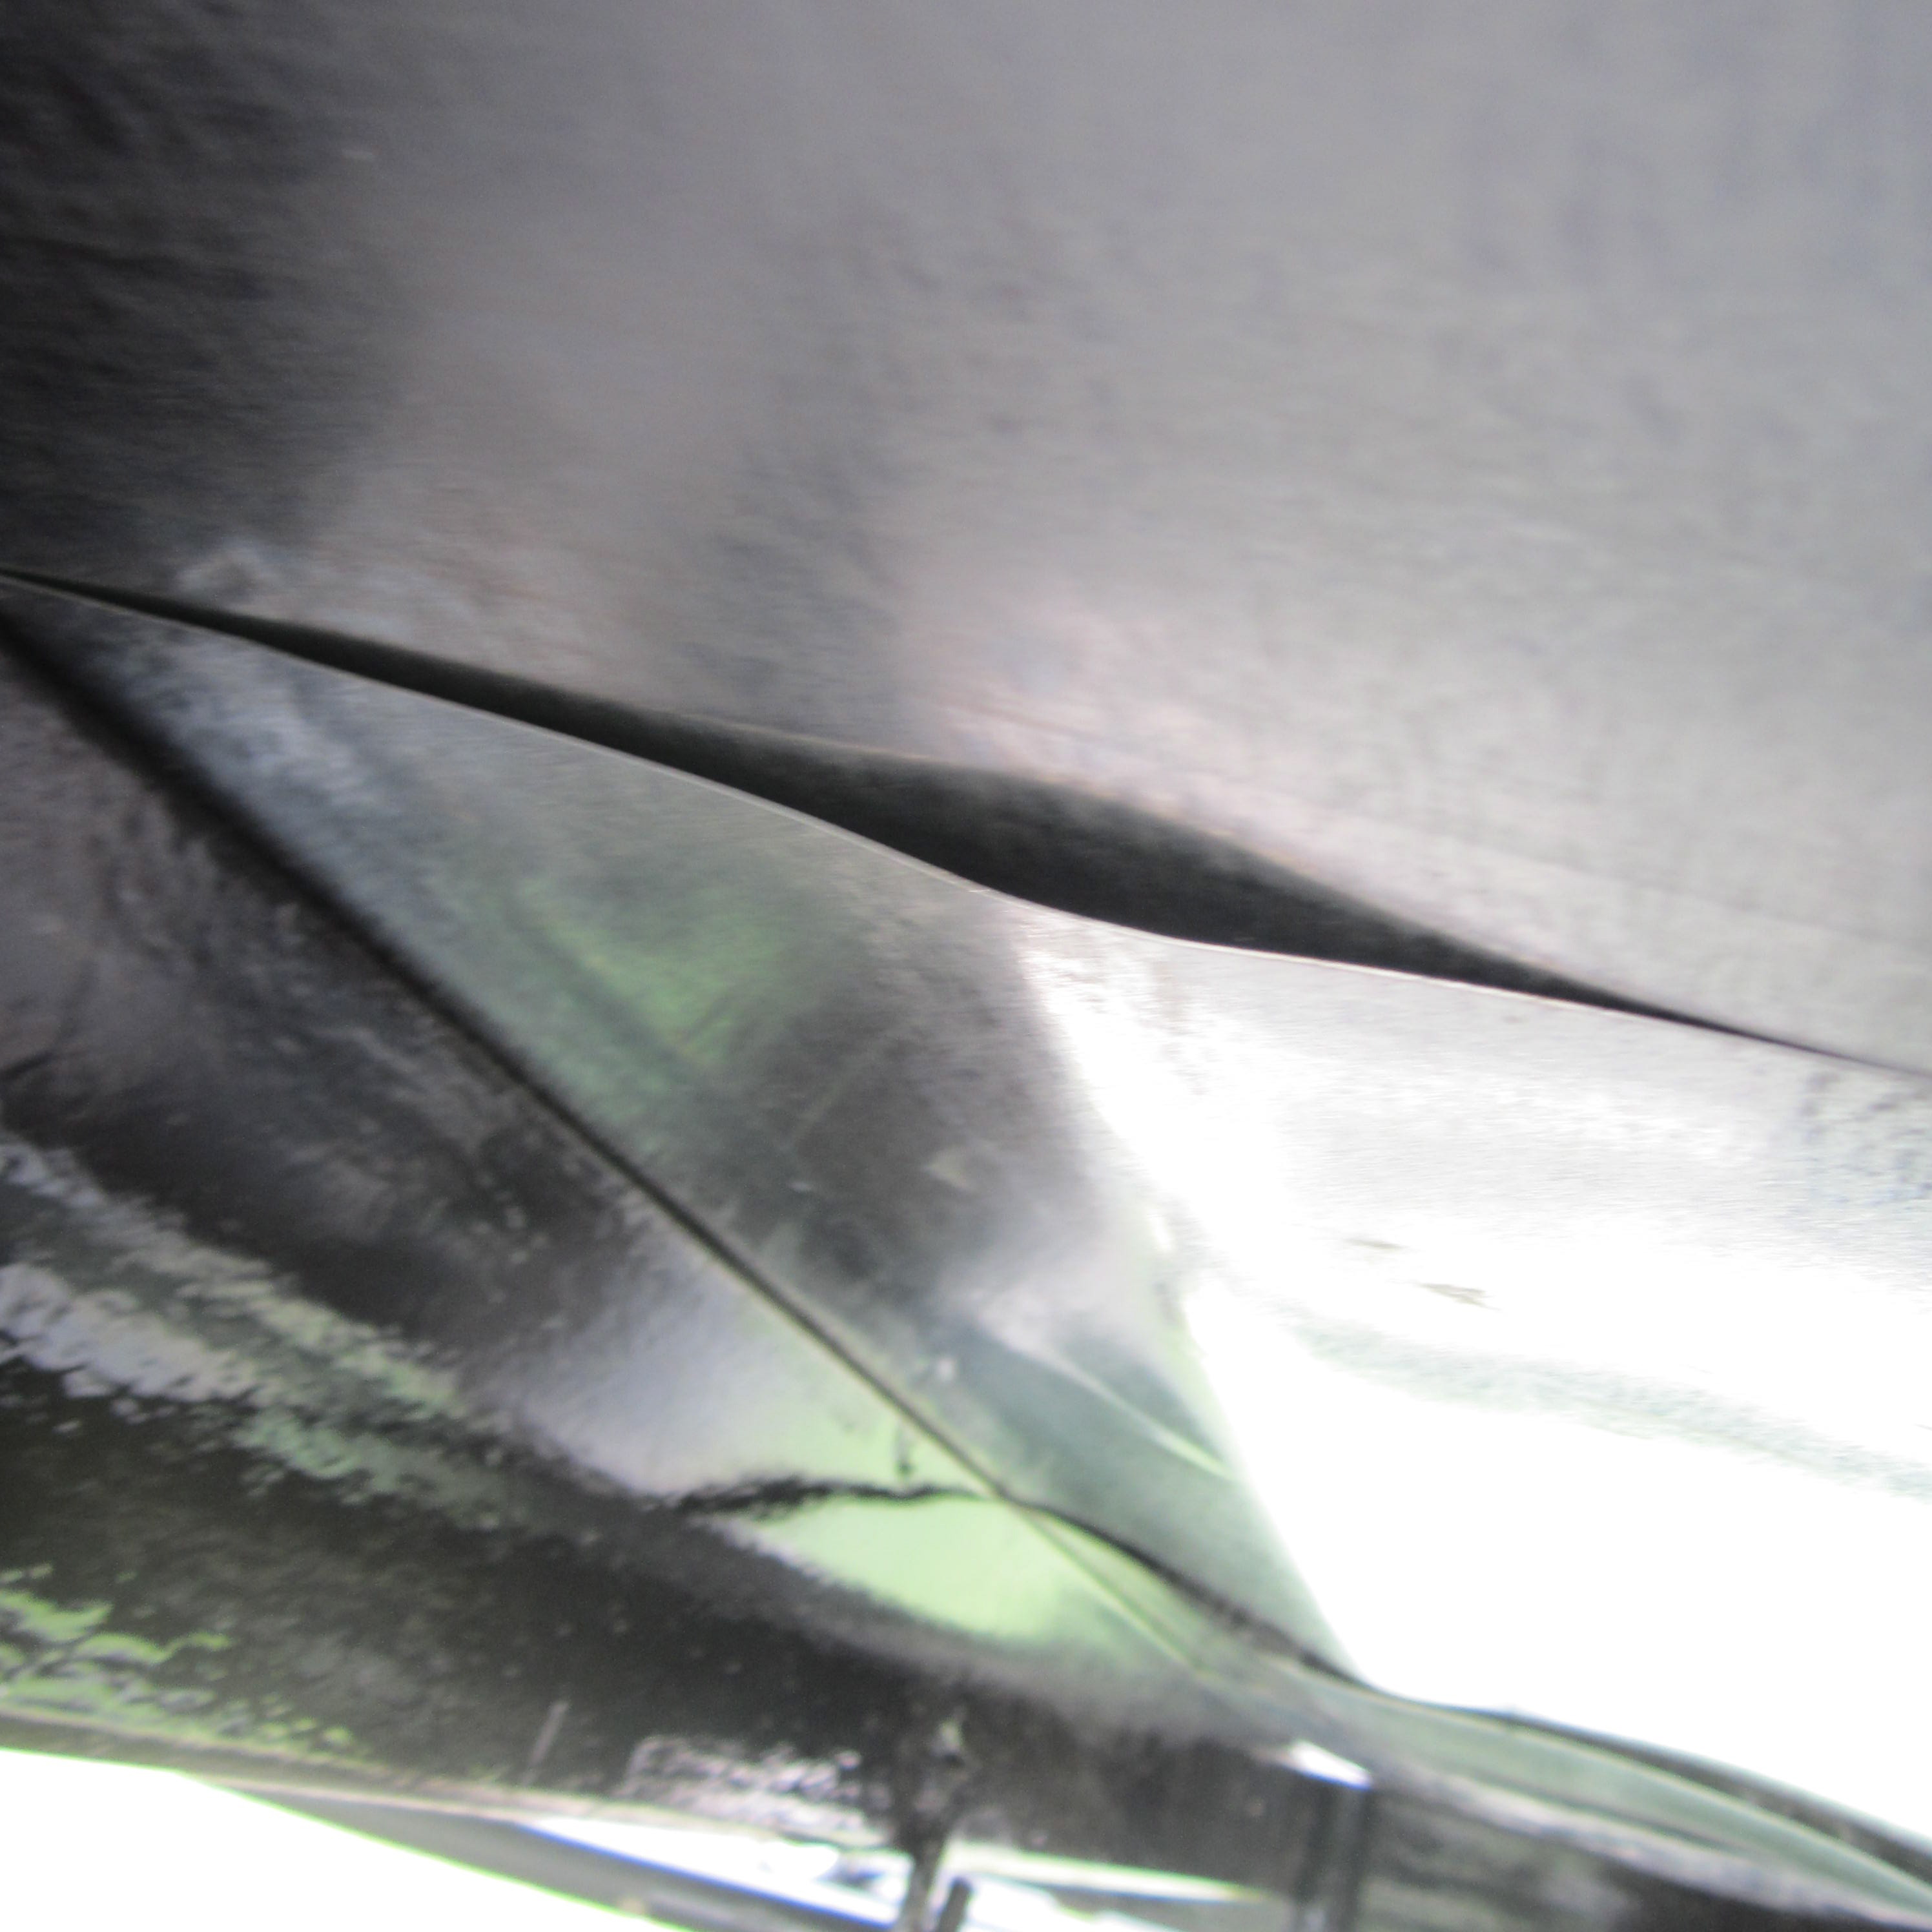
Should have used butyl rubber flashing tape. I overlapped the seams by 2 inches (that’s just how the overlap worked out when dividing my 8.5 ft trailer by 20 inches). Before applying the tape, I would silicone between the flashing sheets for an extra layer of moisture protection in addition to the tape. I added 1-2 inches of metal overhang off the ends and sides, thinking I’d attach it up to the subfloor. Then, I found out that this would be stupid because it would trap water and bring water in-between the flashing and 3/4 inch plywood, so I ended up cutting it off with the angle grinder (which was a slight pain, so save yourself the trouble).
Cover Up!
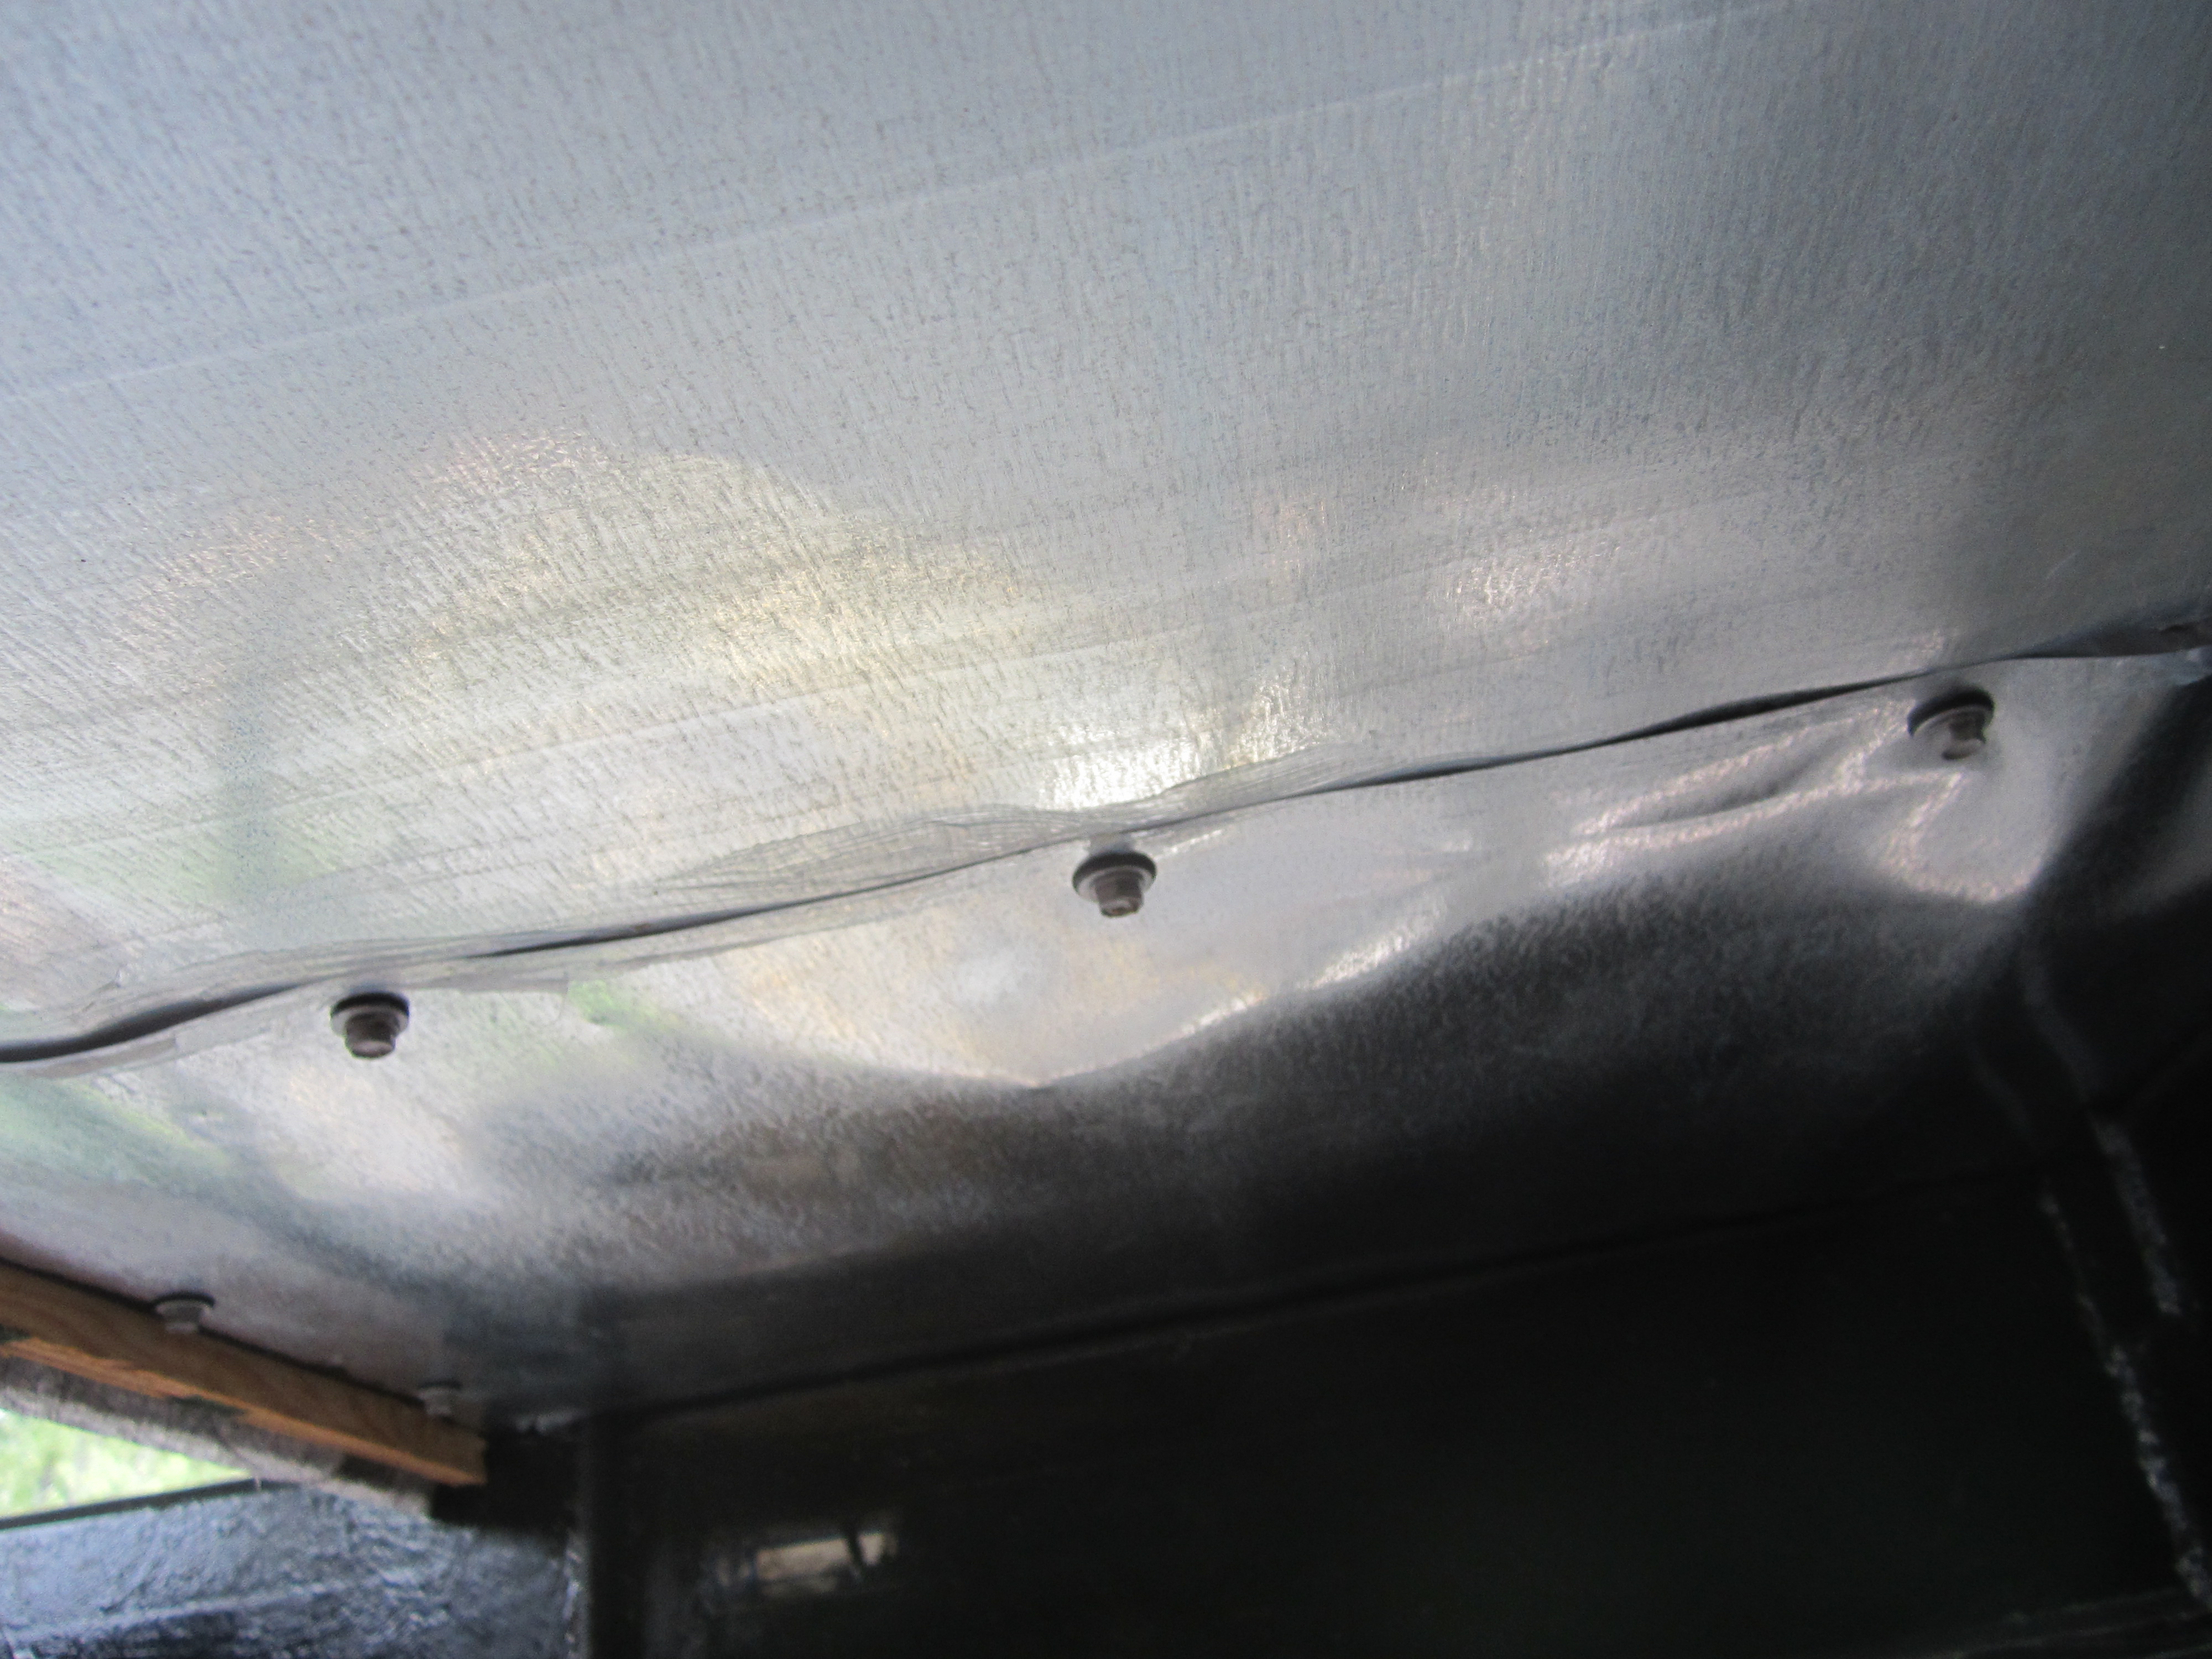
The tar paper went quick. The tar paper will be added moisture protection. If you use aluminum flashing, it’s crucial to separate the aluminum from your pressure treated plywood with tar paper; otherwise, they will negatively react. One of my friends recently mentioned that it might have been good to add some liquid tar between the galvanized metal and trailer–preventing them from corroding. I didn’t do this, but I hope the paint on the trailer adds that needed layer of protection.
Adding More Work
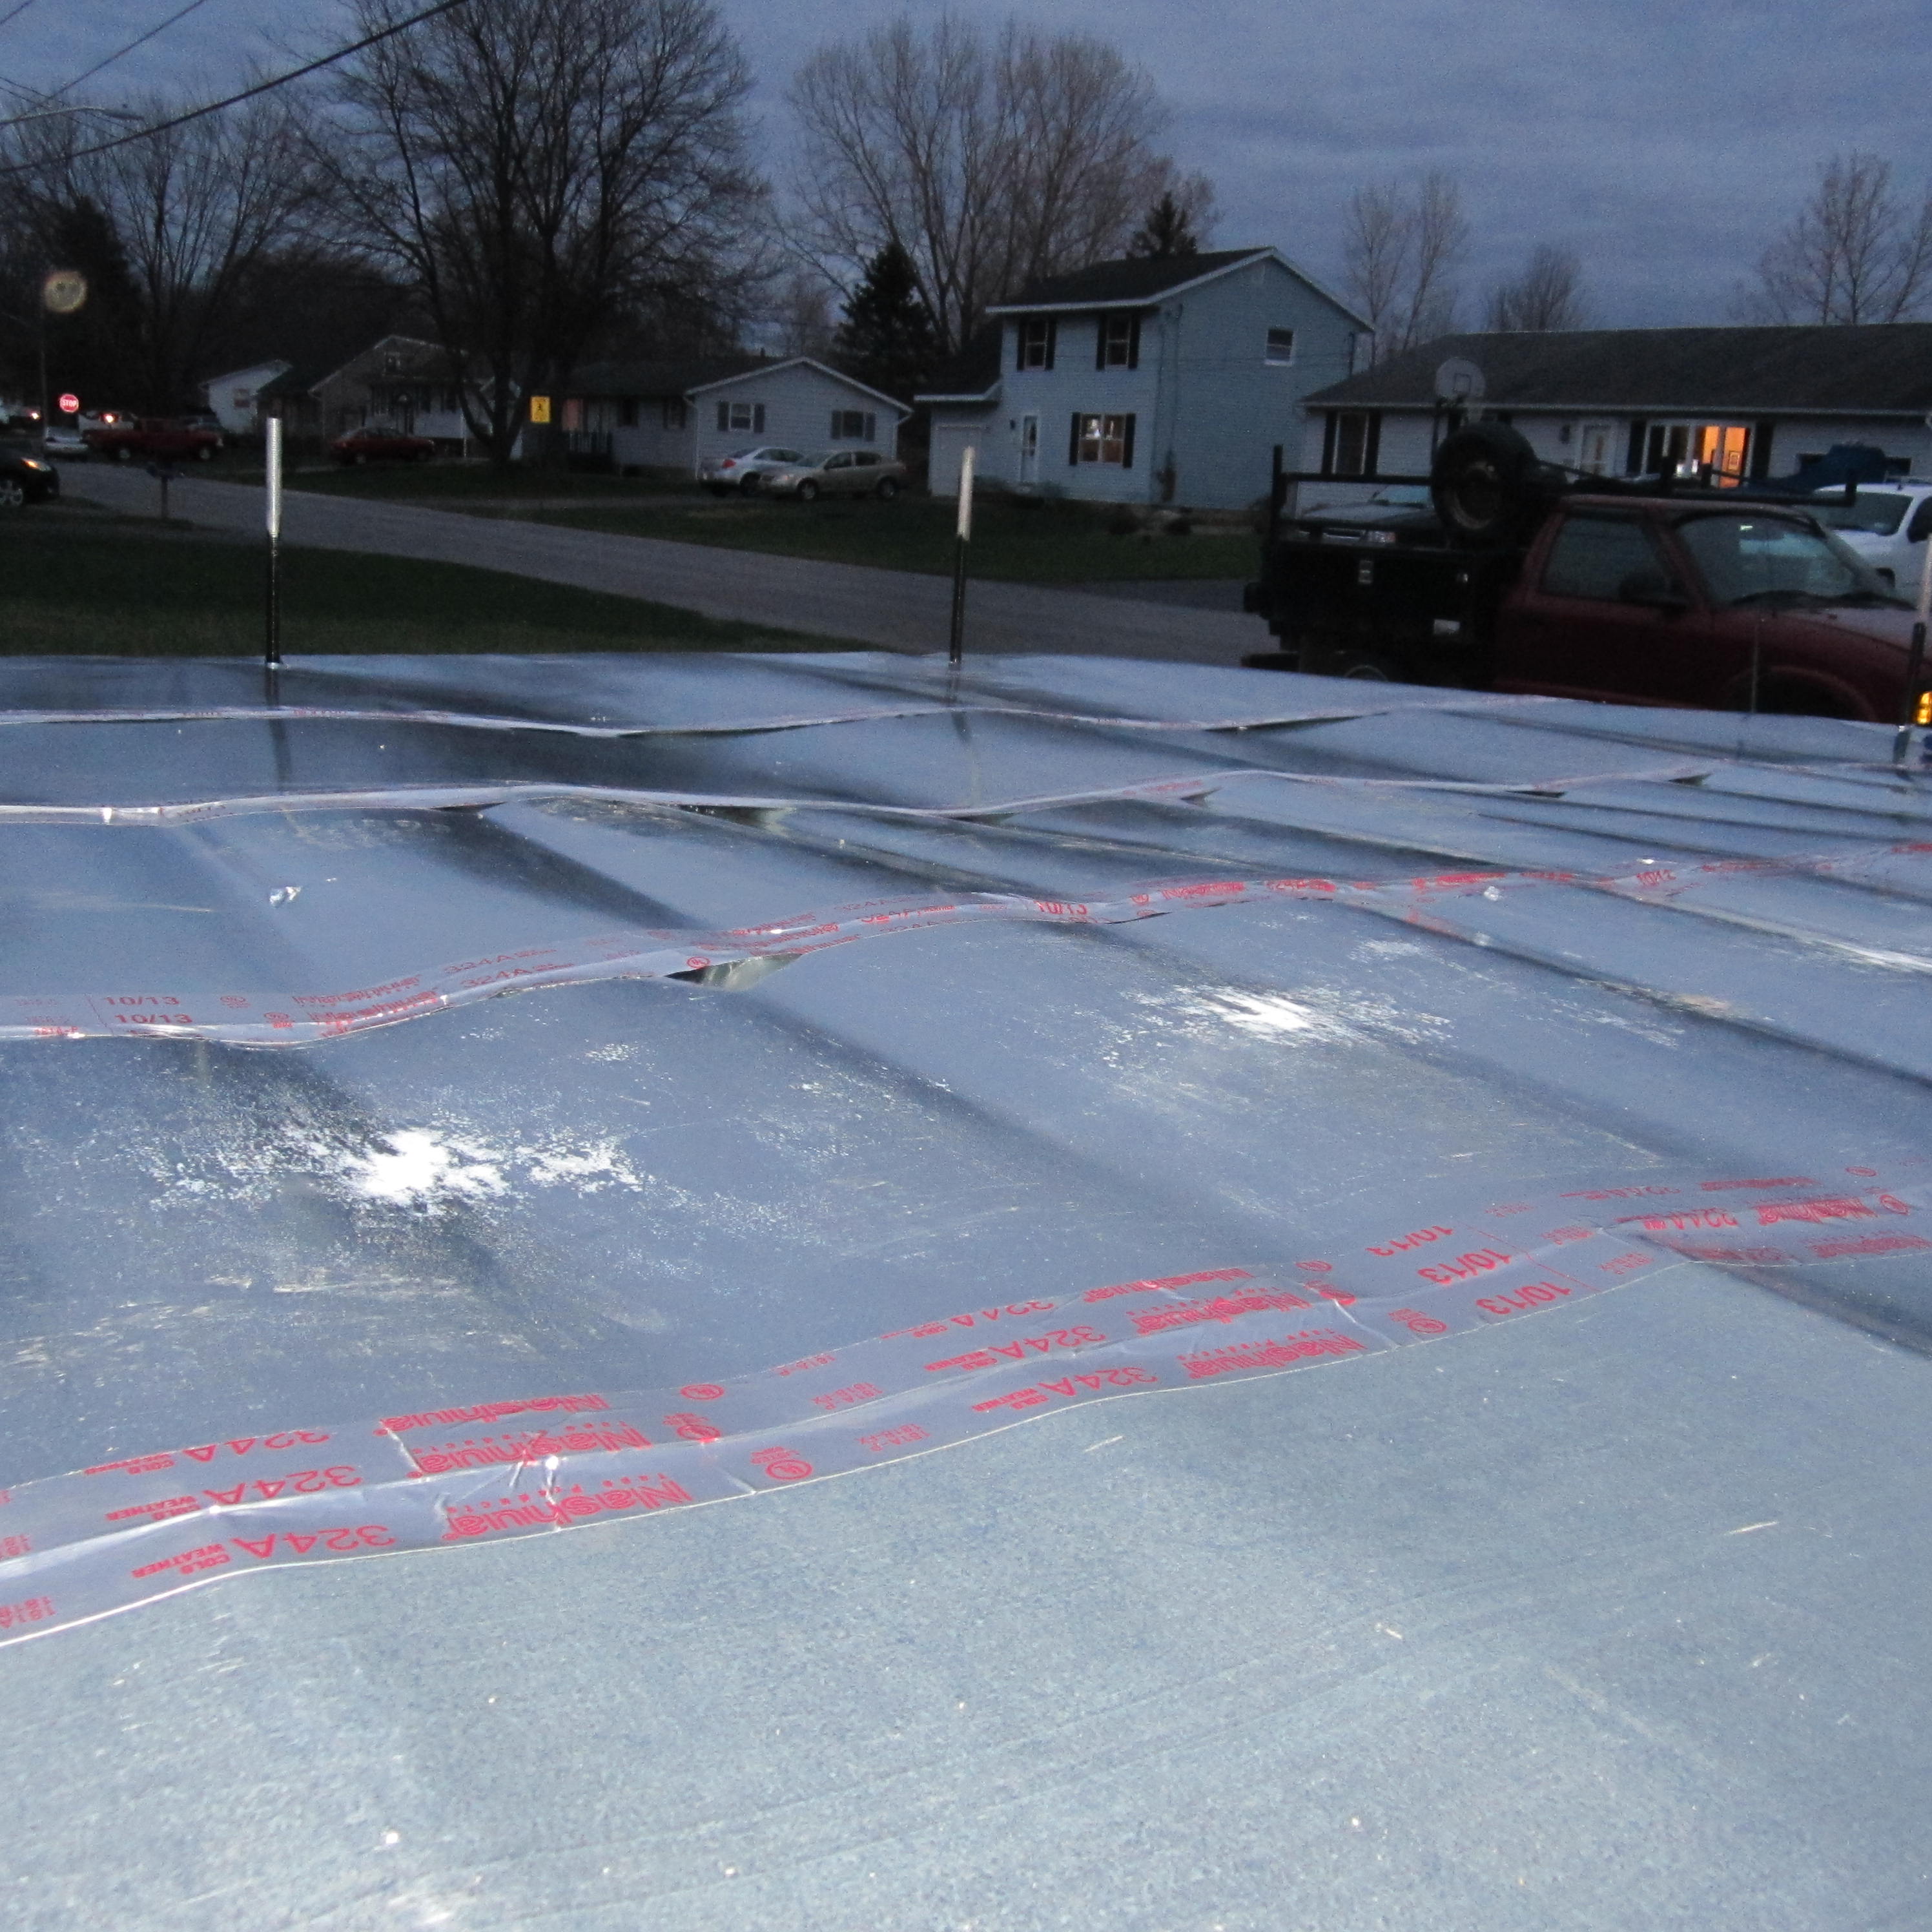
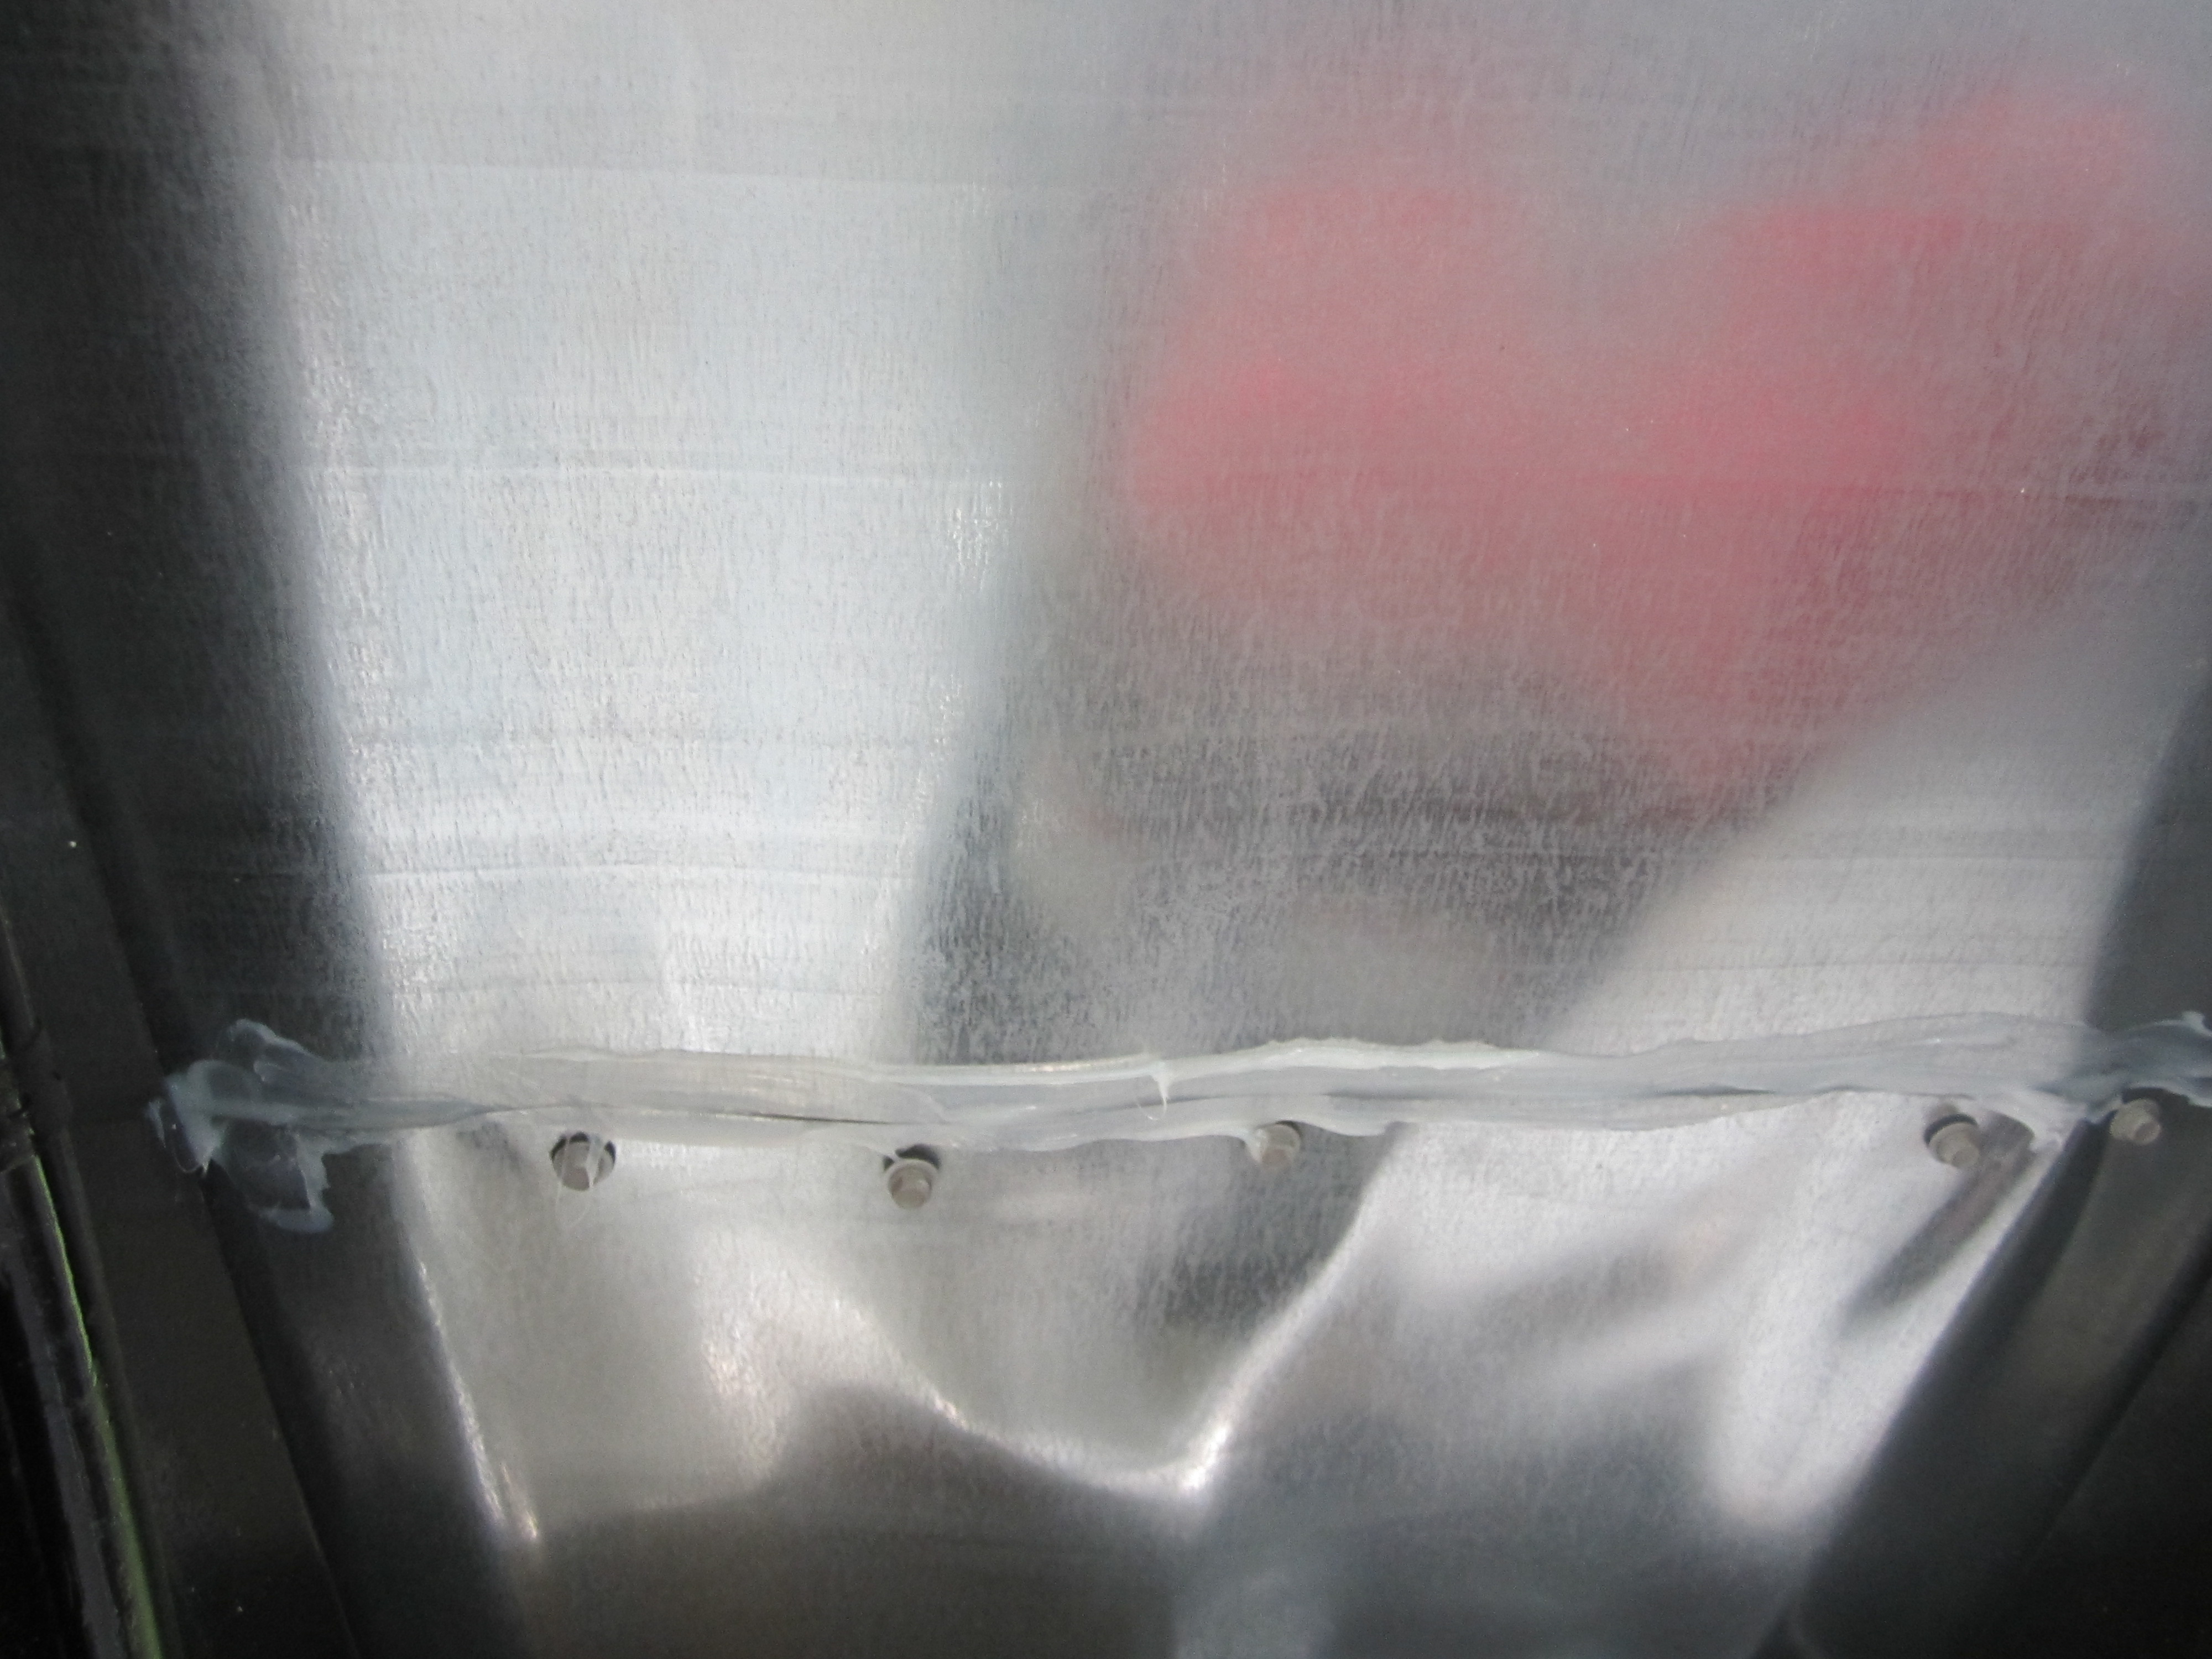
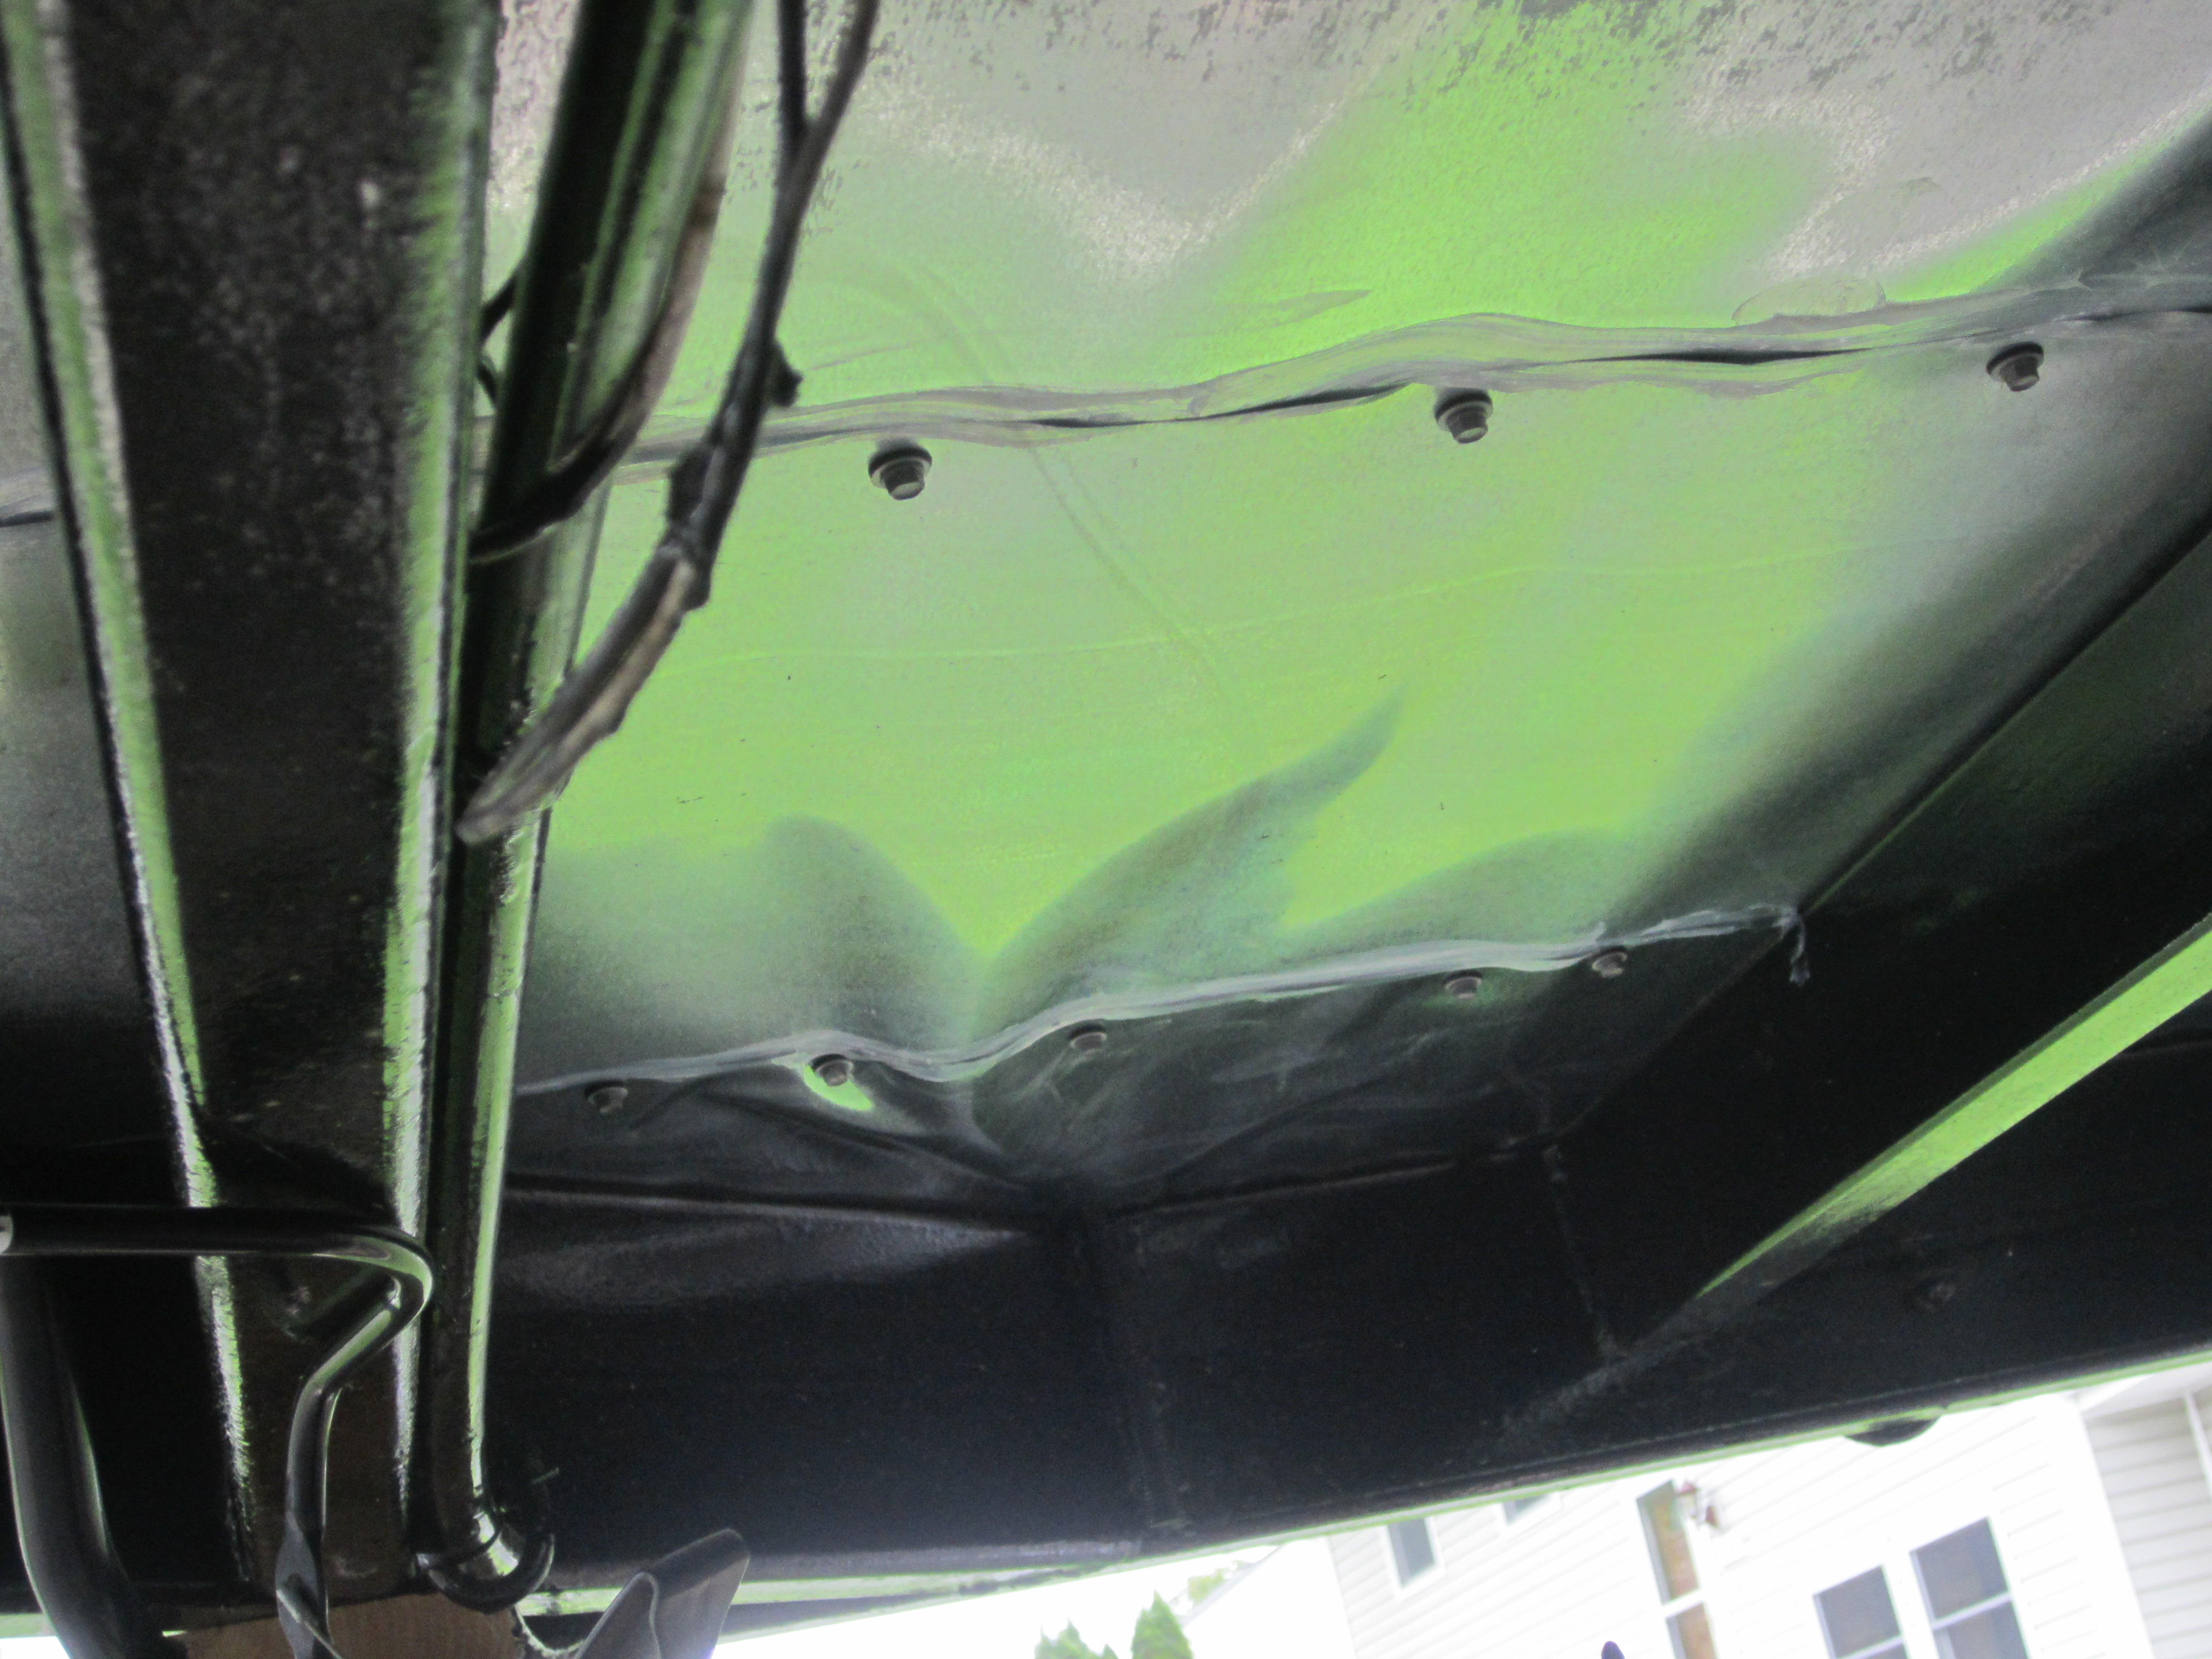
As you can see, adding the 3/4 plywood didn’t solve my wavy problem. Frustratingly, I needed to take care of these gaps.
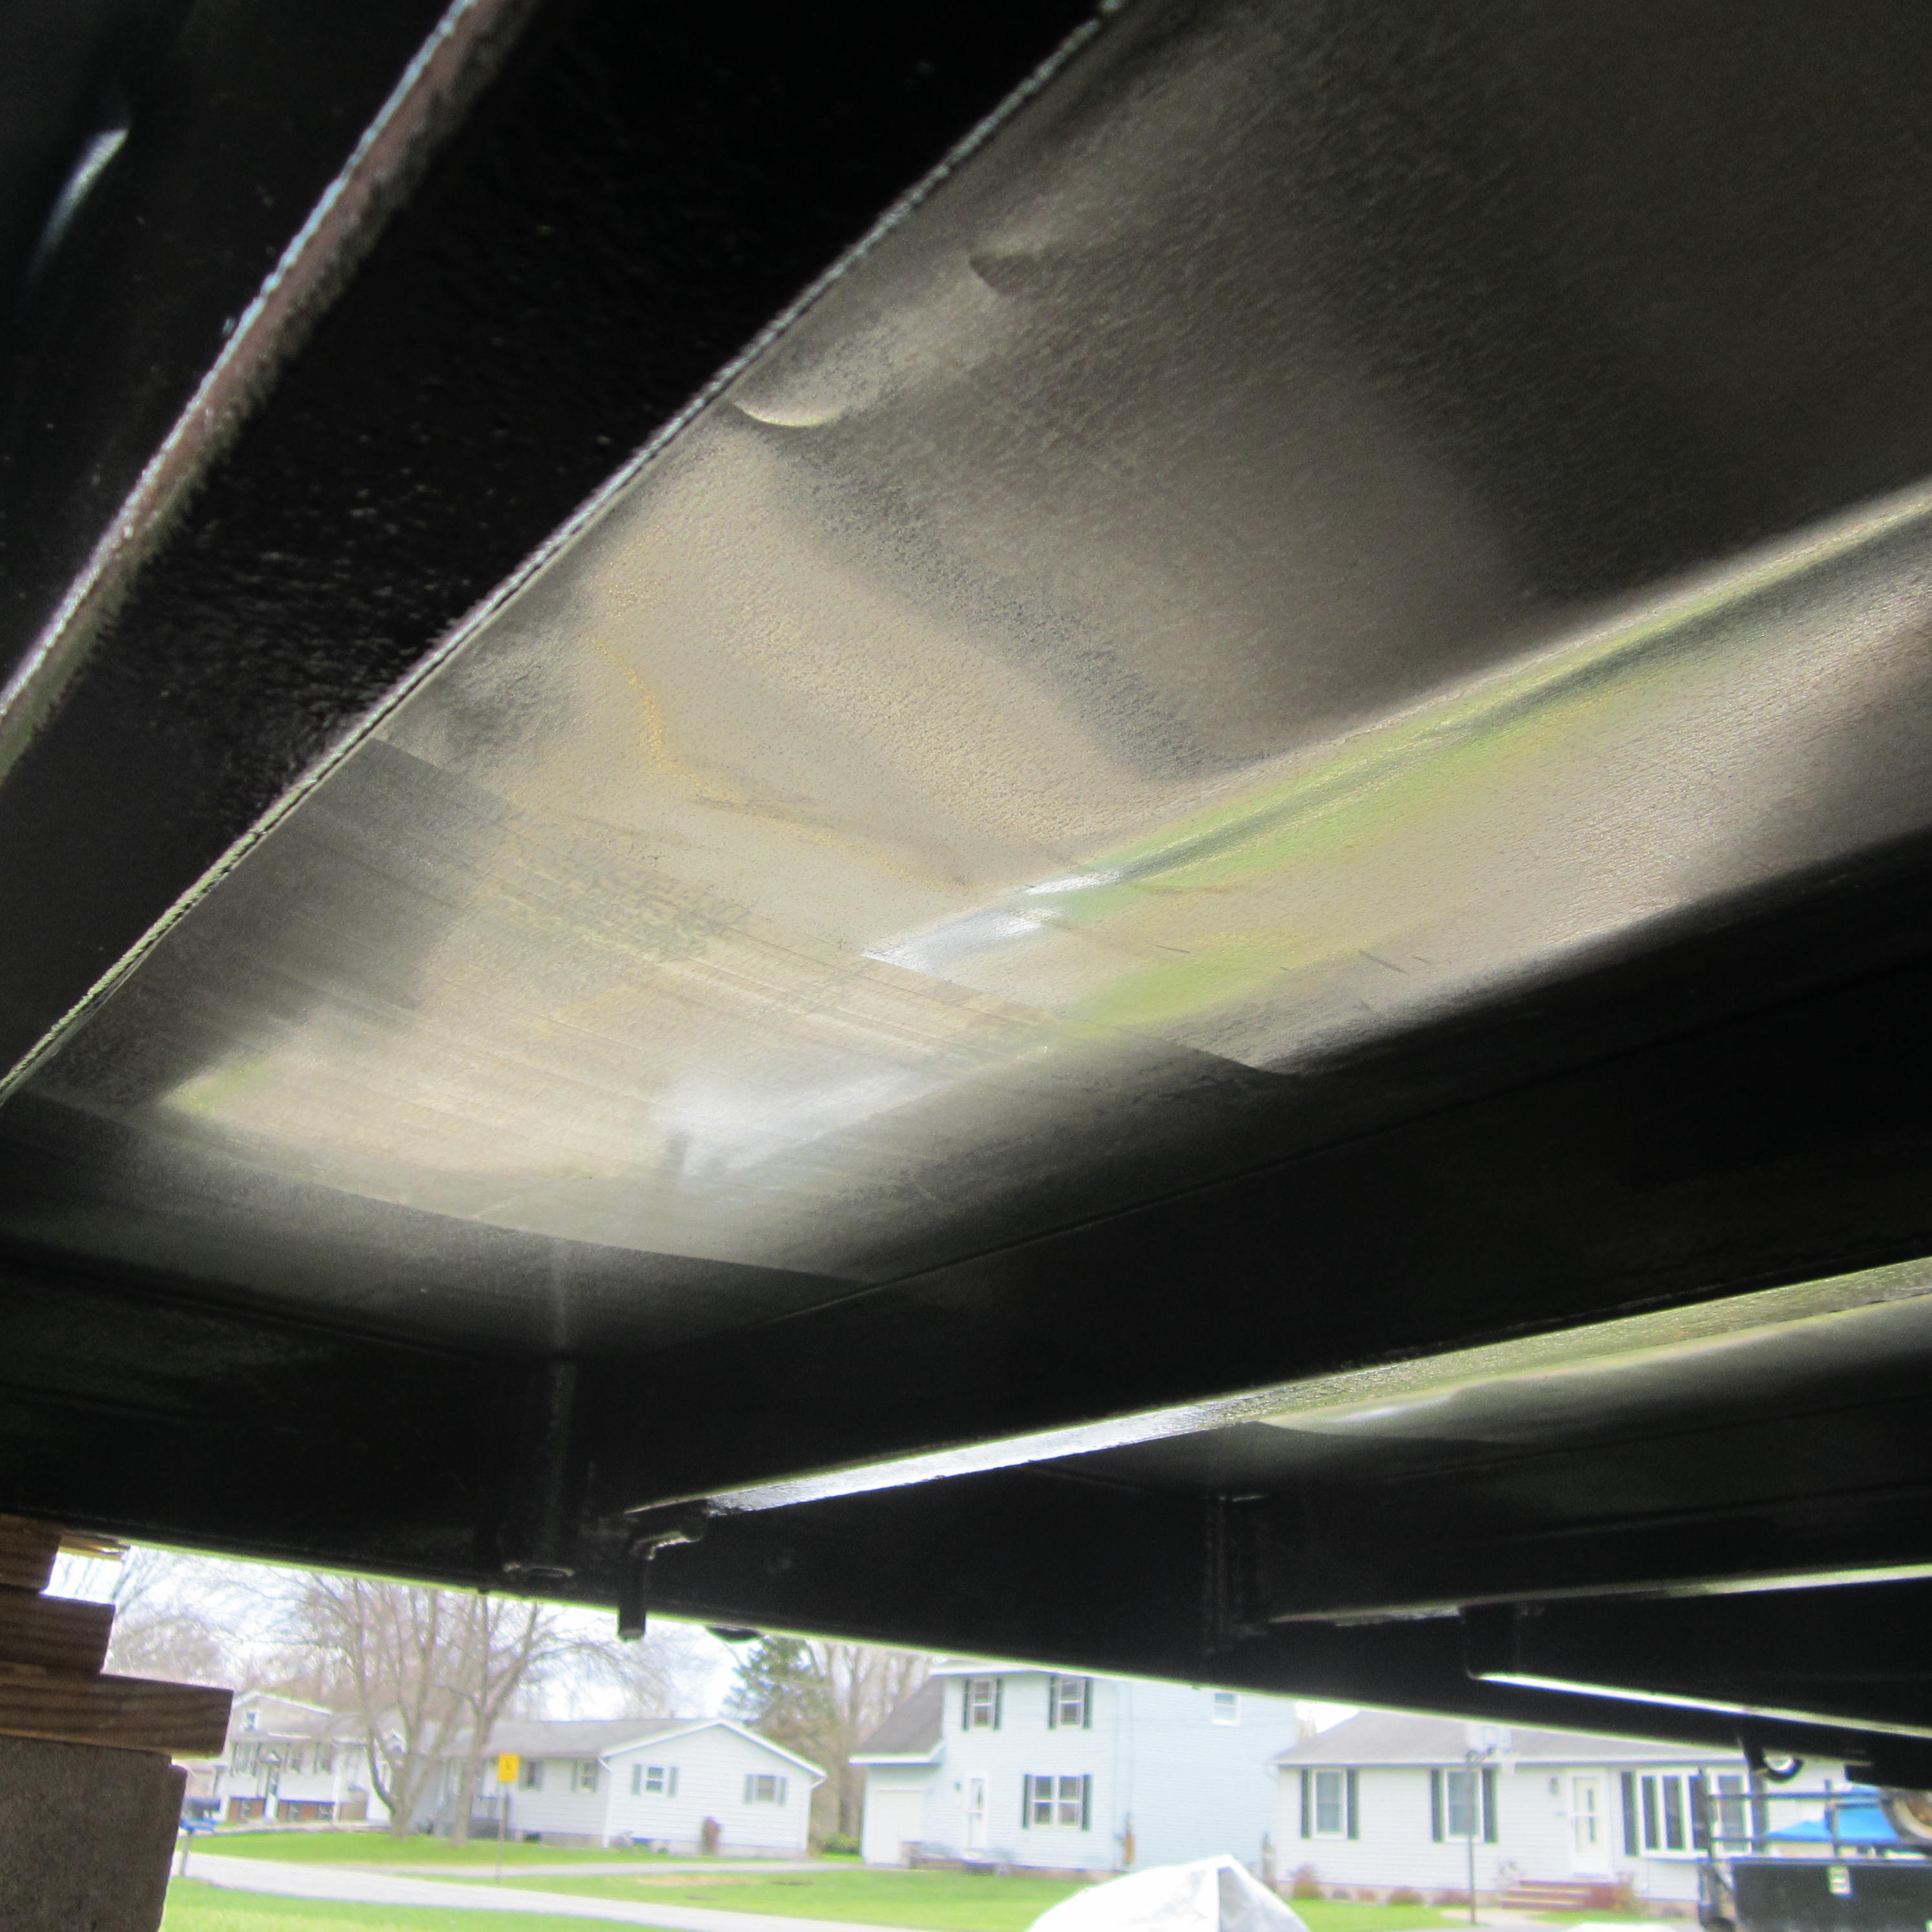
My solution to the waves was adding more silicone and using really short Tek roofing screws (#12 x 3/4 in. Fine Metallic Steel Hex Drill Point Roofing Screw) so I wouldn’t go too far into the 3/4 plywood. I had to buy five things of silicone and five boxes of screws (an extra $85 in the end).

Even though it was a rocky road, I have achieved the flashing’s purpose: moisture, road, and rodent protection. Definitely a lot of lessons learned on this step.
The reins are ours,
Chris
Reflections, Hindsight, and Alterations:
- Use flat 5 ft by 10 ft sheets. Would be stronger and thicker metal protection. Wouldn’t have to worry about wavy metal with my trailer setup. Would have been even cheaper in the end with prices I saw on craigslist!
- Use butyl rubber tape instead of UL Listed tape. Butyl rubber tape is a great moisture barrier and very sticky and a lot wider (usually 6 inches). This would have been the better choice.
- One way to prevent the waviness could have been to create a metal joint by bending the metal edges. This would have eliminated the need for any tape or silicone at the seams, too.

Metal Joint Solution
